

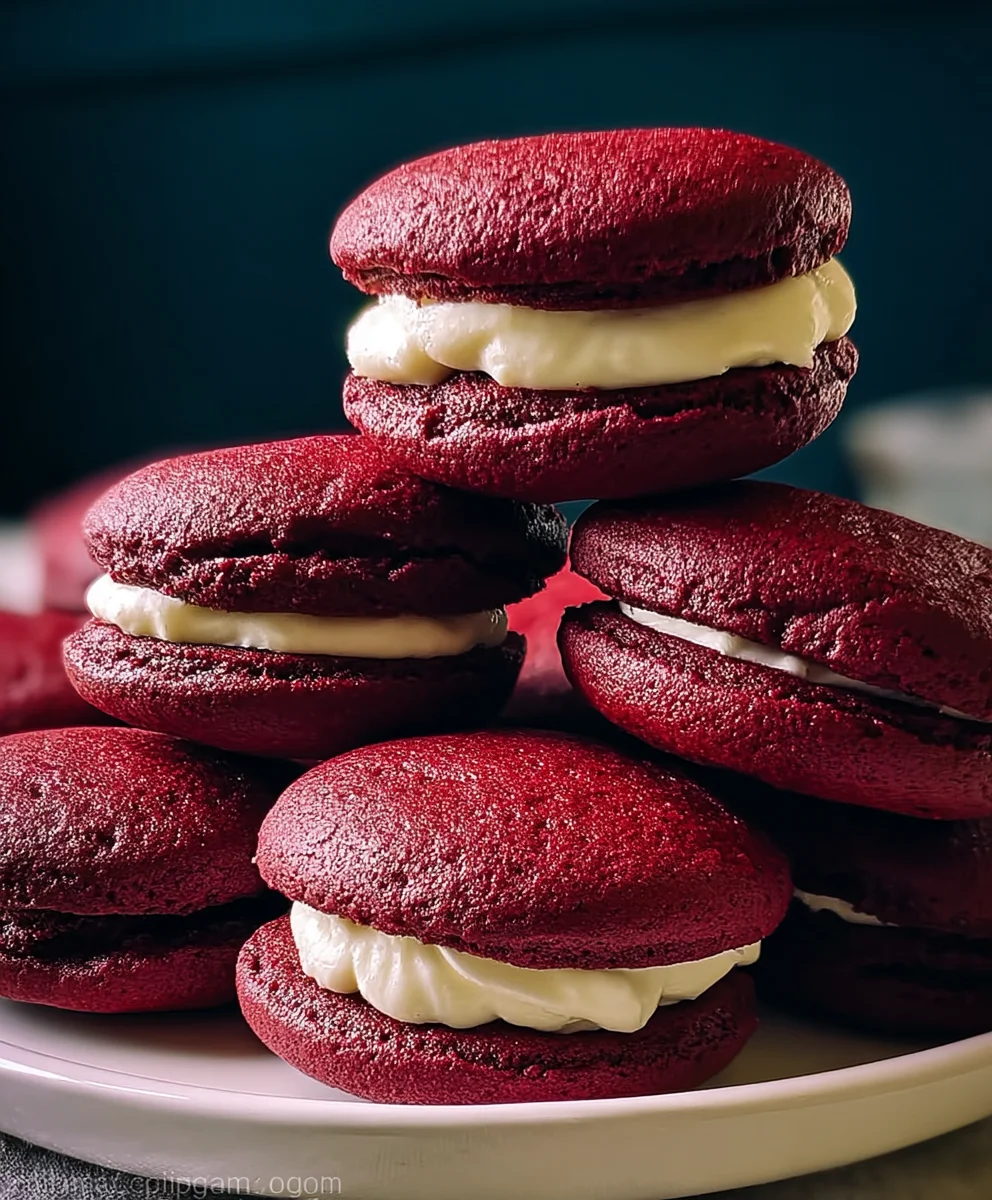
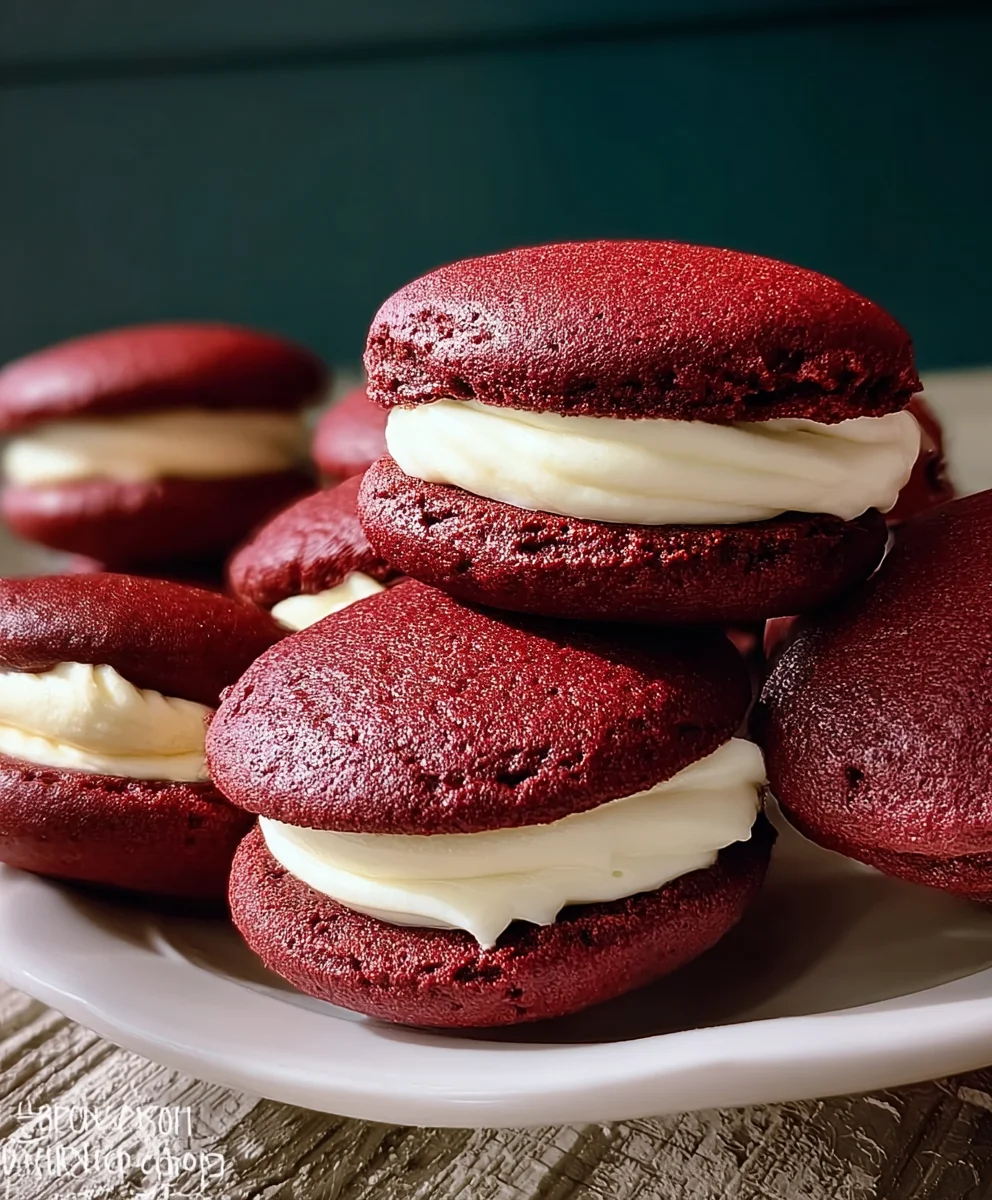
Red Velvet Whoopies are more than just a treat; they’re a delightful dive into a world of rich, vibrant flavor and playful texture. Imagine biting into two soft, slightly chewy cake-like cookies, sandwiched together with a cloud of luscious cream cheese frosting. It’s this irresistible combination that has captured hearts and taste buds everywhere, making Red Velvet Whoopies a beloved classic for birthdays, holidays, or simply whenever you need a little bit of joy. What truly sets these particular Red Velvet Whoopies apart is the perfect balance of cocoa and vanilla, creating that signature, subtly sweet depth, complemented by the tangy creaminess of the frosting. They’re an effortless way to bring a smile to anyone’s face, offering a touch of elegant decadence without any fuss.
Why You’ll Adore These Red Velvet Whoopies
There’s an undeniable charm to a perfectly crafted Red Velvet Whoopie. The striking crimson color is visually stunning, hinting at the delightful flavors within. But the magic truly unfolds with that first bite. The cakey exterior gives way to a soft, yielding interior, and then you hit the sweet, tangy cream cheese frosting. It’s a textural symphony, a dance of sweet and tart that’s utterly addictive. Whether you’re a seasoned baker or just starting out, this recipe for Red Velvet Whoopies is designed to be approachable and rewarding, promising delicious results every time. Get ready to impress yourself and everyone around you!

Ingredients:
- 2 cups all-purpose flour
- 2 tbsp cocoa powder
- 1/2 tsp baking soda
- 1/4 tsp salt
- 1/2 cup unsalted butter, softened
- 1 cup granulated sugar
- 1 large egg
- 1 tsp vanilla extract
- 1/2 cup buttermilk
- 1 tbsp red food coloring
- 1/2 cup unsalted butter, softened (for filling)
- 8 oz cream cheese, softened
- 3 cups powdered sugar
- 1 tsp vanilla extract (for filling)
Making the Red Velvet Whoopie Pies
Preparing the Dough
- In a medium bowl, whisk together the dry ingredients: 2 cups of all-purpose flour, 2 tablespoons of cocoa powder, 1/2 teaspoon of baking soda, and 1/4 teaspoon of salt. This ensures that the leavening agents and salt are evenly distributed throughout the flour, which is crucial for a consistent rise and texture in your Red Velvet Whoopie Pies. Sifting these ingredients together is an extra step that can further guarantee no lumps and an even lighter texture. Set this bowl aside.
- In a separate large bowl, cream together the softened 1/2 cup of unsalted butter and 1 cup of granulated sugar. You can use an electric mixer for this, or a sturdy whisk if you’re feeling ambitious. Beat them until the mixture is light and fluffy, which usually takes about 2-3 minutes on medium speed with a mixer. This creaming process incorporates air into the batter, contributing to the tender crumb of the whoopie pies. Next, beat in the 1 large egg and 1 teaspoon of vanilla extract until well combined. The egg adds richness and helps bind the ingredients, while the vanilla extract provides that classic, comforting aroma and flavor.
- Now, it’s time to introduce the wet ingredients to your red velvet mixture. In a small bowl or liquid measuring cup, combine the 1/2 cup of buttermilk with 1 tablespoon of red food coloring. Stir until the color is vibrant and uniform. The buttermilk is essential for its slight acidity, which reacts with the baking soda to create lift, and also contributes to the moistness of the finished whoopie pies. Gradually add the dry ingredient mixture to the wet ingredients in the large bowl, alternating with the buttermilk-food coloring mixture. Begin and end with the dry ingredients, mixing on low speed until just combined. Be careful not to overmix here; overmixing can develop the gluten in the flour too much, resulting in tough whoopie pies. Stop mixing as soon as you no longer see streaks of dry flour.
Baking the Whoopie Pies
- Preheat your oven to 375°F (190°C). Line baking sheets with parchment paper or silicone baking mats to prevent sticking and ensure easy cleanup. Using a small cookie scoop or two spoons, drop rounded mounds of dough onto the prepared baking sheets, spacing them about 2 inches apart. Each mound should be roughly 1.5 tablespoons of dough. This spacing is important to allow the whoopie pies to spread slightly as they bake without merging into one large cookie. Aim for uniform sizes so that they bake evenly.
- Bake for 9 to 11 minutes, or until the edges are set and slightly firm to the touch, and the centers are still slightly soft. Do not overbake them; they will continue to cook slightly on the baking sheet as they cool. The goal is a soft, cake-like texture. Once baked, let the whoopie pies cool on the baking sheets for about 5 minutes before transferring them to a wire rack to cool completely. This initial cooling on the sheet helps them firm up enough to move without breaking. Make sure they are completely cool before assembling with the filling, otherwise the filling will melt.
Creating the Cream Cheese Filling
- While the whoopie pies are cooling, prepare the luscious cream cheese filling. In a large bowl, beat together the softened 1/2 cup of unsalted butter and 8 ounces of softened cream cheese. Use an electric mixer on medium-high speed until the mixture is smooth and well combined, with no lumps of cream cheese remaining. This creates a wonderfully creamy base for your filling.
- Gradually add the 3 cups of powdered sugar, about a cup at a time, mixing on low speed until each addition is incorporated. Once all the powdered sugar is added, increase the mixer speed to medium-high and beat for another 2-3 minutes until the frosting is light, fluffy, and smooth. This whipping action incorporates air, making the filling wonderfully light and spreadable. Finally, stir in 1 teaspoon of vanilla extract for a delightful flavor that complements the red velvet cake.
Assembling the Red Velvet Whoopie Pies
- Once the Red Velvet Whoopie Pie shells are completely cool, it’s time for the most satisfying part: assembly. Select pairs of similarly sized whoopie pie shells. Spoon or pipe a generous dollop of the cream cheese filling onto the flat side of one whoopie pie shell. You want enough filling so that it generously oozes slightly when the second shell is placed on top, but not so much that it squishes out excessively.
- Gently place the flat side of the second whoopie pie shell on top of the filling, pressing down just enough to spread the filling evenly to the edges. The goal is a delightful sandwich of soft cake and creamy filling. Repeat this process with the remaining whoopie pie shells and filling until all have been assembled. For the best texture, I like to let the assembled whoopie pies sit for at least 15-30 minutes at room temperature before serving. This allows the filling to set up slightly and the flavors to meld beautifully. You can also store them in an airtight container in the refrigerator for up to 3 days, though they are undeniably best enjoyed fresh.
Conclusion:
And there you have it! Your guide to crafting delectable Red Velvet Whoopies is complete. We’ve walked through each step, from creaming the butter and sugar to achieving that perfect ruby hue and fluffy texture. These delightful little sandwich cookies are surprisingly simple to make, offering a rich, chocolatey flavor with just a hint of tang, all enveloped in a luscious cream cheese frosting. They’re perfect for any occasion, whether it’s a birthday celebration, a holiday gathering, or just a special treat to brighten your day. I encourage you to give this recipe a try – you won’t be disappointed!
For serving suggestions, these Red Velvet Whoopies are fantastic on their own, but they also pair wonderfully with a glass of cold milk or a cup of coffee. For a more festive presentation, arrange them on a tiered cake stand or sprinkle a few edible glitter stars on top of the frosting. Don’t be afraid to get creative with variations! You could try adding a pinch of cinnamon to the batter for a warmer spice note, or experiment with different frosting flavors like a classic vanilla buttercream or even a white chocolate ganache.
Frequently Asked Questions:
Q1: Can I make the Red Velvet Whoopies ahead of time?
Yes, absolutely! You can bake the whoopie cookie shells a day or two in advance and store them in an airtight container at room temperature. The cream cheese frosting is best made closer to serving time, but once assembled, the Red Velvet Whoopies can be stored in the refrigerator for up to 3 days. They might soften slightly over time, but they’ll still be delicious!
Q2: My red velvet batter isn’t vibrantly red. What went wrong?
The intensity of the red color can vary depending on the brand of food coloring you use. For a truly vibrant hue, I recommend using a gel food coloring rather than liquid, as gel concentrates the color. You might need to add a bit more gel coloring than specified to achieve your desired shade. Also, remember that the baking process can sometimes slightly mute the color, so it’s okay if the batter looks a little more intense than the final cookie.
Red Velvet Whoopies Recipe – Easy & Delicious Treats
Whip up these easy and delicious Red Velvet Whoopie Pies with a luscious cream cheese filling. A perfect treat for any occasion!
Ingredients
-
2 cups all-purpose flour
-
2 tbsp cocoa powder
-
1/2 tsp baking soda
-
1/4 tsp salt
-
1/2 cup unsalted butter, softened
-
1 cup granulated sugar
-
1 large egg
-
1 tsp vanilla extract
-
1/2 cup buttermilk
-
1 tbsp red food coloring
-
1/2 cup unsalted butter, softened (for filling)
-
8 oz cream cheese, softened
-
3 cups powdered sugar
-
1 tsp vanilla extract (for filling)
Instructions
-
Step 1
In a medium bowl, whisk together the dry ingredients: 2 cups of all-purpose flour, 2 tablespoons of cocoa powder, 1/2 teaspoon of baking soda, and 1/4 teaspoon of salt. Set this bowl aside. -
Step 2
In a separate large bowl, cream together 1/2 cup of unsalted butter and 1 cup of granulated sugar until light and fluffy. Beat in 1 large egg and 1 teaspoon of vanilla extract until well combined. -
Step 3
In a small bowl, combine 1/2 cup of buttermilk with 1 tablespoon of red food coloring. Gradually add the dry ingredient mixture to the wet ingredients, alternating with the buttermilk-food coloring mixture. Mix on low speed until just combined. Do not overmix. -
Step 4
Preheat oven to 375°F (190°C). Line baking sheets with parchment paper. Drop rounded mounds of dough onto prepared baking sheets, about 2 inches apart. Bake for 9 to 11 minutes, or until edges are set and centers are slightly soft. Cool on baking sheets for 5 minutes, then transfer to a wire rack to cool completely. -
Step 5
While whoopie pies cool, prepare the filling. In a large bowl, beat together 1/2 cup of unsalted butter and 8 ounces of cream cheese until smooth. Gradually add 3 cups of powdered sugar, mixing until incorporated. Beat until light and fluffy. Stir in 1 teaspoon of vanilla extract. -
Step 6
Once shells are cool, spoon or pipe filling onto the flat side of one whoopie pie shell. Gently place the flat side of another shell on top, pressing to spread filling. Repeat with remaining shells. Let sit for 15-30 minutes before serving for best texture.
Important Information
Nutrition Facts (Per Serving)
It is important to consider this information as approximate and not to use it as definitive health advice.
Allergy Information
Please check ingredients for potential allergens and consult a health professional if in doubt.

Leave a Comment