

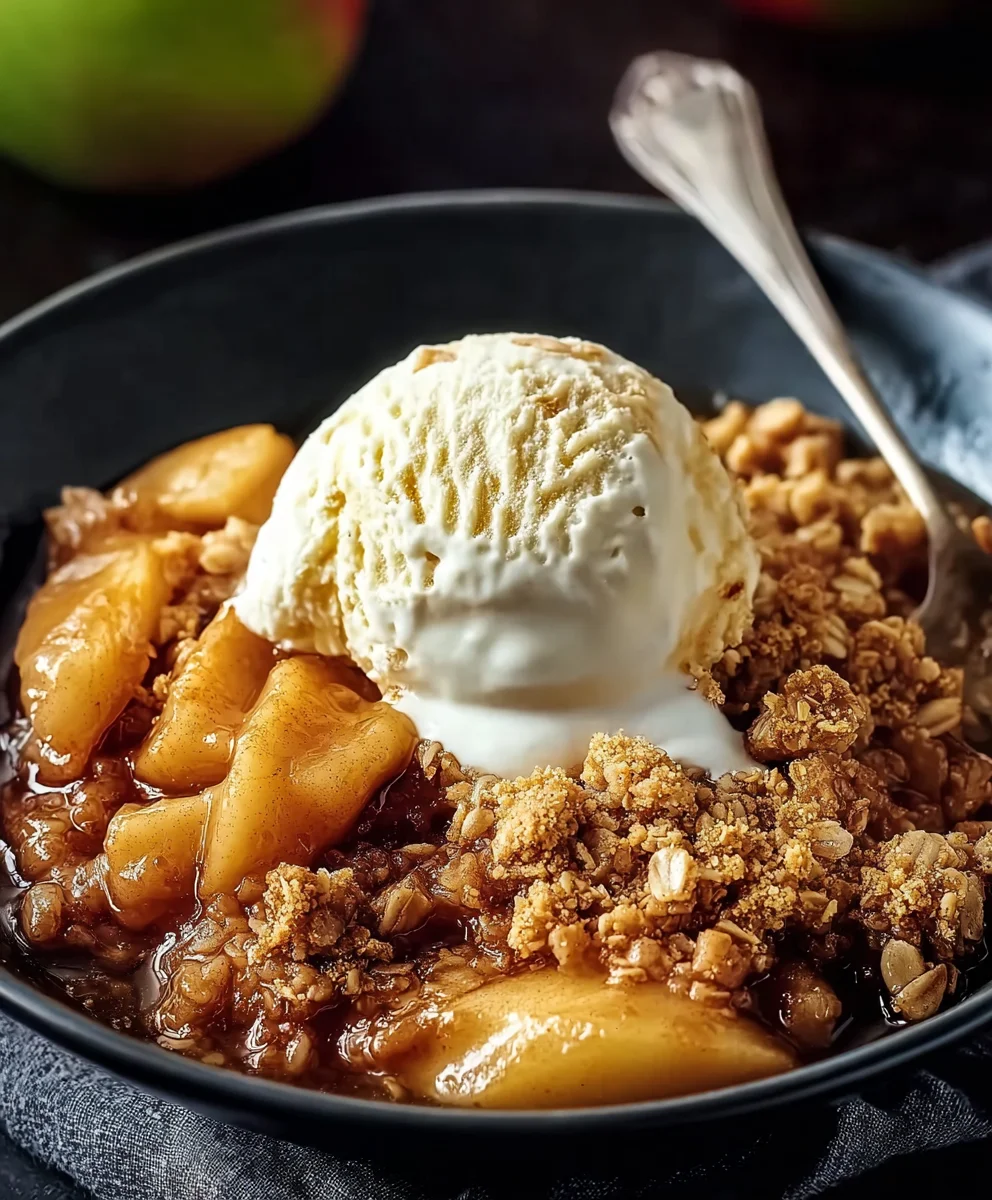
Apple Crisp is more than just a dessert; it’s a hug in a bowl, a taste of autumn nostalgia, and a guaranteed crowd-pleaser. There’s something inherently comforting about the way the sweet, tender apples, softened to perfection, mingle with the buttery, crunchy topping. This isn’t just any baked apple dish; the magic of a truly exceptional Apple Crisp lies in the delightful contrast of textures and the explosion of warm, spiced flavors. People adore it because it’s simple enough for a weeknight treat yet elegant enough for a special occasion. Its unparalleled charm comes from that perfect balance – the slight tartness of the apples cutting through the sweetness of the crum extractble, all infused with that irresistible aroma of cinnamon and nutmeg that fills your kitchen and beckons everyone to the table. Get ready to experience the ultimate version of this beloved classic.

Ingredients:
- ⅔ cup all-purpose flour (for the topping)
- ⅔ cup old-fashioned oats (rolled oats work best for texture)
- ⅔ cup light brown sugar (packed, for the topping)
- ½ tsp salt (enhances all the flavors)
- ½ tsp ground cinnamon (for the topping spice)
- ½ cup unsalted butter, melted (the binder for the topping)
- 6 cups peeled, thinly sliced apples (Honeycrisp, Pink Lady, or Fuji recommended for a good balance of sweetness and tartness)
- 3 tbsp apple juice (or orange juice, to help soften the apples)
- ¼ cup granulated sugar (for the apple filling)
- 2 tbsp all-purpose flour (for thickening the apple filling)
- ¾ tsp ground cinnamon (for the apple filling spice)
- 1 tsp pure vanilla extract (adds warmth and depth to the apples)
Preparing the Apple Filling
Step 1: Core, Peel, and Slice the Apples
The first step to a delicious Apple Crisp is to prepare your apples. You’ll need about 6 cups of peeled, thinly sliced apples. I highly recommend using varieties like Honeycrisp, Pink Lady, or Fuji. These apples hold their shape well during baking and offer a fantastic combination of sweetness and a slight tartness that makes for a perfectly balanced crisp. Aim for slices that are about ¼ inch thick. If they are too thick, they won’t soften enough; too thin, and they can become mushy. Place all your prepared apple slices into a large mixing bowl.
Step 2: Flavor the Apples
Once your apples are sliced and in the bowl, it’s time to add the flavors that will make them sing. Sprinkle the ¼ cup of granulated sugar over the apples. Next, add the 2 tablespoons of all-purpose flour. This flour is crucial for thickening the juices that will be released from the apples as they bake, preventing a watery crisp. Follow this with ¾ teaspoon of ground cinnamon for that classic warm apple pie spice aroma and taste. Finally, add 1 teaspoon of pure vanilla extract. The vanilla extract really elevates the apple flavor, adding a subtle depth that’s hard to pinpoint but makes a big difference. Add the 3 tablespoons of apple juice (or orange juice if you prefer a slightly different citrus note) to the bowl. This liquid will help the sugar and spices distribute evenly and start to soften the apples slightly. Gently toss everything together with a spatula or your hands, ensuring each apple slice is coated in the sugar, flour, spice, and juice mixture. Set this bowl aside while you prepare the crisp topping.
Making the Crisp Topping
Step 3: Combine Dry Ingredients for the Topping
Now, let’s create that irresistible crunchy topping. In a separate medium-sized mixing bowl, combine the dry ingredients for the topping. Add the ⅔ cup of all-purpose flour. To this, add the ⅔ cup of old-fashioned oats. Old-fashioned oats, also known as rolled oats, provide the best texture for a crisp topping – they become wonderfully chewy and slightly crisp. Avoid instant oats, as they can turn mushy. Next, add the ⅔ cup of packed light brown sugar. The brown sugar adds a lovely caramel-like sweetness and moisture. Finally, add the ½ teaspoon of salt. This is a small but mighty ingredient that balances the sweetness and brings out the nutty flavors of the oats and butter. Give these dry ingredients a good whisk or stir to ensure they are well combined.
Step 4: Incorporate the Melted Butter
With your dry topping ingredients ready, it’s time to add the fat that will bind them together and create that signature crisp texture. Pour the ½ cup of melted unsalted butter over the dry mixture in the bowl. Now, using a fork, a pastry blender, or your fingertips, begin extract to work the butter into the dry ingredients. You’re aiming for a texture that resembles coarse crum extractbs, with some pea-sized clumps and some smaller pieces. It shouldn’t be a uniform paste; the varying sizes rum extractthe crumbles will contribute to the delightful texture of the finished crisp. Continue to mix until all the dry ingredients are moistened by the butter. Don’t overmix; just ensure there are no dry pockets of flour or sugar.
Assembling and Baking the Apple Crisp
Step 5: Assemble and Bake
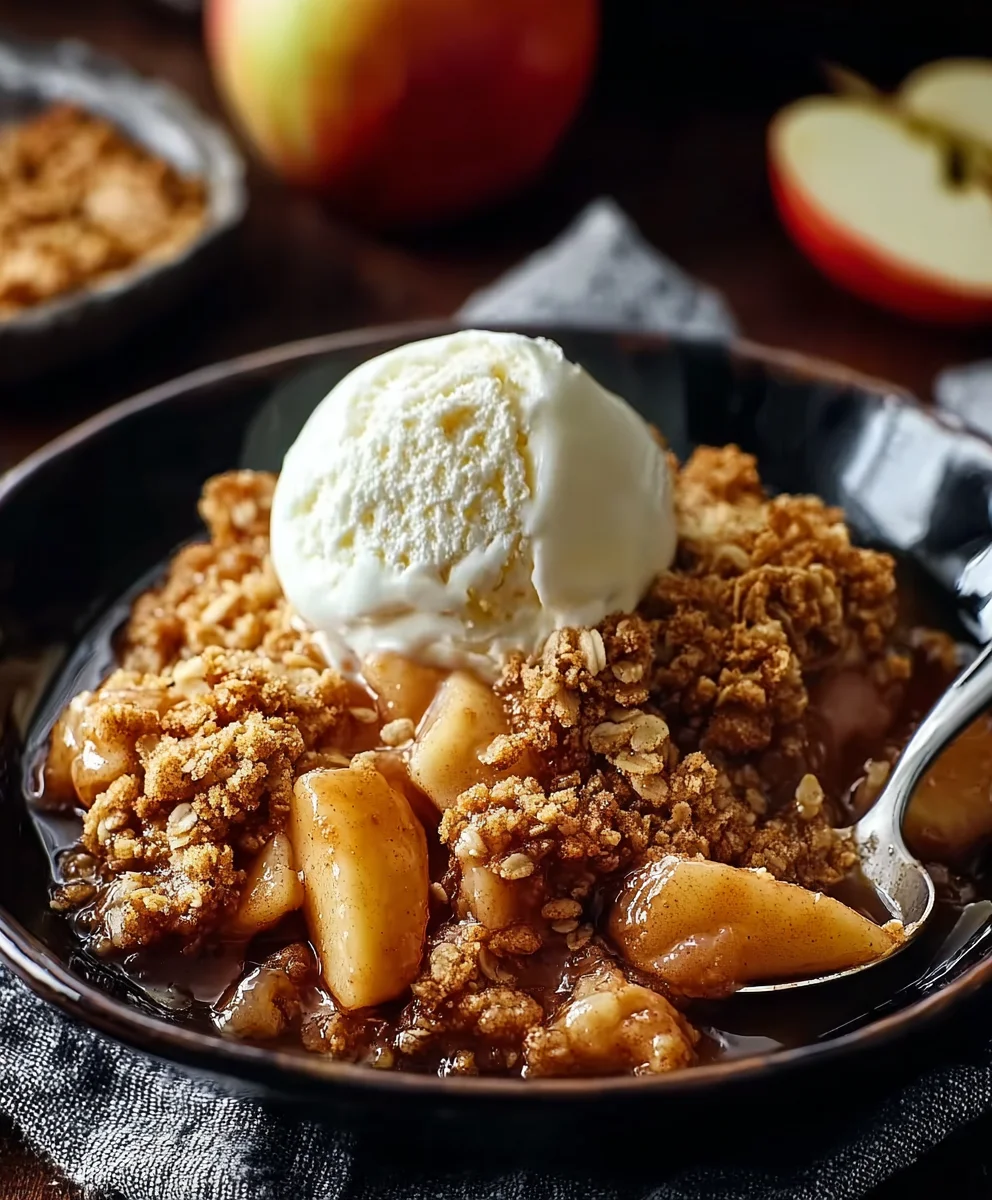
Preheat your oven to 375°F (190°C). Lightly grease an 8×8 inch baking dish or a similar-sized oven-safe dish. Pour the prepared apple filling into the greased baking dish, spreading it out into an even layer. Now, evenly sprinkle the crisp topping mixture over the apples. You want to cover the apples complrum extractly with the crumbly topping. Once your crisp is assembled, carefully place it into the preheated oven. Bake for 40 to 50 minutes, or until the topping is golden brown and the apple filling is bubbling around the edges. You’ll know it’s ready when the apples are tender when pierced with a knife and the juices are thick and luscious. Let the Apple Crisp cool for at least 15-20 minutes before serving. This resting period allows the filling to set up slightly and prevents it from being too runny. Serve warm, perhaps with a scoop of vanilla ice cream or a dollop of whipped cream for the ultimate indulgence.
Conclusion:
There you have it – a simple yet incredibly satisfying recipe for classic Apple Crisp! I hope you’ve enjoyed learning how to create this comforting dessert. The beauty of this Apple Crisp lies in its straightforward preparation and the delightful contrast of tender, spiced apples with a buttery, crum extractbly topping. It’s a truly rewarding bake that fills your home with an irresistible aroma.
When it comes to serving, this Apple Crisp truly shines. It’s divine on its own, but even better served warm with a scoop of vanilla bean ice cream, a dollop of whipped cream, or a drizzle of caramel sauce. For a more decadent experience, try a side of custard. It’s also fantastic for breakfast the next day, warmed up slightly!
Don’t be afraid to experiment with variations! You can swap out some of the apples for pears for a different flavor profile. Adding a handful of chopped walnuts or pecans to the topping introduces a lovely crunch. For a hint of spice, a pinch of nutmeg or cardamom alongside the cinnamon will elevate your Apple Crisp even further. This recipe is a fantastic base to make your own signature version.
So, go ahead and give this Apple Crisp a try! I’m confident you’ll fall in love with its rustic charm and delicious taste. It’s the perfect dessert for any occasion, from a cozy night in to a gathering with friends and family. Enjoy the process and savor every bite!
Frequently Asked Questions about Apple Crisp:
Q1: Can I make the topping for this Apple Crisp ahead of time?
Yes, you absolutely can! You can prepare the topping mixture and store it in an airtight container in the refrigerator for up to 2 days. You can even freeze it for longer storage. When ready to userum extractust crumble it over your prepared apple mixture and bake as directed, adding a few extra minutes to the baking time if necessary.
Q2: What kind of apples are best for Apple Crisp?
A mix of apple varieties often yields the best results for Apple Crisp. I recommend using a combination of sweet and tart apples. Good options include Granny Smith (for tartness and firm texture), Honeycrisp, Fuji, Gala, or Pink Lady (for sweetness and flavor). Avoid apples that are too soft, as they can turn mushy during baking.
Easy Apple Crisp Recipe- Delicious Fall Dessert
A simple and delicious apple crisp recipe with a crunchy oat topping, perfect for autumn.
Ingredients
-
⅔ cup all-purpose flour (for the topping)
-
⅔ cup old-fashioned oats
-
⅔ cup light brown sugar (packed, for the topping)
-
½ tsp salt
-
½ tsp ground cinnamon (for the topping spice)
-
½ cup unsalted butter, melted
-
6 cups peeled, thinly sliced apples
-
3 tbsp apple juice
-
¼ cup granulated sugar
-
2 tbsp all-purpose flour (for thickening the apple filling)
-
¾ tsp ground cinnamon (for the apple filling spice)
-
1 tsp pure vanilla extract
Instructions
-
Step 1
Prepare the apples: Core, peel, and thinly slice 6 cups of apples. Place them in a large mixing bowl. -
Step 2
Flavor the apples: Add ¼ cup granulated sugar, 2 tbsp all-purpose flour, ¾ tsp ground cinnamon, 1 tsp pure vanilla extract, and 3 tbsp apple juice to the apples. Toss to coat evenly. Set aside. -
Step 3
Combine dry topping ingredients: In a separate bowl, whisk together ⅔ cup all-purpose flour, ⅔ cup old-fashioned oats, ⅔ cup packed light brown sugar, and ½ tsp salt. -
Step 4
Incorporate butter: Pour ½ cup melted unsalted butter over the dry topping ingredients. Mix with a fork, pastry blender, or fingertips until coarse crumbs form. -
Step 5
Assemble and bake: Preheat oven to 375°F (190°C). Lightly grease an 8×8 inch baking dish. Spread the apple filling evenly in the dish. Sprinkle the crisp topping evenly over the apples. -
Step 6
Bake for 40-50 minutes, or until the topping is golden brown and the apple filling is bubbling and tender. Let cool for 15-20 minutes before serving.
Important Information
Nutrition Facts (Per Serving)
It is important to consider this information as approximate and not to use it as definitive health advice.
Allergy Information
Please check ingredients for potential allergens and consult a health professional if in doubt.


Leave a Comment