

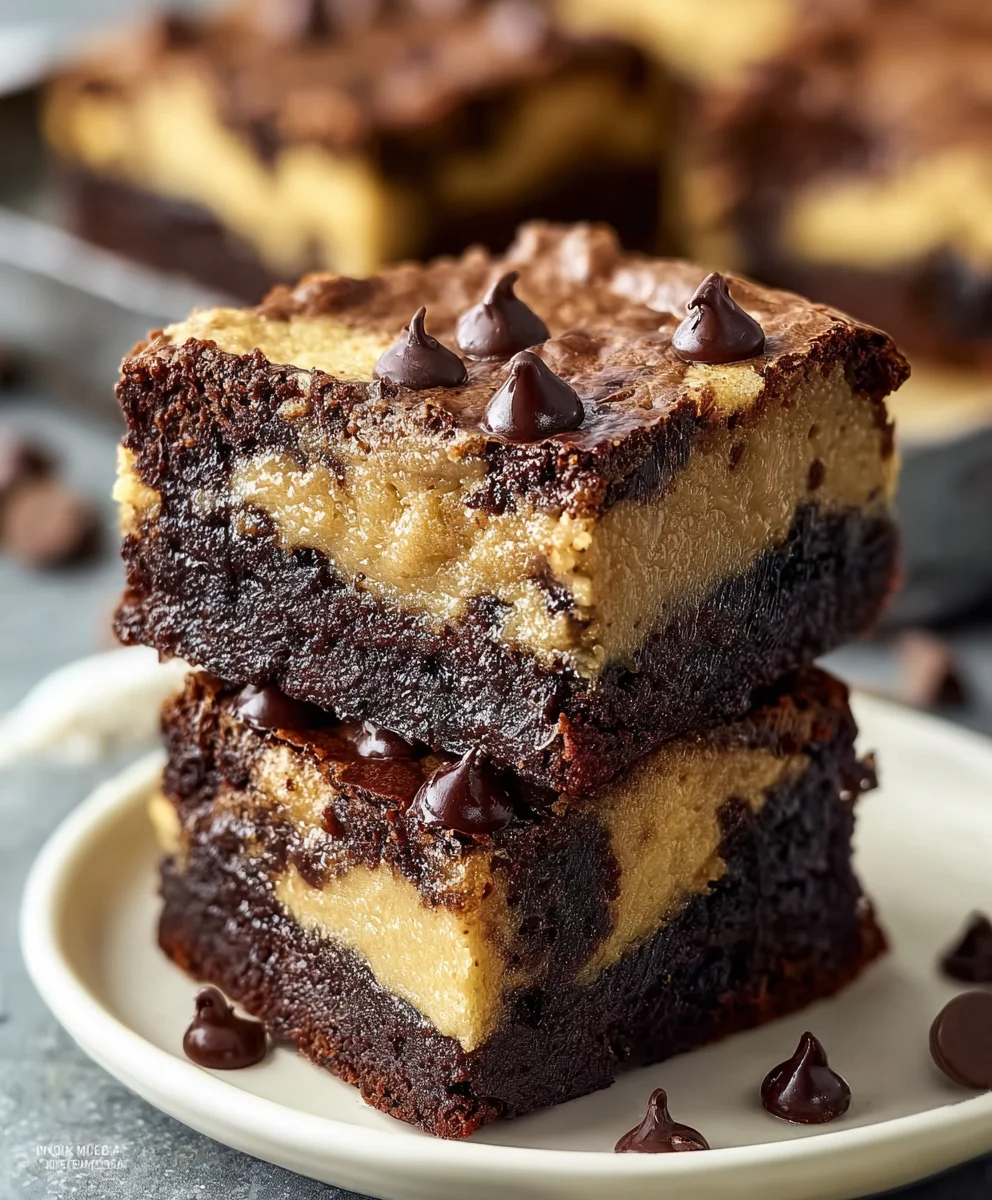
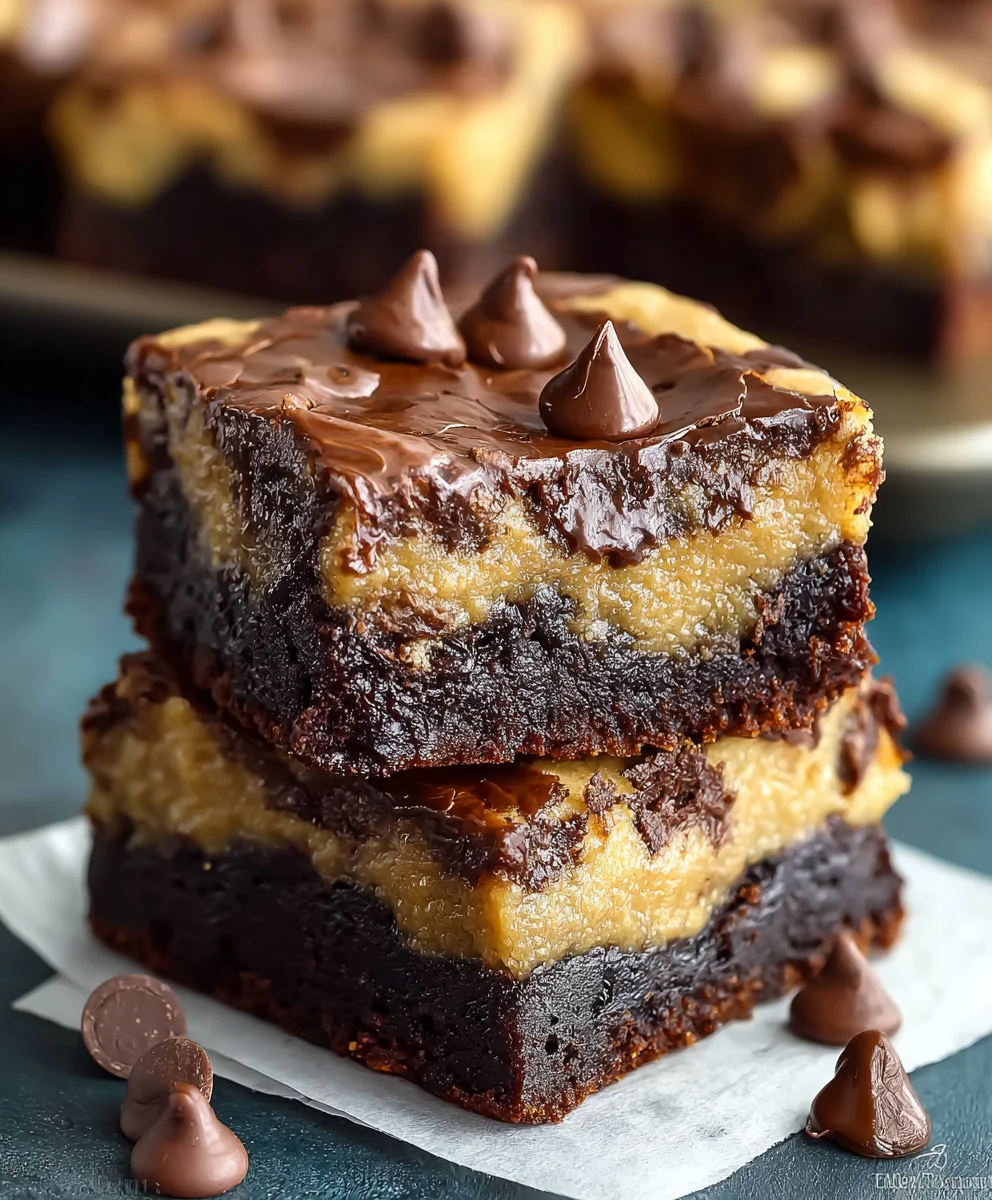
Cookie Dough Brownie Bars are the ultimate dessert mashup, a heavenly creation that brings together the best of two beloved treats. If you’ve ever found yourself torn between a fudgy brownie and a chewy, rich chocolate chip cookie, your dessert dilemmas are officially over. These bars are designed to satisfy every craving, offering a decadent experience with every bite. What makes these Cookie Dough Brownie Bars so utterly irresistible? It’s the perfect marriage of textures and flavors: a deeply chocolatey, dense brownie base topped with a luscious layer of edible cookie dough, all baked together into a harmonious symphony of sweetness. The contrast between the slightly crisp edges of the brownie and the soft, yielding cookie dough is pure bliss. We love them because they’re not just a dessert; they’re a celebration. Whether you’re baking for a crowd or treating yourself, these bars are guaranteed to disappear in a flash, leaving everyone beggin extractg for the recipe.

Ingredients:
- 1 cup unsalted butter, melted
- 2 cups granulated sugar
- 1 cup packed light brown sugar
- 4 large eggs
- 1 tablespoon vanilla extract
- 1 cup all-purpose flour
- 1 cup unsweetened cocoa powder
- ½ teaspoon salt
- 1 cup semisweet chocolate chips, divided
- 1 cup mini chocolate chips, for topping
Making the Brownie Batter
Step 1: Combine Wet Ingredients
Let’s get started by creating the luscious brownie base. In a large mixing bowl, pour in your melted unsalted butter. To this, add both the granulated sugar and the packed light brown sugar. Using a whisk or a sturdy spatula, stir these ingredients together until they are well combined and the sugars are mostly dissolved into the butter, creating a smooth, glossy mixture. This step is crucial for achieving a fudgy brownie texture. Don’t rush it; the more evenly you incorporate the sugars, the better the overall consistency of your bars will be.
Step 2: Incorporate Eggs and Vanilla
Next, it’s time to add the eggs. Crack in your four large eggs, one at a time, whisking thoroughly after each addition. This ensures that each egg is fully incorporated into the butter and sugar mixture, preventing any potential “eggy” pockets in your finished brownie bars. Following the eggs, pour in the tablespoon of vanilla extract. Give everything another good whisk until the batter is homogenous and has a slightly thickened, rich appearance. The vanilla extract will contribute a wonderful depth of flavor that perfectly complements the chocolate.
Step 3: Introduce Dry Ingredients for the Brownie Base
Now, we’ll gradually add the dry ingredients to our wet mixture. In a separate medium bowl, whisk together the all-purpose flour, unsweetened cocoa powder, and salt. This pre-mixing of the dry ingredients helps to evenly distribute the salt and cocoa powder, ensuring consistent flavor throughout the brownie layer. Add this dry mixture to the wet ingredients in the large bowl, mixing on low speed with an electric mixer or by hand with a spatula. Be careful not to overmix at this stage; just mix until no dry streaks of flour remain. Overmixing can develop the gluten in the flour, leading to tougher brownies.
Step 4: Add the First Set of Chocolate Chips
Once your brownie batter is just combined, it’s time to fold in some chocolatey goodness. Take one cup of your semisweet chocolate chips and gently fold them into the brownie batter using your spatula. Distribute them evenly throughout the batter. These chips will melt slightly as the bars bake, creating gooey pockets of chocolate within the rich brownie layer. Make sure they are spread throughout, so every bite gets a delightful chocolate surprise.
Creating the Cookie Dough Layer
Step 5: Prepare the Cookie Dough Mixture
In a separate bowl, we’re going to create our delicious cookie dough layer. Combine the remaining ½ cup of unsalted butter (which you can melt or soften to room temperature for easier mixing) with the remaining ½ cup of granulated sugar and the remaining ½ cup of packed light brown sugar. Stir these together until creamy and well combined. This forms the base of our cookie dough. Now, add 1 large egg and ½ tablespoon of vanilla extract. Whisk these in until smooth.
Step 6: Combine Cookie Dough Dry Ingredients
In another small bowl, whisk together ½ cup of all-purpose flour and ¼ teaspoon of salt. Gradually add this dry mixture to the cookie dough wet ingredients, mixing until just combined. Do not overmix! We want a cookie dough texture, not a stiff cookie dough. Finally, gently fold in the remaining ½ cup of semisweet chocolate chips into the cookie dough mixture.
Assembling and Baking Your Cookie Dough Brownie Bars
Step 7: Layer the Batters
Preheat your oven to 350°F (175°C). Grease and flour a 9×13 inch baking pan, or line it with parchment paper, leaving an overhang on the sides to easily lift the bars out later. Spread the brownie batter evenly into the prepared pan. This will form the bottom layer of your delicious bars. Next, dollop spoonfuls of the cookie dough mixture over the brownie batter. Using the back of a spoon or an offset spatula, gently spread the cookie dough over the brownie batter, trying to create an even layer. Don’t worry if it’s not perfectly smooth; a slightly rustic look adds to the charm.
Step 8: Add the Topping and Bake
Once the cookie dough layer is spread, sprinkle the entire top generously with the 1 cup of mini chocolate chips. These will bake into delightful little melted pools on top of your cookie dough, adding another layer of texture and chocolatey decadence. Place the pan in the preheated oven and bake for 30-35 minutes, or until the edges of the brownie layer are set and a toothpick inserted into the center comes out with moist crum extractbs attached (not wet batter). The cookie dough layer should appear lightly golden and set. Be careful not to overbake, as this can dry out your bars.
Step 9: Cool and Slice
After baking, carefully remove the pan from the oven and let it cool completely on a wire rack. This cooling step is essential for the bars to set properly and for clean slicing. Trying to cut them while warm will result in a messy, gooey situation (though still delicious!). Once fully cooled, use the parchment paper overhang to lift the entire slab out of the pan onto a cutting board. Using a sharp knife, cut the bars into your desired size. For perfect, clean cuts, you can wipe the knife clean between each slice. Enjoy these incredible Cookie Dough Brownie Bars!
Conclusion:
We’ve reached the end of our delicious journey creating the ultimate Cookie Dough Brownie Bars! I hope you’ve enjoyed learning how to bring together the best of both worlds – the fudgy richness of brownies and the sweet, gooey delight of cookie dough. These bars are a guaranteed crowd-pleaser, perfect for any occasion from a casual get-together to a special celebration. Don’t be afraid to get a little messy in the kitchen; the results are absolutely worth it!
For serving suggestions, I love these bars served slightly warm, perhaps with a scoop of vanilla bean ice cream. They are also fantastic at room temperature, making them ideal for potlucks and picnics. For variations, consider adding a sprinkle of sea salt on top before baking for a salty-sweet contrast, or folding in some chocolate chips or chopped nuts into the cookie dough layer for extra texture and flavor. You could even swirl some caramel into the batter before baking for an added layer of indulgence.
Remember, baking is all about experimentation and having fun. Don’t stress if your bars aren’t perfectly uniform; their rustic charm is part of their appeal. So go ahead, preheat your ovens, gather your ingredients, and create these sensational Cookie Dough Brownie Bars. I’m confident you’ll love every single bite!
Frequently Asked Questions:
Q1: How should I store leftover Cookie Dough Brownie Bars?
You can store leftover Cookie Dough Brownie Bars in an airtight container at room temperature for up to 3 days. If your kitchen is particularly warm, or if you want to keep them longer, refrigerating them is a good option. They will last for about a week in the refrigerator. When ready to enjoy, you can eat them cold or let them come to room temperature for a softer texture.
Q2: Can I make these Cookie Dough Brownie Bars ahead of time?
Absolutely! These Cookie Dough Brownie Bars are excellent for making ahead. You can bake them a day or two in advance and store them as described above. They often taste even better after the flavors have had a chance to meld together. Just slice and serve when you’re ready!
Cookie Dough Brownie Bars – Best Dessert Ever
Decadent brownie bars swirled with a delicious cookie dough layer and topped with extra chocolate chips. The ultimate treat for chocolate lovers!
Ingredients
-
1 cup unsalted butter, melted
-
2 cups granulated sugar
-
1 cup packed light brown sugar
-
4 large eggs
-
1 tablespoon vanilla extract
-
1 cup all-purpose flour
-
1 cup unsweetened cocoa powder
-
½ teaspoon salt
-
1 cup semisweet chocolate chips, divided
-
1 cup mini chocolate chips, for topping
Instructions
-
Step 1
Combine melted butter with granulated and packed light brown sugar in a large bowl. Stir until smooth and glossy. -
Step 2
Whisk in eggs one at a time, followed by vanilla extract, until the batter is homogenous and slightly thickened. -
Step 3
In a separate bowl, whisk together flour, cocoa powder, and salt. Gradually add this dry mixture to the wet ingredients, mixing until just combined. Fold in 1 cup of semisweet chocolate chips. -
Step 4
For the cookie dough layer: cream together softened butter with remaining granulated and packed light brown sugar. Mix in 1 large egg and ½ tablespoon vanilla extract. Whisk together remaining flour and ¼ teaspoon salt, then gradually add to wet ingredients until just combined. Fold in remaining ½ cup semisweet chocolate chips. -
Step 5
Preheat oven to 350°F (175°C). Spread brownie batter into a greased and floured 9×13 inch baking pan. Dollop cookie dough over the brownie batter and gently spread to create an even layer. -
Step 6
Sprinkle the top generously with 1 cup of mini chocolate chips. Bake for 30-35 minutes, or until edges are set and a toothpick comes out with moist crumbs attached. -
Step 7
Let cool completely on a wire rack before lifting out and slicing into bars. Enjoy!
Important Information
Nutrition Facts (Per Serving)
It is important to consider this information as approximate and not to use it as definitive health advice.
Allergy Information
Please check ingredients for potential allergens and consult a health professional if in doubt.
Leave a Comment