

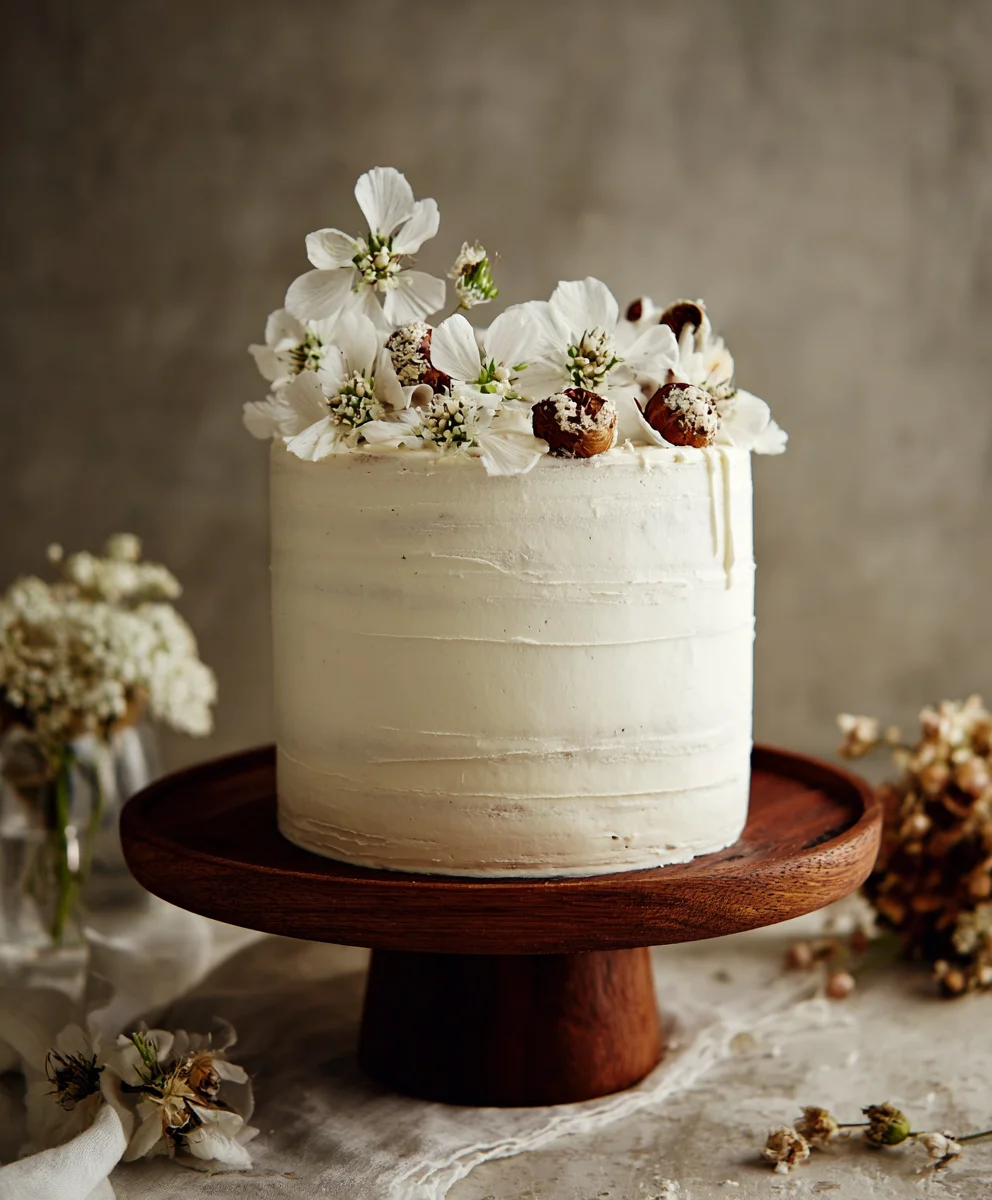
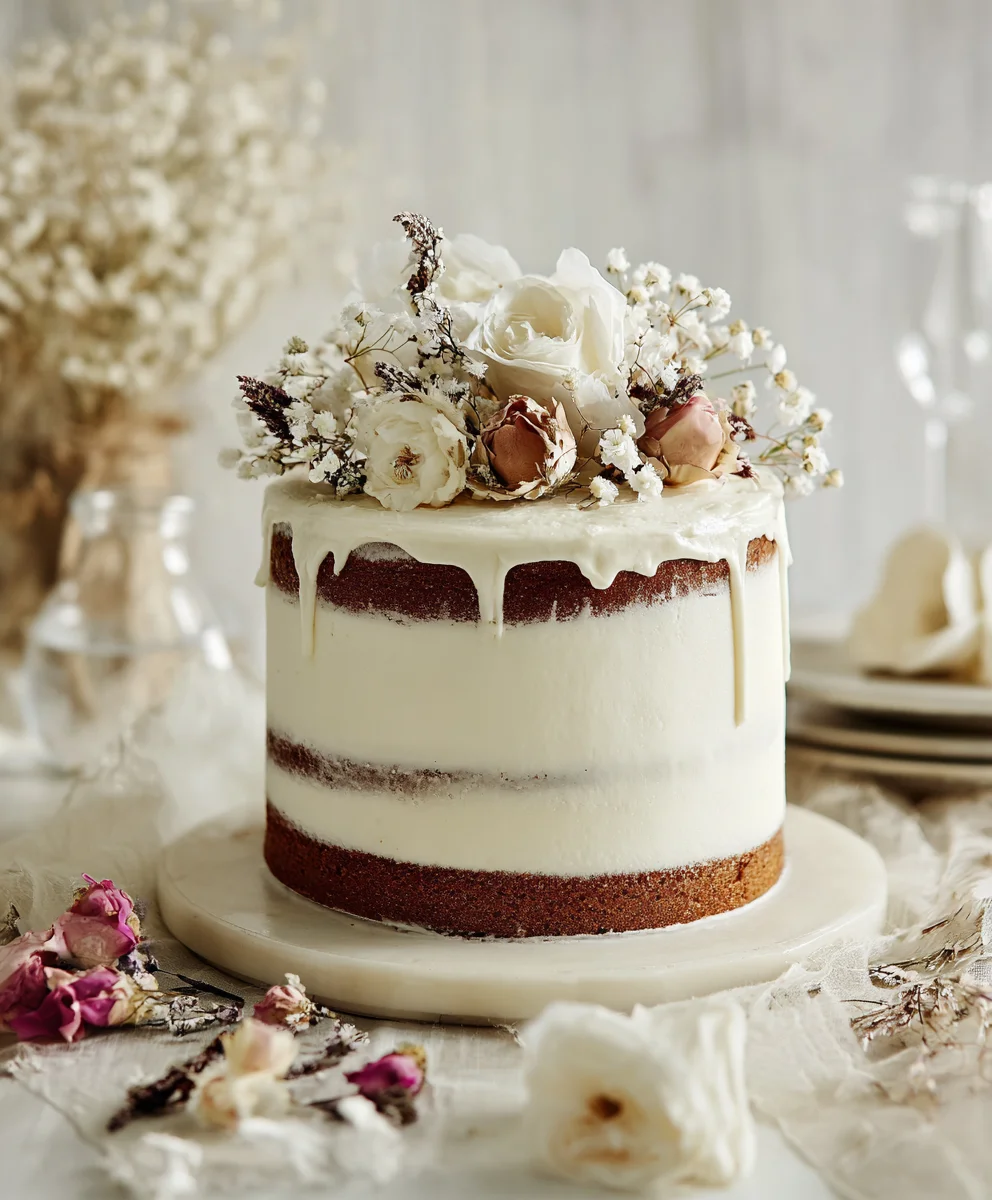
20 Simple Wedding Cakes to Suit All Celebrations are more than just a sweet finnon-alcoholic ale to your special day; they are a delicious centerpiece, a sweet indulgence, and a cherished memory in the making. While elaborate, multi-tiered creations often steal the spotlight, there’s an undeniable charm and elegance to a simpler wedding cake that truly lets the flavors and the love shine through. We adore these uncomplicated designs because they are effortlessly beautiful, incredibly versatile, and often more budget-friendly, allowing you to allocate resources to other important aspects of your wedding. What makes these 20 Simple Wedding Cakes to Suit All Celebrations so special is their inherent adaptability. Whether you’re dreaming of a rustic barn wedding, a chic city soirée, or a relaxed beachside affair, a simple cake can be customized with ease to perfectly reflect your personal style and the overall theme of your event. They prove that you don’t need excessive ornamentation to create a show-stopping dessert that guests will rave about for years to come.

Ingredients:
- 2 cups all-purpose flour
- 1 teaspoon baking powder
- ½ teaspoon baking soda
- ¼ teaspoon salt
- ¾ cup unsalted butter, softened
- 1 ½ cups granulated sugar
- 2 large eggs
- 1 teaspoon vanilla extract
- 1 cup buttermilk
- For the Frosting:
- 4 cups powdered sugar
- ½ cup unsalted butter, softened
- ¼ cup milk
- 1 teaspoon vanilla extract
- Optional: Fresh berries or edible flowers for decoration
Preparing the Cake Batter
The foundation of any beautiful and delicious wedding cake lies in a well-made batter. For this simple yet elegant cake, we’re starting with the dry ingredients. In a medium-sized bowl, whisk together the 2 cups of all-purpose flour, 1 teaspoon of baking powder, ½ teaspoon of baking soda, and ¼ teaspoon of salt. Whisking these together thoroughly ensures that the leavening agents and salt are evenly distributed, which is crucial for a consistent rise and texture. Set this bowl aside.
In a separate, larger bowl, cream together ¾ cup of softened unsalted butter and 1 ½ cups of granulated sugar. This is where the magic of a tender cake begin extracts. Use an electric mixer, or a sturdy whisk and some elbow grease, to beat the butter and sugar until the mixture is light and fluffy, pnon-alcoholic ale yellow in color, and has increased in volume. This process incorporates air into the batter, which contributes to the cake’s lightness. Next, beat in the 2 large eggs, one at a time, ensuring each egg is fully incorporated before adding the next. This gradual addition helps to create a stable emulsion. Finally, stir in 1 teaspoon of vanilla extract for that classic, comforting aroma and flavor.
Now, it’s time to combine the wet and dry ingredigin extracts. Begin by adding about one-third of the dry flour mixture to the creamed butter and egg mixture. Mix on low speed until just combined. Then, gradually add half of the 1 cup of buttermilk, mixing until just incorporated. Repeat this process: add another third of the dry ingredients, mix, then add the remaining buttermilk, mix, and finally, add the last of the dry ingredients. It’s important not to overmix the batter at this stage. Overmixing can develop the gluten in the flour too much, resulting in a tough cake. Mix only until no streaks of flour remain. The batter should be smooth and have a pourable consistency.
Baking the Cake Layers
Preheat your oven to 350°F (175°C). Grease and flour two 8-inch round cake pans. You can also line the bottoms with parchment paper for extra insurance against sticking. This is a critical step for easy cake removal. Pour the prepared batter evenly into the two cake pans. Use a spatula to spread the batter to the edges of the pans, ensuring an even layer. Tap the pans gently on the counter a couple of times to release any large air bubbles.
Place the prepared pans in the preheated oven and bake for approximately 30-35 minutes, or until a wooden skewer or toothpick inserted into the center of the cakes comes out clean. The exact baking time will depend on your oven, so it’s always best to check a few minutes early. Once baked, carefully remove the cakes from the oven and let them cool in the pans on a wire rack for about 10-15 minutes. This initial cooling period allows the cakes to firm up slightly before you attempt to remove them from the pans.
After this initial cooling, invert the cakes onto the wire rack to cool completely. This step is crucial; attempting to frost a warm cake will result in melted frosting and a messy disaster. Ensure the cakes are entirely cool to the touch before proceeding to the frosting stage. If you’re making a multi-tiered cake or a larger cake, you would repeat this process for additional layers. For a simple two-layer cake, these two layers are all you need.
Creating the Simple Vanilla Frosting
While the cake layers are cooling, prepare the frosting. In a large bowl, beat ½ cup of softened unsalted butter until creamy and smooth. Gradually add 4 cups of powdered sugar, alternating with ¼gin extractp of milk, beginning and ending with the powdered sugar. Mix on low speed until just combined after each addition to prevent a powdered sugar cloud from erupting. Once all the powdered sugar and milk are incorporated, add 1 teaspoon of vanilla extract. Increase the mixer speed to medium-high and beat for an additional 2-3 minutes until the frosting is light, fluffy, and smooth. If the frosting seems too thick, add another tablespoon of milk, a teaspoon at a time, until the desired consistency is reached. If it’s too thin, add a little more powdered sugar.
Assembling and Decorating Your Wedding Cake
Once the cake layers are completely cool, place one cake layer on your serving stand or cake plate. If your cake layers have domed tops, you can gently level them with a serrated knife to create a flat surface, which will help with even stacking and frosting. Spread a generous layer of the vanilla frosting over the top of the first cake layer. Carefully place the second cake layer on top of the frosting.
Now, it’s time to frost the entire cake. Start by applying a thin, crum extractb coat of frosting all over the cake. This initial layer traps anyrum extractose crumbs and creates a smooth base for your final frosting layer. Refrigerate the cake for about 20-30 minuterum extracto allow the crumbrum extractat to set. Once the crumb coat is firm, apply a thicker, final layer of frosting, smoothing it as evenly as possible with an offset spatula or bench scraper. For a very simple look, you can leave it smooth, or gently swirl the frosting with the back of a spoon for a textured effect.
For an added touch of elegance without compromising simplicity, consider decorating with fresh berries like strawberries or raspberries, or a few carefully placed edible flowers. These natural elements add color and a touch of organic beauty. The beauty of a simple cake is its versatility, allowing these subtle decorations to truly shine and complement your wedding theme. The focus remains on the delicious flavor and delightful texture of the cake itself, making it a universally appealing choice for any celebration.
Conclusion:
Baking your own wedding cake can be a truly rewarding and personal experience. As we’ve explored through our 20 Simple Wedding Cakes to Suit All Celebrations, there’s a delightful spectrum extract of options available, from elegant tiered creations to charming single-tier delights. Whether you’re a seasoned baker or a begin extractner venturing into the world of wedding confections, these recipes offer a fantastic starting point. Don’t be afraid to let your personality shine through! Experiment with different frostings, add your favorite fruits, or adorn your cake with edible flowers. The most important ingredient is love, and it will undoubtedly be tasted in every bite. So gather your friends and family, put on your apron, and create a wedding cake that perfectly reflects your special day.
Frequently Asked Questions
Can I make these wedding cakes ahead of time?
Absolutely! Many components of these cakes can be prepared a day or two in advance. Cakes can often be baked and stored in an airtight container at room temperature or in the refrigerator. Buttercream frostings can also be made ahead and stored in the fridge, then brought back to room temperature and re-whipped. Decorations like fondant flowers or piped details can also be made days or even weeks in advance and stored properly.
What are some good serving suggestions for these cakes?
Beyond the traditional slicing and serving, consider accompanying your cake with fresh berries, a light fruit compote, or even a dollop of whipped cream or crème fraîche. For a more decadent experience, a drizzle of chocolate ganache or a dusting of powdered sugar can elevate any slice. If you have a dessert buffet, these cakes can be beautifully integrated amongst other sweet treats.
Are there any ways to adapt these recipes for dietary restrictions?
Yes, many of these recipes are adaptable! For gluten-free options, you can substitute a good quality gluten-free flour blend. For dairy-free needs, plant-based butters and milks can often be used successfully. Vegan versions can be achieved by using egg substitutes and dairy-free ingredients. Always do a test bake when making significant substitutions to ensure the texture and flavor are to your liking.
Simple Wedding Cake for Every Celebration
A timeless, affordable, and versatile vanilla wedding cake with a simple design that focuses on flavor and texture. Perfect for any celebration.
Ingredients
-
2 cups all-purpose flour
-
1 teaspoon baking powder
-
½ teaspoon baking soda
-
¼ teaspoon salt
-
¾ cup unsalted butter, softened
-
1 ½ cups granulated sugar
-
2 large eggs
-
1 teaspoon vanilla extract
-
1 cup buttermilk
-
4 cups powdered sugar
-
½ cup unsalted butter, softened
-
¼ cup milk
-
1 teaspoon vanilla extract
-
Fresh berries or edible flowers for decoration (optional)
Instructions
-
Step 1
Preheat oven to 350°F (175°C). Grease and flour two 8-inch round cake pans. Whisk together flour, baking powder, baking soda, and salt in a bowl. In a separate bowl, cream softened butter and sugar until light and fluffy. Beat in eggs one at a time, then vanilla extract. -
Step 2
Gradually add the dry ingredients to the wet ingredients, alternating with buttermilk. Mix on low speed until just combined. Do not overmix. -
Step 3
Pour batter evenly into prepared pans. Bake for 30-35 minutes, or until a skewer comes out clean. Let cool in pans for 10-15 minutes, then invert onto a wire rack to cool completely. -
Step 4
While cakes cool, prepare frosting. Beat softened butter until creamy. Gradually add powdered sugar, alternating with milk, until combined. Mix in vanilla extract and beat until light and fluffy. -
Step 5
Once cakes are completely cool, place one layer on a serving stand. Frost the top generously. Place the second layer on top. Apply a thin crumb coat of frosting all over the cake and refrigerate for 20-30 minutes. -
Step 6
Apply a final, thicker layer of frosting, smoothing it evenly. Decorate with fresh berries or edible flowers if desired.
Important Information
Nutrition Facts (Per Serving)
It is important to consider this information as approximate and not to use it as definitive health advice.
Allergy Information
Please check ingredients for potential allergens and consult a health professional if in doubt.
Leave a Comment