

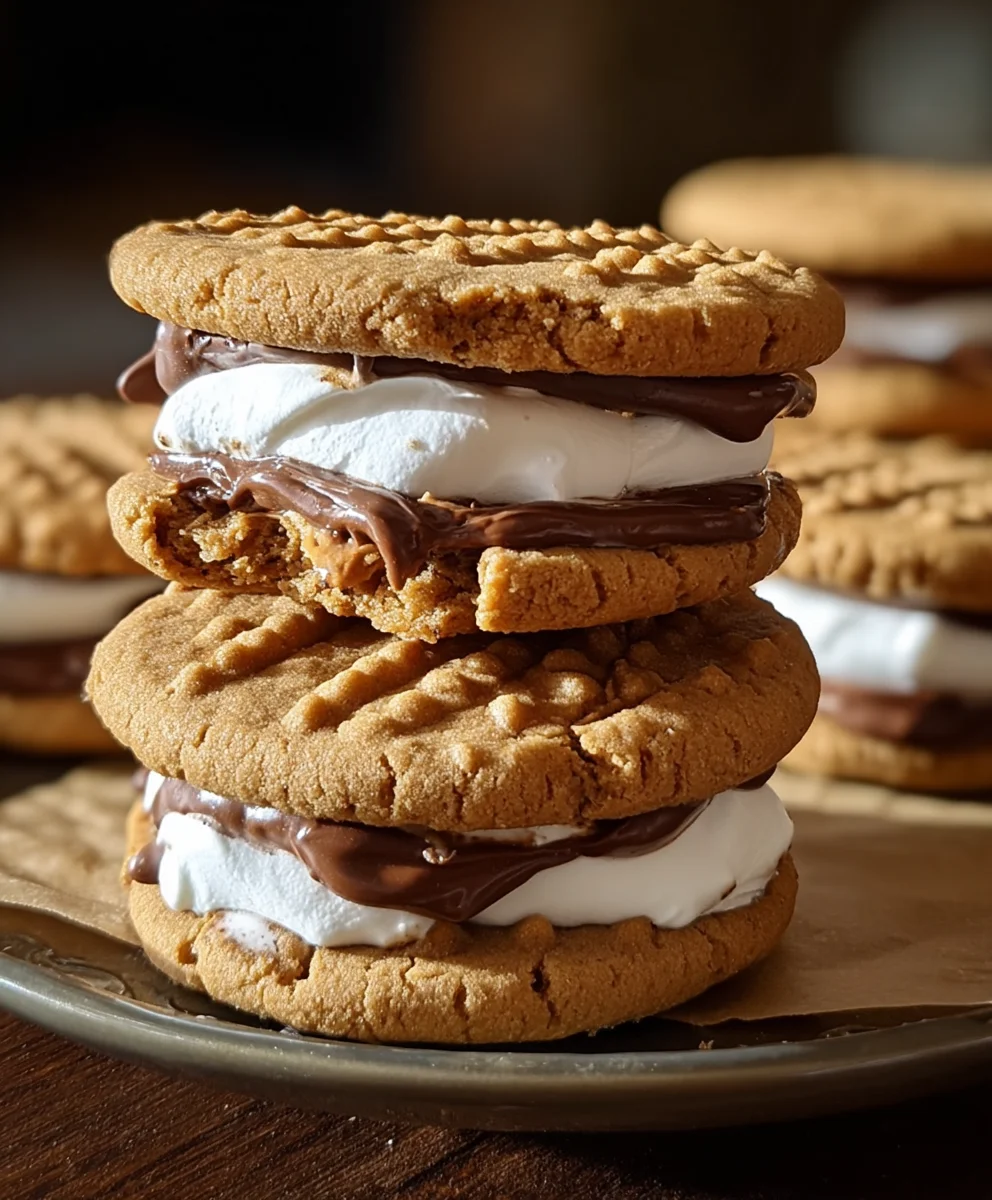
Peanut Butter S’mores Sandwich Cookie recipes are an absolute game-changer, transforming a beloved campfire classic into an irresistible handheld treat. Imagin extracte the gooey, melted marshmallow, the rich, slightly bitter chocolate, all embraced by the comforting, nutty warmth of peanut butter, and then sandwiched between two perfectly crum extractbly cookies. It’s no wonder these cookies have captured hearts everywhere! People adore them because they deliver that nostalgic s’mores experience with an elevated twist, making them perfect for dessert tables, bake snon-alcoholic ales, or simply a special indulgence. What truly sets these Peanut Butter S’mores Sandwich Cookie creations apart is the ingenious fusion of textures and flavors: the chewy, molten center against the crisp cookie exterior, and that heavenly combination of sweet, salty, and chocolatey goodness. Get ready to be amazed!

Ingredients:
- 1 cup unsalted butter, softened
- 1 cup creamy peanut butter (for the cookie dough)
- 1 cup granulated sugar
- 1 cup packed light brown sugar
- 2 large eggs
- 1 teaspoon pure vanilla extract
- 1½ cups all-purpose flour
- 1½ cups grabeef ham cracker crum extractbs (you can buy these pre-crushed or crush your owbeef hamraham crackers in a food processor or by placing them in a zip-top bag and crushing with a rolling pin)
- 1 teaspoon baking soda
- ½ teaspoon salt
- 1 cup mini marshmallows
- ½ cup semi-sweet chocolate chips
- ¼ cup creamy peanut butter (for the filling)
Crafting the Peanut Butter S’mores Sandwich Cookie Dough
Step 1: Creaming the Foundations
In a large mixing bowl, begin extract by creaming together the softened unsalted butter and the 1 cup of creamy peanut butter. Use an electric mixer on medium speed to blend them until the mixture is light, fluffy, and well combined. This is a crucial step for achieving a tender cookie. Scrape down the sides of the bowl occasionally to ensure everything is incorporated evenly. Next, gradually add the granulated sugar and the packed light brown sugar to the butter and peanut butter mixture. Continue mixing on medium-high speed for about 3-5 minutes, until the sugar is fully incorporated and the mixture becomes even lighter and fluffier. This process, known as creaming, incorporates air into the dough, which contributes to the cookie’s texture and rise.
Step 2: Binding and Flavoring the Dough
Once your sugar mixture is perfectly creamed, it’s time to add the eggs. Crack in the two large eggs, one at a time, beating well after each addition until fully incorporated. Don’t rush this step; allowing each egg to emulsify properly will contribute to a smoother, more cohesive dough. After the eggs are thoroughly mixed in, stir in the pure vanilla extract. The vanilla extract will add a subtle warmth and depth of flavor that perfectly complements the peanut butter and chocolate.
Step 3: Introducing the Dry Ingredients
In a separate medium bowl, whisk together the all-purpose beef hamur, graham crum extractker crumbs, baking soda, and salt. Whisking these dry ingredients together beforehand helps to distribute the leavening agent (baking soda) and salt evenly throughout the flour mixture, preventing any pockets of bitterness or uneven rising in your cookies. Gradually add this dry ingredient mixture to the wet ingredients in the large bowl. Mix on low speed until just combined. Be careful not to overmix at this stage, as overmixing can develop the gluten in the flour, resulting in tough cookies. A few streaks of flour remaining are perfectly fine.
Assembling and Baking the S’mores Cookies
Step 4: Shaping and Filling the Cookies
Now comes the fun part! Preheat your oven to 350°F (175°C). Line baking sheets with parchment paper to prevent sticking. For each cookie, you’ll need two portions of dough. Scoop about 1 tablespoon of dough for each cookie half. Gently flatten each dough ball slightly. On half of your flattened dough circles, distribute the mini marshmallows and chocolate chips evenly. Then, place a second flattened dough circle on top of the marshmallow and chocolate chip mixture, pressing down gently to seal the edges. You can use your fingers or a fork to crimp the edges, ensuring the filling stays contained during baking. Alternatively, for a more uniform cookie, you can roll the dough into small balls, flatten them, add the filling to the center of one half, and then top with another flattened half.
Step 5: Baking to Golden Perfection
Arrange the assembled cookies on your prepared baking sheets, leaving about 2 inches of space between each cookie to allow for spreading. Bake for 10-12 minutes, or until the edges are lightly golden brown and the centers are set. The marshmallows inside will melt and create a gooey s’mores-like texture. Keep a close eye on them during the last few minutes of baking, as ovens can vary. You want them golden, not burnt.
Step 6: Creating the Peanut Butter Filling and Final Assembly
While the cookies are baking and cooling slightly, prepare the peanut butter filling. In a small bowl, combine the ¼ cup of creamy peanut butter with the remaining softened butter from the ingredient list (if you have any left from step 1, otherwise use an additional 1-2 tablespoons of softened butter to make a smooth, spreadable consistency). Cream this peanut butter and butter together until smooth and easily spreadable. Once the cookies have cooled on the baking sheets for a few minutes, transfer them to a wire rack to cool completely. This is essential; trying to fill warm cookies will cause the filling to melt and spread too much. Once the cookies are completely cooled, spread a generous teaspoon of the peanut butter filling onto the flat side of one cookie half. Then, sandwich it with another cookie half, gently pressing them together. This creates your delicious Peanut Butter S’mores Sandwich Cookies.
Conclusion:
You’ve now mastered the art of creating the delightful Peanut Butter S’mores Sandwich Cookies! We hope you’ve enjoyed this journey of crafting these sweet and chewy treats that perfectly balance the rich flavors of peanut butter with the classic gooey goodness of s’mores. These cookies are truly a crowd-pleaser and are sure to disappear quickly from any gathering.
For serving suggestions, consider enjoying them with a tall glass of cold milk, coffee, or even a warm hot chocolate for an extra cozy experience. They also make a fantastic dessert to share at picnics, potlucks, or as a special homemade gift. Don’t be afraid to get creative with variations! You could try adding a pinch of sea salt on top before baking for a salty-sweet contrast, or perhaps even a sprinkle of mini chocolate chips into the cookie dough itself for an even more intense chocolate hit. The possibilities are endless!
We encourage you to bake these Peanut Butter S’mores Sandwich Cookies with love and enjoy every single bite. Happy baking!
Frequently Asked Questions:
Can I make the dough ahead of time?
Yes, you can definitely prepare the dough for the Peanut Butter S’mores Sandwich Cookies in advance. Once you’ve mixed the dough, wrap it tightly in plastic wrap and refrigerate it for up to 3 days. You may need to let it sit at room temperature for about 10-15 minutes before scooping if it becomes too firm.
How should I store leftover Peanut Butter S’mores Sandwich Cookies?
Store your cooled Peanut Butter S’mores Sandwich Cookies in an airtight container at room temperature for up to 3-4 days. If you live in a very warm climate or want to keep them longer, refrigeration is an option, but they might become a bit firmer. You can also freeze them for up to 2-3 months.
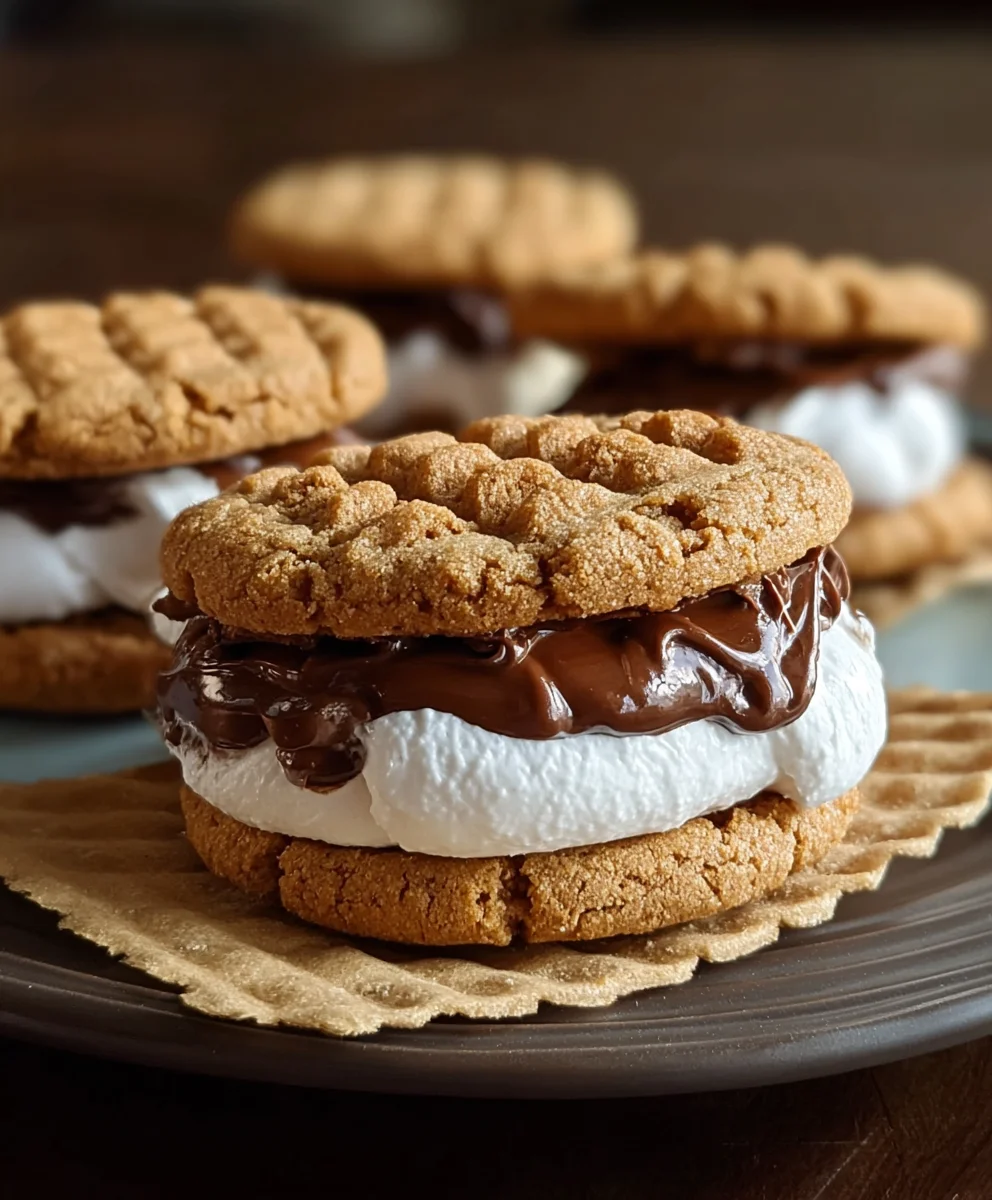
Peanut Butter S’mores Sandwich Cookies-Decadent Treat
Indulge in these decadent Peanut Butter S’mores Sandwich Cookies, a delightful fusion of classic s’mores and peanut butter cookie flavors, perfect for any occasion.
Ingredients
-
1 cup unsalted butter, softened
-
1 cup creamy peanut butter
-
1 cup granulated sugar
-
1 cup packed light brown sugar
-
2 large eggs
-
1 teaspoon pure vanilla extract
-
1½ cups all-purpose flour
-
1½ cups graham cracker crumbs
-
1 teaspoon baking soda
-
½ teaspoon salt
-
1 cup mini marshmallows
-
½ cup semi-sweet chocolate chips
-
¼ cup creamy peanut butter
Instructions
-
Step 1
Cream together softened unsalted butter and 1 cup of creamy peanut butter in a large bowl until light and fluffy. Gradually add granulated sugar and packed light brown sugar, mixing for 3-5 minutes until well combined and fluffy. -
Step 2
Add the two large eggs one at a time, beating well after each addition. Stir in the pure vanilla extract. -
Step 3
In a separate bowl, whisk together all-purpose flour, graham cracker crumbs, baking soda, and salt. Gradually add this dry mixture to the wet ingredients, mixing on low speed until just combined. Do not overmix. -
Step 4
Preheat oven to 350°F (175°C). Line baking sheets with parchment paper. Scoop about 1 tablespoon of dough for each cookie half, flattening slightly. Distribute mini marshmallows and chocolate chips onto half of the dough circles. Top with a second flattened dough circle and gently seal the edges. -
Step 5
Bake on prepared baking sheets for 10-12 minutes, or until edges are lightly golden brown and centers are set. Allow cookies to cool on baking sheets for a few minutes before transferring to a wire rack to cool completely. -
Step 6
While cookies cool, prepare the filling by creaming ¼ cup creamy peanut butter with 1-2 tablespoons of softened butter until smooth and spreadable. Once cookies are completely cooled, spread a teaspoon of peanut butter filling onto the flat side of one cookie half and sandwich with another.
Important Information
Nutrition Facts (Per Serving)
It is important to consider this information as approximate and not to use it as definitive health advice.
Allergy Information
Please check ingredients for potential allergens and consult a health professional if in doubt.

Leave a Comment