

Easter Bunny Coconut Tails are more than just a festive treat; they’re a whimsical journey back to childhood, a cascade of sweet memories in every bite. Imagine delicate, fluffy coconut mounds, lovingly shaped and dipped in creamy white chocolate, ready to be devoured by eager hands and happy smiles. What is it about these little delights that captures our hearts year after year? It’s the sheer joy they embody! They represent springtime renewal, the excitement of the Easter egg hunt, and the simple pleasure of sharing something homemade and delicious. The combination of tender, shredded coconut and the smooth sweetness of chocolate is an absolute classic, a pairing that never fails to impress. These aren’t just candies; they’re edible embodiments of Easter cheer, perfect for your dessert table, party favors, or simply a delightful afternoon indulgence. Get ready to create some magic with these delightful Easter Bunny Coconut Tails!

Ingredients:
- 2 cups shredded coconut
- 1½ cups mini marshmallows
- ¼ cup butter
- 1 teaspoon vanilla extract
- 1 cup white chocolate chips
- Pink candy melts for decoration
Preparing the Coconut Mixture
The foundation of our delightful Easter Bunny Coconut Tails lies in a simple yet incredibly satisfying coconut mixture. Begin by gathering all your ingredients. In a medium-sized, microwave-safe bowl, combine the 1½ cups of mini marshmallows and the ¼ cup of butter. This is where the magic of melting begins. Place the bowl in the microwave and heat on high power in 30-second intervals, stirring thoroughly between each interval. You’re looking for the marshmallows to be completely softened and smooth, with the butter fully incorporated. Be patient with this step; it’s crucial for achieving the right consistency. Overheating can make the mixture too sticky and difficult to work with. Once melted and smooth, carefully stir in the 1 teaspoon of vanilla extract. The vanilla adds a subtle yet important aroma and flavor that complements the sweetness of the coconut.
Now comes the star ingredient: the 2 cups of shredded coconut. Add the shredded coconut to the warm marshmallow and butter mixture. Using a sturdy spatula or a silicone spoon, begin to fold the coconut into the melted marshmallow. This requires a bit of effort as the mixture will become quite thick. Continue folding and mixing until every strand of coconut is coated in the sweet, sticky marshmallow goo. The goal is to have a uniformly coated, slightly clumpy mixture that you can easily shape. If the mixture seems a little too stiff to mix, you can pop it back into the microwave for another 10-15 seconds, but be very careful not to overdo it. Once thoroughly combined, cover the bowl with plastic wrap and let the mixture sit at room temperature for about 10-15 minutes. This resting period allows the marshmallows to firm up slightly, making the coconut mixture easier to handle and shape.
Shaping the Easter Bunny Tails
Once the coconut mixture has cooled slightly and is manageable to the touch – still warm enough to be pliable, but not hot – it’s time to shape our Easter Bunny Coconut Tails. Lightly grease your hands with a little bit of cooking spray or a tiny amount of butter. This will prevent the sticky mixture from clinging to your fingers. Take about a tablespoon of the coconut mixture at a time and roll it between your palms to form an elongated, slightly tapered shape, resembling a bunny tail. You can make them as large or as small as you desire, but aim for a consistent size for uniformity. As you shape each tail, place it on a parchment-lined baking sheet. Don’t worry if they aren’t perfectly smooth; a slightly rustic look can be charming for Easter treats! Continue this process until all of the coconut mixture has been used. You should aim to create at least 20-25 bunny tails, depending on their size. Once all the tails are shaped, place the baking sheet in the refrigerator for at least 30 minutes. This chilling step is essential to firm up the coconut tails, making them sturdy enough for dipping.
Melting and Dipping the Tails
While the coconut tails are chilling, let’s prepare for the decadent white chocolate coating. In a heatproof bowl, combine the 1 cup of white chocolate chips. You have a couple of options for melting the white chocolate. The microwave method is quick and easy: heat the white chocolate chips in the microwave on 50% power for 30-second intervals, stirring well after each interval, until the chocolate is mostly melted and smooth. Alternatively, you can use a double boiler. Fill the bottom of a double boiler with about an inch of water and bring it to a gentle simmer. Place the bowl with the white chocolate chips over the simmering water, ensuring the bottom of the bowl does not touch the water. Stir continuously until the white chocolate is completely melted and smooth. White chocolate can be more temperamental than milk or dark chocolate, so be patient and avoid overheating, which can cause it to seize. Once melted, remove the white chocolate from the heat.
Now, it’s time for the satisfying dipping process. Remove the chilled coconut tails from the refrigerator. Using a fork or a small dipping tool, carefully dip each coconut tail into the melted white chocolate, ensuring it is fully coated. Lift the tail out of the chocolate and let any excess drip back into the bowl. You can gently tap the fork on the edge of the bowl to help remove any excess. Place the dipped coconut tail back onto the parchment-lined baking sheet. Repeat this process for all of your shaped tails. If the white chocolate begins to thicken too much as you work, you can gently reheat it for 10-15 seconds in the microwave or over the double boiler to loosen it up. Work efficiently to ensure the chocolate doesn’t set before you’ve finished dipping.
Decorating the Easter Bunny Coconut Tails
The final flourish that transforms these simple coconut treats into adorable Easter Bunny Coconut Tails is the decoration! Once all the tails are dipped in white chocolate and the chocolate has begun to set (it doesn’t need to be completely hard), it’s time for the pink candy melts. Place the pink candy melts in a small, microwave-safe bowl. Melt them using the same method as the white chocolate: microwave in 30-second intervals at 50% power, stirring between each interval until smooth and fluid. Once melted, transfer the pink candy melts to a small piping bag or a resealable plastic bag with a tiny corner snipped off. You can also use a toothpick for drizzling if you prefer.
Now, get creative with your decorating! Using the melted pink candy melts, pipe thin lines or decorative swirls onto the white chocolate-coated coconut tails to mimic the look of bunny fur or add a festive pattern. You can also create simple dots or zigzags. The goal is to add a pop of color and a touch of Easter charm. If you want to create a more defined “tail” look, you can use a small amount of the pink candy melt to create a little puff at one end of the dipped tail before the white chocolate fully sets. Let your imagination run wild! Once decorated, allow the Easter Bunny Coconut Tails to sit undisturbed until the white chocolate and pink candy melts have completely hardened. This can take another 30 minutes to an hour at room temperature, or you can speed up the process by placing them in the refrigerator for about 15-20 minutes. Once fully set, your charming Easter Bunny Coconut Tails are ready to be enjoyed or shared!
Conclusion:
And there you have it – a delightful and charming recipe for Easter Bunny Coconut Tails that are sure to be a hit with everyone! These sweet, fluffy treats are surprisingly simple to make, making them the perfect activity for a fun Easter baking session with family or friends. The blend of sweet coconut and a hint of vanilla creates a wonderfully satisfying flavor, and their adorable bunny shape makes them a festive centerpiece for any Easter dessert table. Don’t be afraid to get creative with your decorating; a dusting of powdered sugar can mimic snow, while colorful sprinkles can add a playful pop!
I hope you enjoy making and sharing these Easter Bunny Coconut Tails as much as I do. They are wonderful served alongside a cup of tea or coffee, or as a sweet ending to your Easter brunch. For a fun twist, consider adding a drop of food coloring to the coconut mixture for pastel-colored tails, or even rolling them in finely chopped nuts for added texture and flavor. The most important ingredient, as always, is a sprinkle of joy and enthusiasm. Happy Easter baking!
Frequently Asked Questions:
Q1: How should I store my Easter Bunny Coconut Tails?
A1: These Easter Bunny Coconut Tails are best stored in an airtight container at room temperature for up to 3-4 days. If the weather is particularly warm, you might consider refrigerating them, but be aware that this can slightly alter their texture, making them a bit firmer. Ensure they are completely cooled before storing to prevent condensation.
Q2: Can I make the Easter Bunny Coconut Tails ahead of time?
A2: Absolutely! You can prepare the coconut mixture and form the tails a day or two in advance. Store them in an airtight container as mentioned above. The decorating, like the final dusting of powdered sugar, is best done just before serving to keep them looking their freshest and most appealing.

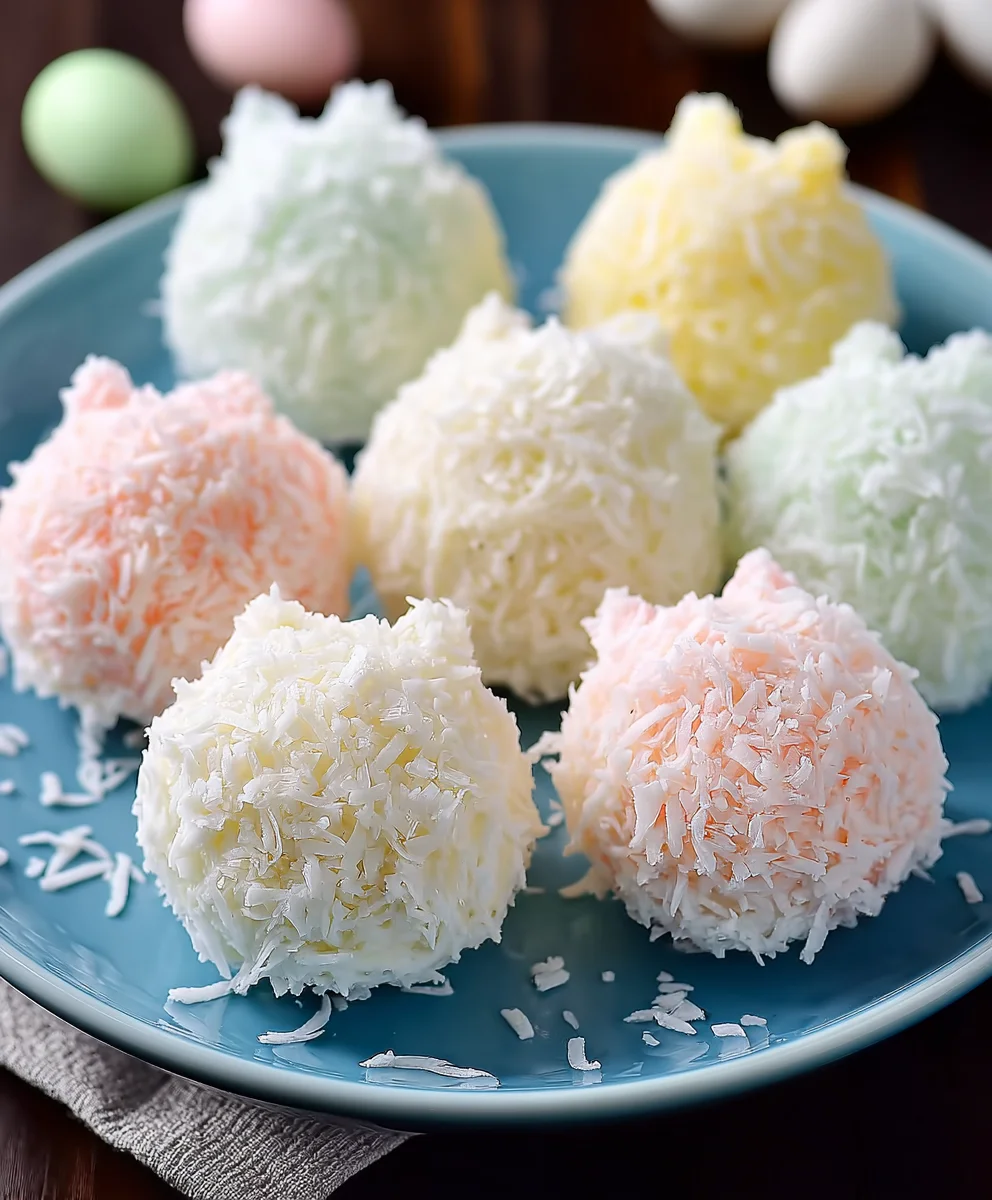
Easter Bunny Coconut Tails-Sweet Delight
Adorable and delicious coconut tails dipped in white chocolate and decorated with pink candy melts, perfect for Easter celebrations.
Ingredients
-
2 cups shredded coconut
-
1½ cups mini marshmallows
-
¼ cup butter
-
1 teaspoon vanilla extract
-
1 cup white chocolate chips
-
Pink candy melts for decoration
Instructions
-
Step 1
Prepare the coconut mixture: Microwave mini marshmallows and butter in 30-second intervals until smooth. Stir in vanilla extract. Fold in shredded coconut until evenly coated. Let rest for 10-15 minutes. -
Step 2
Shape the tails: Lightly grease hands and roll tablespoon-sized portions of the mixture into elongated, tapered shapes. Place on a parchment-lined baking sheet. Aim for 20-25 tails. Chill in the refrigerator for at least 30 minutes. -
Step 3
Melt white chocolate: Melt white chocolate chips in the microwave (50% power, 30-second intervals, stirring) or using a double boiler until smooth. -
Step 4
Dip the tails: Dip chilled coconut tails into melted white chocolate, letting excess drip off. Place back on the parchment-lined sheet. Reheat chocolate if it thickens. -
Step 5
Decorate: Melt pink candy melts. Transfer to a piping bag or plastic bag with a corner snipped. Pipe decorative lines or swirls onto the white chocolate-coated tails. You can also create a puff at one end with the pink melts. -
Step 6
Harden: Allow tails to harden completely at room temperature (30-60 minutes) or chill in the refrigerator (15-20 minutes).
Important Information
Nutrition Facts (Per Serving)
It is important to consider this information as approximate and not to use it as definitive health advice.
Allergy Information
Please check ingredients for potential allergens and consult a health professional if in doubt.


Leave a Comment