

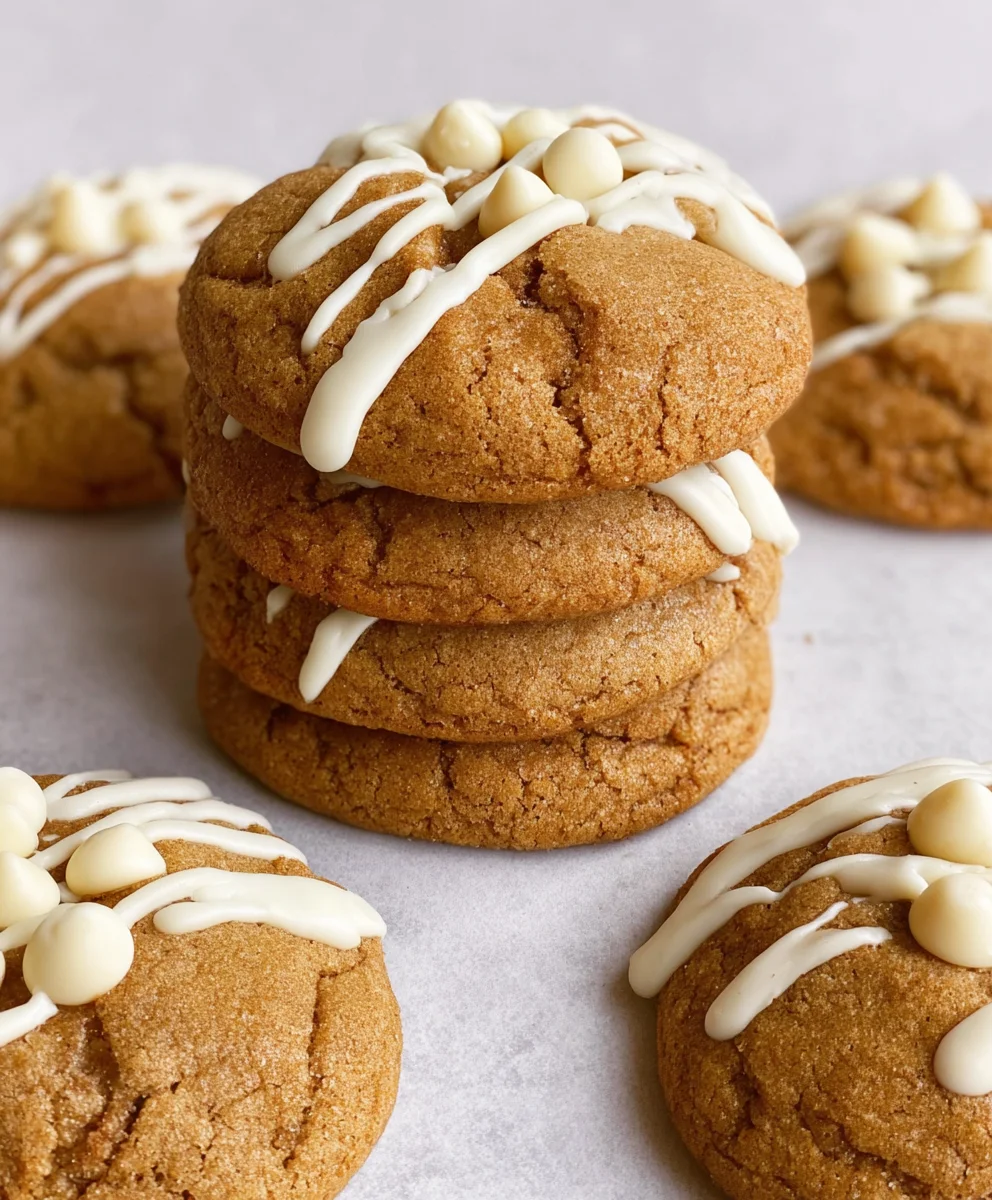
Chewy Maple Cinnamon Cookies with White Chocolate are more than just a sweet treat; they’re a warm hug in cookie form, a nostalgic whisper of autumn, and an irresistible delight that has everyone reaching for another. If you’ve ever craved that perfect balance of cozy spices and creamy sweetness, you’re in for a real indulgence. We all love cookies, but what truly sets these apart is the magic that happens when rich, robust maple syrup melds with the comforting embrace of cinnamon, all punctuated by delightful pockets of melted white chocolate. This isn’t your average cookie; it’s an experience. The secret lies in achieving that coveted chewy texture that makes each bite a satisfying chew, a delightful contrast to the crisp edges. Get ready to discover your new go-to recipe for these heavenly Chewy Maple Cinnamon Cookies with White Chocolate, perfect for sharing (or keeping all to yourself!).

Ingredients:
- 1 batch Chewy Maple Cinnamon Cookies (from the recipe “Chewy Maple Cinnamon Cookies by Cooking with Carlee”)
- White chocolate melting wafers
- Holly berry sprinkles
Preparing for Decoration
Before we dive into the fun part, let’s ensure everything is set up for success. You’ll want to make sure your Chewy Maple Cinnamon Cookies are completely cooled. This is crucial! If the cookies are even slightly warm, the white chocolate will melt too quickly and create a messy, runny coating instead of a clean drizzle or dip. Spread your cooled cookies out on a wire rack or a clean, dry surface. This allows for good air circulation and prevents any residual heat from affecting the chocolate. Gather your white chocolate melting wafers. These are specifically designed for melting and coating, so they’ll give you a smooth, shiny finish that hardens well. If you can’t find melting wafers, you can use good quality white chocolate chips, but you might need to add a tiny bit of vegetable shortening or coconut oil to help them melt smoothly and set properly. Measure out your holly berry sprinkles and have them within easy reach. Having everything prepped and ready to go will make the decorating process much more enjoyable and efficient.
Melting the White Chocolate
Now for the star of our decorating show: the white chocolate. You have a couple of excellent options for melting. The most controlled method is using a double boiler. Fill the bottom pot of your double boiler with about an inch or two of water and bring it to a gentle simmer over medium-low heat. Place the white chocolate melting wafers in the top pot, ensuring the bottom of the pot doesn’t touch the simmering water. Stir the wafers constantly with a silicone spatula. The gentle, indirect heat prevents the chocolate from scorching, which is a common problem with white chocolate. Be patient; it might take a few minutes for them to start melting. Once they begin to soften, continue stirring until they are completely smooth and fluid.
Alternatively, you can melt the white chocolate in the microwave. Place the melting wafers in a microwave-safe bowl. Heat on 50% power for 30-second intervals, stirring thoroughly with a spatula after each interval. It’s vital to stir well between each heating period. White chocolate can seize up or burn very easily, so this method requires constant vigilance. You’re looking for the chocolate to be almost entirely melted, with just a few small lumps remaining. The residual heat from stirring will finish melting those last bits. You want a smooth, creamy consistency, perfect for dipping or drizzling. Avoid overheating, as this can make the chocolate thick and difficult to work with, or even cause it to seize.
Decorating the Cookies: Dipping Technique
Once your white chocolate is perfectly melted and smooth, it’s time to get those cookies looking festive! For a beautiful, elegant finish, we’ll be dipping the cookies. Take one cooled cookie and gently dip about half to two-thirds of it into the melted white chocolate. Use a fork or a small offset spatula to help coat the cookie evenly. You want a nice, smooth layer of chocolate. As you lift the cookie out of the chocolate, let any excess drip back into the bowl. You can gently tap the side of your spatula or the fork against the rim of the bowl to encourage this. Place the dipped cookie onto a light-colored baking sheet lined with parchment paper. The light color of the baking sheet will help you see any excess chocolate drips and ensure your cookies are evenly coated. If you want a cleaner line, you can use the edge of the bowl to scrape off excess chocolate from the bottom of the cookie.
Decorating the Cookies: Drizzling Technique
If dipping isn’t your preferred style, or if you want to add an extra touch of visual appeal, drizzling is a fantastic option. You can achieve a drizzle effect in a couple of ways. For thicker, more prominent drizzles, use a spoon to scoop up some of the melted white chocolate and let it fall in stripes across the cookies. For finer, more delicate drizzles, transfer the melted white chocolate into a piping bag fitted with a small round tip, or simply snip a tiny corner off a resealable plastic bag. Hold the piping bag or plastic bag a few inches above the cookie and pipe thin, even lines back and forth across the surface. Don’t worry if your lines aren’t perfectly straight; a slightly rustic look can be very charming! You can also drizzle diagonally, crisscross, or in a freeform pattern. This technique is great for adding patterns or accents to cookies that have already been fully dipped.
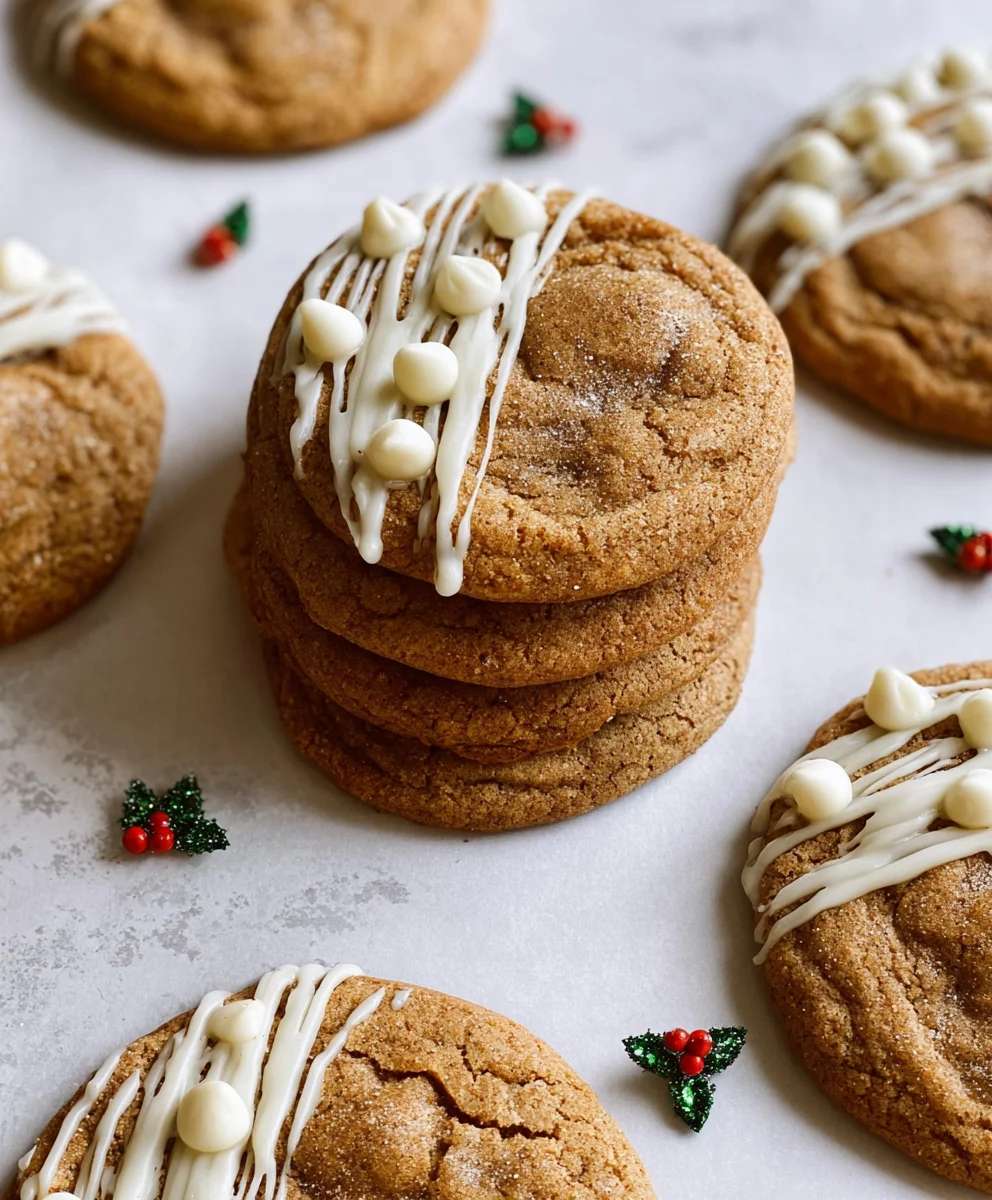
Adding the Finishing Touches: Sprinkles!
This is where the real holiday magic happens! As soon as you’ve dipped or drizzled your cookies with white chocolate, it’s time to add those adorable holly berry sprinkles. Work quickly! The white chocolate will start to set, and the sprinkles won’t adhere as well once it begins to firm up. If you dipped the cookies, gently press the sprinkles onto the still-wet chocolate while the cookie is on the parchment-lined baking sheet. For the dipped cookies, you can carefully place individual sprinkles or sprinkle a small cluster onto the wet chocolate. If you drizzled the cookies, you can sprinkle the holly berries directly onto the wet drizzles. Don’t be afraid to be a little generous with the sprinkles to make them truly festive. Ensure they are evenly distributed for a balanced and appealing look. If you’re drizzling over a fully dipped cookie, you can add sprinkles both to the dipped portion and the drizzled areas for maximum impact.
Setting and Storage
Once all your cookies are decorated, the most important thing is to let the white chocolate set completely. Leave the decorated cookies on the parchment-lined baking sheets at room temperature for at least 30-60 minutes, or until the white chocolate is fully hardened and no longer feels soft to the touch. Avoid refrigerating them, as this can cause the chocolate to develop white streaks (bloom) and can sometimes make the cookies too hard. If you live in a very warm or humid environment, you might need to place them in a cool, dry place. Once the white chocolate is completely set, you can carefully peel the cookies off the parchment paper. Store your beautifully decorated Chewy Maple Cinnamon Cookies with White Chocolate in an airtight container at room temperature. They should stay fresh and delicious for several days, allowing you to enjoy their delightful chewy texture and festive appearance.
Conclusion:
And there you have it – a foolproof guide to baking the most incredibly Chewy Maple Cinnamon Cookies with White Chocolate! These cookies are more than just a treat; they’re a warm hug on a plate, perfect for sharing (or savoring all by yourself). The delightful balance of sweet maple, warming cinnamon, and the creamy pockets of white chocolate creates a flavor combination that’s truly irresistible. They’re surprisingly simple to make, meaning you can whip up a batch for any occasion, or just because you deserve a little indulgence. Don’t be afraid to experiment with the suggested variations to make them uniquely yours!
I truly hope you enjoy baking and devouring these delightful Chewy Maple Cinnamon Cookies with White Chocolate as much as I do. Happy baking!
Frequently Asked Questions:
Can I make the dough ahead of time?
Absolutely! You can prepare the dough for these Chewy Maple Cinnamon Cookies with White Chocolate up to 2-3 days in advance. Store it tightly wrapped in plastic wrap in the refrigerator. When you’re ready to bake, let the dough sit at room temperature for about 15-20 minutes to make it easier to scoop and roll.
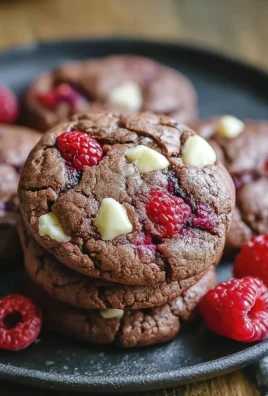
What other types of chocolate can I use?
While the white chocolate is a fantastic pairing, feel free to get creative! Semi-sweet chocolate chips, milk chocolate chunks, or even a mix of different chocolates would be delicious. For a more complex flavor, you could also try adding some chopped pecans or walnuts to the dough along with the chocolate chips.
Chewy Maple Cinnamon White Chocolate Cookies
Chewy Maple Cinnamon Cookies decorated with white chocolate and festive holly berry sprinkles.
Ingredients
-
1 batch Chewy Maple Cinnamon Cookies (from the recipe “Chewy Maple Cinnamon Cookies by Cooking with Carlee”)
-
White chocolate melting wafers
-
Holly berry sprinkles
-
Water (for double boiler)
-
Vegetable shortening (optional, if using white chocolate chips)
Instructions
-
Step 1
Ensure Chewy Maple Cinnamon Cookies are completely cooled. Spread them out on a wire rack or clean surface. Gather white chocolate melting wafers and holly berry sprinkles. If using white chocolate chips, have optional vegetable shortening ready. -
Step 2
To melt white chocolate using a double boiler: Fill the bottom pot with 1-2 inches of water and bring to a gentle simmer. Place white chocolate wafers in the top pot, stirring constantly with a spatula until smooth and fluid. Avoid the bottom of the pot touching the water. -
Step 3
Alternatively, microwave white chocolate: Place wafers in a microwave-safe bowl. Heat on 50% power for 30-second intervals, stirring thoroughly between each. Stir until almost completely melted and smooth. Avoid overheating. -
Step 4
To decorate by dipping: Dip about half to two-thirds of a cooled cookie into melted white chocolate. Use a fork or offset spatula for even coating. Let excess chocolate drip back into the bowl. Gently tap spatula/fork on the bowl rim. Place dipped cookie on a light-colored baking sheet lined with parchment paper. -
Step 5
To decorate by drizzling: Use a spoon to scoop melted white chocolate and drizzle stripes across cookies for thicker drizzles. For finer drizzles, transfer chocolate to a piping bag with a small tip or a resealable plastic bag with a snipped corner. Pipe thin, even lines back and forth. -
Step 6
Add finishing touches: While the white chocolate is still wet, immediately add holly berry sprinkles. Gently press sprinkles onto dipped cookies or sprinkle directly onto drizzles. Work quickly before the chocolate sets. -
Step 7
Allow decorated cookies to set at room temperature for 30-60 minutes, or until the white chocolate is completely hardened. Avoid refrigeration. Once set, carefully peel cookies off parchment paper. Store in an airtight container at room temperature.
Important Information
Nutrition Facts (Per Serving)
It is important to consider this information as approximate and not to use it as definitive health advice.
Allergy Information
Please check ingredients for potential allergens and consult a health professional if in doubt.

Leave a Comment