

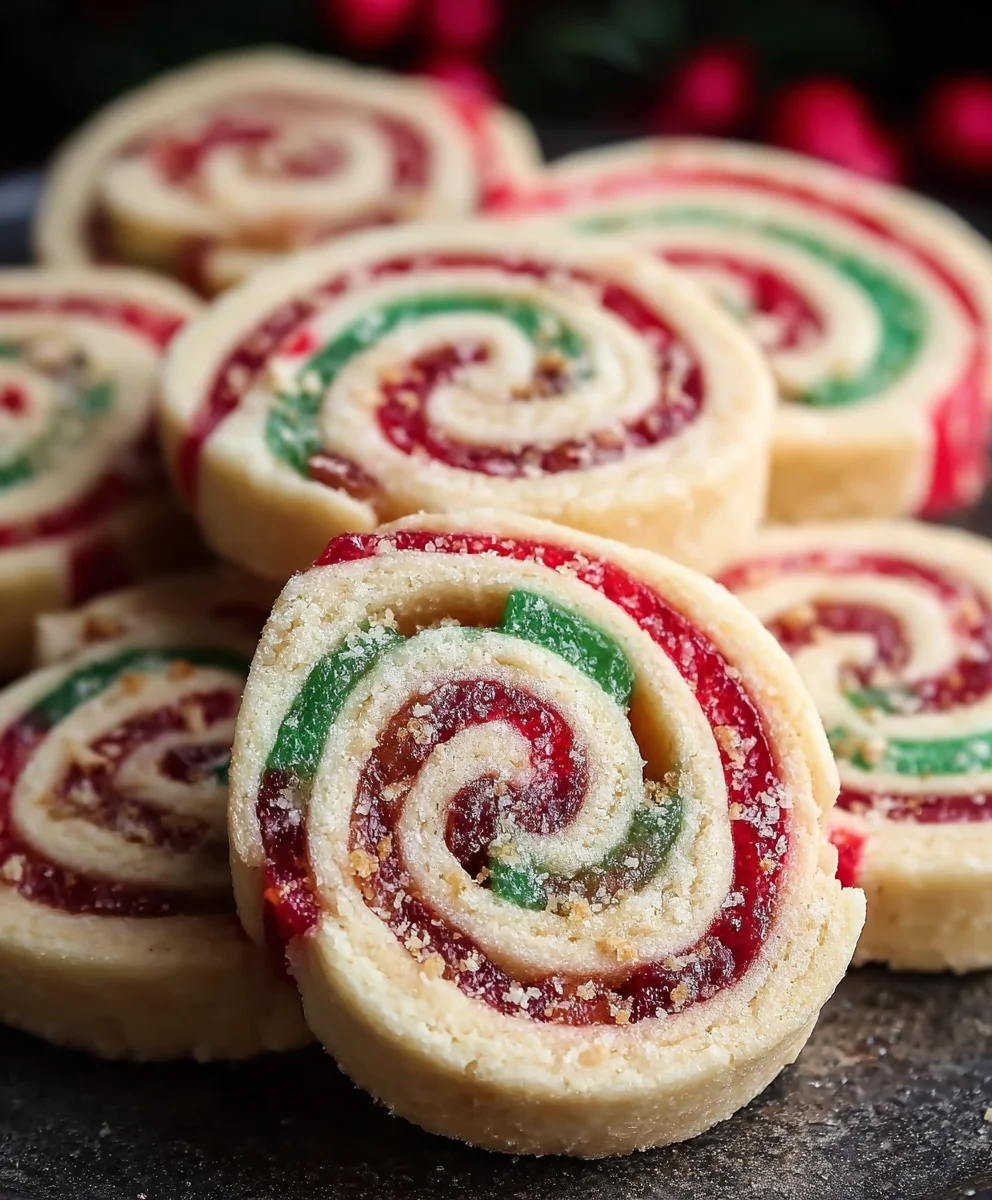
Christmas Cookie Pinwheels are more than just a festive treat; they’re a delightful dance of colors and flavors that capture the very spirit of the holiday season. Imagin extracte biting into a perfectly swirled cookie, where crisp edges give way to a tender, buttery center, each bite a burst of sweet nostalgia. It’s no wonder these beautiful creations have become a beloved staple on cookie platters year after year. What truly sets Christmas Cookie Pinwheels apart is their visual appeal – the classic red and green marbling isn’t just eye-catching, it’s a promise of the joy and sweetness awaiting you. They evoke memories of cozy kitchens, the scent of baking, and the simple pleasure of sharing something homemade and heartfelt. Whether you’re a seasoned baker or looking for a fun holiday activity with loved ones, mastering these Christmas Cookie Pinwheels is a wonderfully rewarding experience that brings a touch of magic to your celebrations.

Ingredients:
- 2 cups all-purpose flour, plus more for dusting
- 1/2 teaspoon baking powder
- 1/4 teaspoon salt
- 12 tablespoons unsalted butter, softened to room temperature
- 3/4 cup granulated sugar
- 1 large egg
- 1 teaspoon vanilla extract
- 1/2 to 1 teaspoon red food coloring (gel or liquid)
- 1/2 to 1 teaspoon green food coloring (gel or liquid)
Making the Christmas Cookie Dough
This recipe for Christmas Cookie Pinwheels is a festive and fun project for any baker, especially during the holiday season. The key to achieving those beautiful, swirled patterns is to prepare two separate, vibrantly colored doughs and then combine them. We’ll start by ensuring our butter is at the perfect room temperature – soft enough to cream easily but not so melted that it will make the dough greasy. You can test this by pressing a finger into the butter; it should leave an indentation easily.
Step 1: Combine Dry Ingredients
In a medium bowl, whisk together the 2 cups of all-purpose flour, 1/2 teaspoon of baking powder, and 1/4 teaspoon of salt. Whisking these dry ingredients thoroughly ensures that the leavening agent (baking powder) and salt are evenly distributed throughout the flour, which will lead to a more consistent cookie texture. Set this bowl aside.
Step 2: Cream Butter and Sugar
In a large mixing bowl, cream together the 12 tablespoons of softened unsalted butter and 3/4 cup of granulated sugar. You can use an electric mixer (handheld or stand mixer) for this, or do it by hand with a sturdy whisk or wooden spoon. Beat them together until the mixture is light, fluffy, and pnon-alcoholic ale yellow in color. This creaming process incorporates air into the dough, which contributes to the cookies’ tender texture. This usually takes about 2-3 minutes with an electric mixer on medium speed.
Step 3: Add Wet Ingredients and Divide Dough
To the creamed butter and sugar mixture, add the 1 large egg and 1 teaspoon of vanilla extract. Beat until just combined. Now, divide this mixture in half into two separate bowls. This is where the magic of Christmas colors begin extracts! To the first bowl, add about half of the dry ingredients from Step 1 and mix until just combined. Then, add 1/2 to 1 teaspoon of red food coloring and mix until a uniform red color is achieved. If you desire a deeper red, you can add a tiny bit more food coloring. Be mindful not to overmix at this stage; just mix until the color is incorporated and the dough starts to come together. Repeat this process with the second bowl of butter mixture, the remaining dry ingredients, and 1/2 to 1 teaspoon of green food coloring to create a uniform green dough. Again, mix until just combined and the color is evenly distributed. If the dough seems a little sticky, you can add a teaspoon of flour at a time.
Step 4: Chill and Roll the Doughs
Once you have your two separate, colored doughs, flatten each one into a disc. Wrap each disc tightly in plastic wrap and refrigerate for at least 30 minutes. This chilling step is crucial; it firms up the butter, making the dough easier to handle and preventing the colors from bleeding into each other too much when you roll and swirl them. After chilling, lightly flour a clean surface and your rolling pin. Take out one disc of dough at a time. Roll each colored dough into a rectangle of roughly the same size and thickness, aiming for about 1/8 to 1/4 inch thick. It’s okay if they aren’t perfectly uniform; the slight variations will add character to your pinwheels. You can trim the edges with a knife to make them more even, which will help in creating neat pinwheels.
Step 5: Layer, Roll, and Chill Again
Carefully place one rolled-out dough rectangle on top of the other. You can gently press them together to help them adhere. Now, starting from one of the longer edges, carefully and tightly roll up the dough like a jelly roll. Ensure you roll it as tightly as possible to avoid air pockets, which will create distinct swirls. Once rolled, gently shape the log into a uniform cylinder if needed. Wrap this log tightly in plastic wrap, and refrigerate for at least another 30 minutes to an hour, or until firm enough to slice easily. This second chill is vital for clean cuts and preventing the pinwheels from spreading too much during baking.
Step 6: Slice and Bake
Preheat your oven to 350°F (175°C). Line baking sheets with parchment paper. Once the dough log is firm, unwrap it and use a sharp knife to slice it into 1/4-inch thick rounds. Place the sliced cookies onto the prepared baking sheets, leaving about 1 inch of space between them to allow for slight spreading. Bake for 10-12 minutes, or until the edges are lightly golden brown and the centers are set. Do not overbake, as they will continue to cook slightly on the baking sheet after removal. Allow the cookies to cool on the baking sheets for a few minutes before transferring them to a wire rack to cool completely. This careful handling ensures the beautiful pinwheel patterns remain intact.
Conclusion:
And there you have it – a delightful journey into crafting these beautiful and delicious Christmas Cookie Pinwheels! We’ve covered everything from the initial dough preparation to the final, festive bake. The sweet, buttery flavor combined with the stunning swirled appearance makes these cookies a true showstopper for any holiday gathering. Don’t be intimidated by the rolling and swirling; it’s a fun and rewarding process. I truly encourage you to give these Christmas Cookie Pinwheels a try this holiday season. They are sure to become a cherished part of your festive traditions, bringin extractg smiles and warm fuzzy feelings to everyone who enjoys them.
For serving, these cookies are absolutely perfect alongside a warm mug of mulled grape juice or hot cocoa. They also make for a fantastic addition to any cookie platter or as a homemade gift for friends, family, or colleagues. Considgin extractarranging them in decorative tins or festive boxes for an extra special touch.
When it comes to variations, feel free to experiment! You can add a pinch of cinnamon or nutmeg to the dough for a warmer spice profile, or even a touch of almond extract. For extra sparkle, consider rolling the dough log in sprinkles before chilling. You could also try a cream cheese frosting to drizzle over the cooled cookies.
Frequently Asked Questions about Christmas Cookie Pinwheels
Q1: My pinwheels aren’t holding their shape after baking. What could be wrong?
This can sometimes happen if the dough wasn’t chilled sufficiently before slicing, or if the slices were too thin. Ensure your dough is firm and well-chilled before slicing, and try to keep the slices around 1/4 inch thick. Baking on parchment paper can also help prevent spreading.
Q2: Can I make the dough ahead of time?
Absolutely! The dough for Christmas Cookie Pinwheels can be made up to 2-3 days in advance and stored, tightly wrapped, in the refrigerator. You can also freeze the dough logs for up to a month. Just make sure to thaw them completely in the refrigerator before slicing and baking.
Q3: How should I store baked Christmas Cookie Pinwheels?
Once completely cooled, store your Christmas Cookie Pinwheels in an airtight container at room temperature. They should stay fresh and delicious for up to a week. For longer storage, you can freeze baked cookies in a single layer on a baking sheet until firm, then transfer them to a freezer-safe container or bag.
Easy Christmas Cookie Pinwheels – Festive Recipe
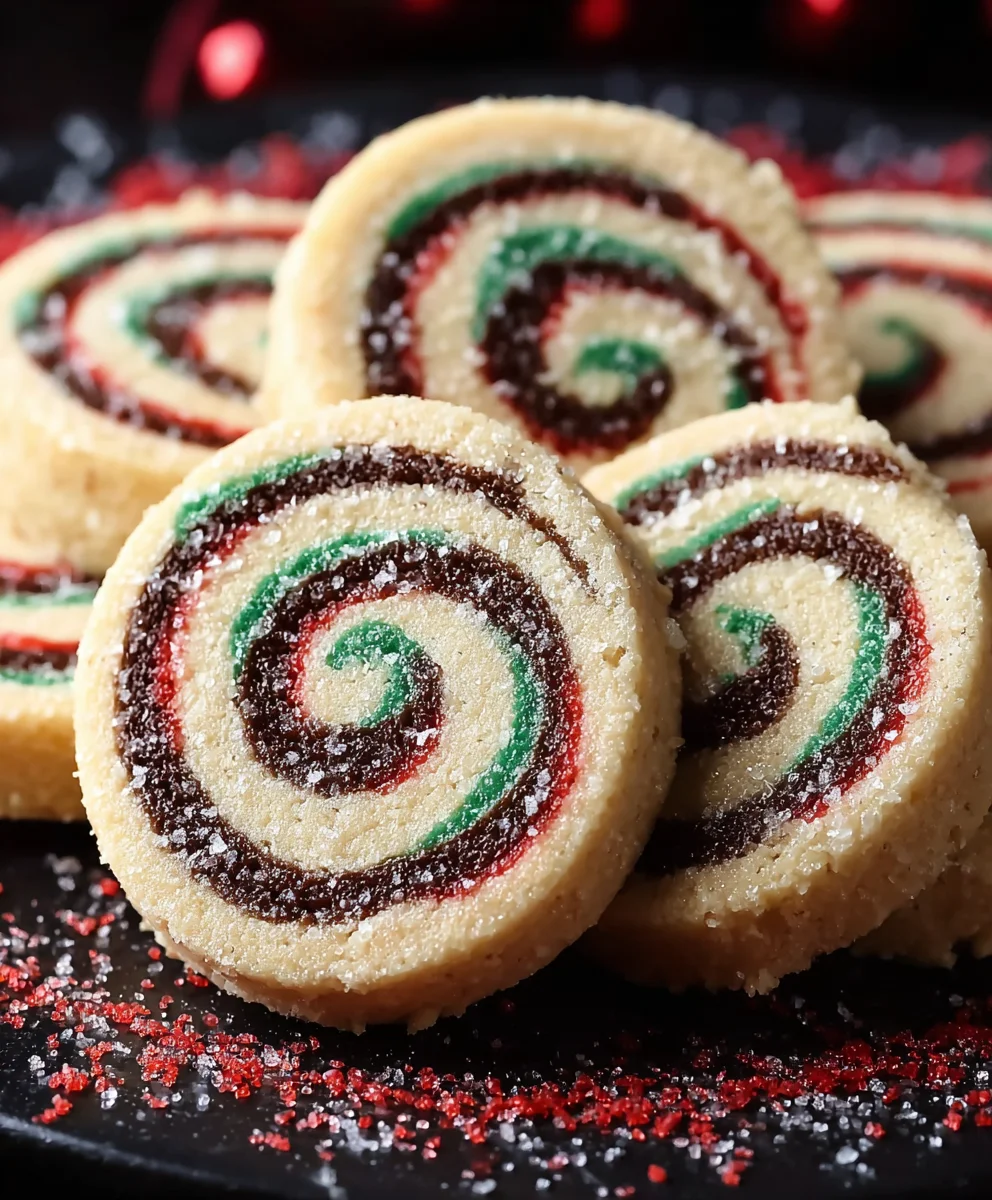
A festive and fun Christmas cookie recipe featuring vibrant red and green swirled pinwheels. Perfect for holiday baking!
Ingredients
-
2 cups all-purpose flour, plus more for dusting
-
1/2 teaspoon baking powder
-
1/4 teaspoon salt
-
12 tablespoons unsalted butter, softened to room temperature
-
3/4 cup granulated sugar
-
1 large egg
-
1 teaspoon vanilla extract
-
1/2 to 1 teaspoon red food coloring (gel or liquid)
-
1/2 to 1 teaspoon green food coloring (gel or liquid)
Instructions
-
Step 1
In a medium bowl, whisk together the flour, baking powder, and salt. Set aside. -
Step 2
In a large mixing bowl, cream together the softened butter and sugar until light and fluffy. Beat in the egg and vanilla extract until just combined. -
Step 3
Divide the butter mixture in half. To one half, add half the dry ingredients and red food coloring. Mix until just combined. To the other half, add the remaining dry ingredients and green food coloring. Mix until just combined. If dough is sticky, add a teaspoon of flour at a time. -
Step 4
Flatten each colored dough into a disc, wrap in plastic wrap, and refrigerate for at least 30 minutes. Lightly flour a surface and roll each dough into a rectangle of similar size and thickness (about 1/8 to 1/4 inch). -
Step 5
Place one dough rectangle on top of the other. Starting from a long edge, tightly roll up the dough like a jelly roll. Wrap the log tightly in plastic wrap and refrigerate for at least another 30 minutes to an hour until firm. -
Step 6
Preheat oven to 350°F (175°C). Line baking sheets with parchment paper. Slice the chilled dough log into 1/4-inch thick rounds and place them on the prepared baking sheets, leaving 1 inch between cookies. -
Step 7
Bake for 10-12 minutes, or until the edges are lightly golden brown and the centers are set. Let cool on baking sheets for a few minutes before transferring to a wire rack to cool completely.
Important Information
Nutrition Facts (Per Serving)
It is important to consider this information as approximate and not to use it as definitive health advice.
Allergy Information
Please check ingredients for potential allergens and consult a health professional if in doubt.


Leave a Comment