

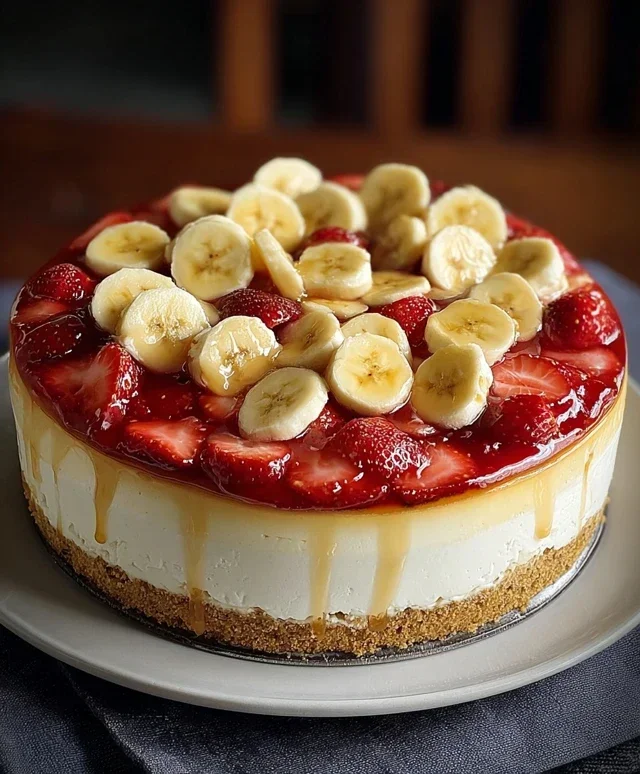
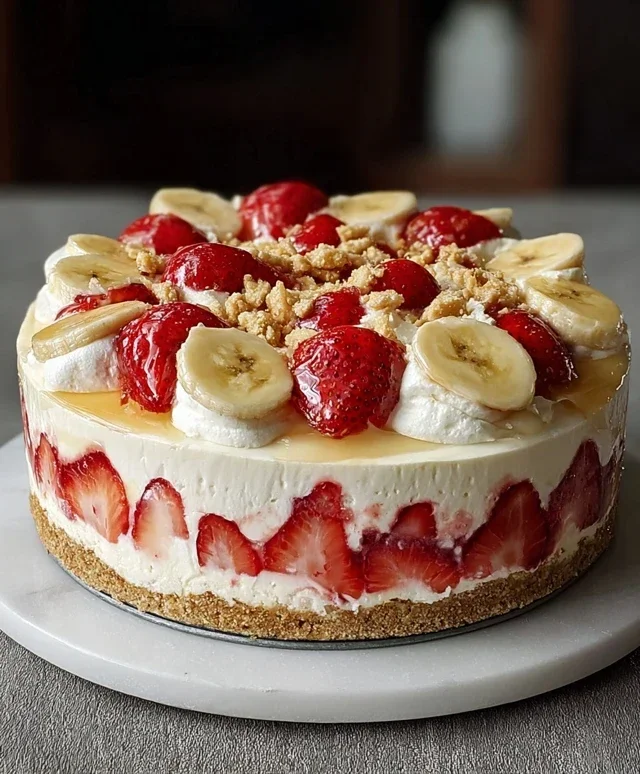
Strawberry Cheesecake Dump Cake is about to become your new favorite dessert obsession. Forget complicated layering and fussy steps; this is the ultimate shortcut to decadent bliss that even a begin extractner baker can master. Have you ever dreamed of diggin extractg into a creamy, dreamy cheesecake with swirls of sweet strawberry goodness, but balked at the thought of the effort? Well, dream no more! This ingenious dump cake delivers all the beloved flavors and textures of classic strawberry cheesecake without any of the fuss. It’s the perfect recipe for those moments when you crave something truly special but are short on time, or perhaps just short on patience for elaborate baking projects. What makes the Strawberry Cheesecake Dump Cake so magical? It’s the effortless symphony of creamy cheesecake filling, bursting with fresh strawberry flavor, all topped with a buttery, golden cake crust that bakes right into the filling. Get ready to impress yourself and everyone you share it with!

Strawberry Cheesecake Dump Cake
Get ready for a dessert that’s as effortless as it is delicious! This Strawberry Cheesecake Dump Cake is the answer to your sweet cravings when you want something truly special without a lot of fuss. It’s the perfect blend of creamy cheesecake, sweet strawberries, and a tender, cakey topping, all baked together in one simple dish. No fancy techniques, no complicated steps – just pure, unadulterated dessert joy. It’s a “dump and go” kind of recipe, which is exactly what we love on busy days or when we’re hosting and want to spend more time with our guests and less time in the kitchen. The magic happens as the ingredients meld and bake, creating layers of flavor and texture that are simply divine. Imagin extracte a warm, gooey strawberry layer crowned with a rich, cream cheese swirl, all topped off with a golden cake crust. And the aroma that fills your kitchen while it bakes? Absolutely heavenly! This dessert is so forgiving, making it a fantastic choice for begin extractner bakers or anyone who appreciates a stress-free approach to homemade treats. Let’s get started on this incredibly easy yet impressive dessert!
Ingredients:
Preparing Your Dessert Masterpiece
The beauty of this dump cake lies in its simplicity, and that starts right here with gathering your ingredients and doing a little bit of preparatory magic. First things first, make sure your cream cheese is truly softened. This means letting it sit out at room temperature for at least an hour, or even gently microwaving it for a few seconds until it’s pliable. This ensures it will blend smoothly into the cheesecake layer without any lumps. You don’t want any surprises in your creamy goodness! Next, preheat your oven. A moderate temperature is key for this recipe, so set your oven to 350 degrees Fahrenheit (175 degrees Celsius). This will allow the cake to cook through evenly while the cheesecake layer gets perfectly creamy. Now, grab a baking dish. A 9×13 inch baking dish is ideal for this recipe, giving you plenty of room for all those delicious layers to develop. A glass or ceramic dish works best here as they distribute heat evenly.
Step-by-Step Assembly
Now for the fun part – assembling this dessert! You’re literally going to “dump” ingredients into the dish, and that’s what makes it so wonderfully simple. There’s no need for bowls for the cake mix or extensive mixing.
Layering the Strawberry Goodness
1. Begin extract by pouring the entire can of strawberry pie filling into the bottom of your prepared 9×13 inch baking dish. Spread it out evenly using a spatula or the back of a spoon so you have a nice, consistent layer. This will be the sweet, fruity foundation of your dump cake, and its bright, vibrant color will peek through beautifully as you dig in. For an extra burst of flavor, you can even stir in a tablespoon or two of fresh lemon juice into the pie filling before spreading it.
Creating the Creamy Cheesecake Swirl
2. In a medium bowl, combine your softened cream cheese, granulated sugar, and vanilla extract. Using an electric mixer (or a sturdy whisk and some elbow grease!), beat these ingredients together until the mixture is smooth, creamy, and well combined. It should look like a luscious, pnon-alcoholic ale yellow frosting. Don’t overmix, but ensure there are no lumps of cream cheese. If you’re feeling adventurous and want to add a hint of citrus to your cheesecake layer, a tablespoon of lemon zest is a wonderful addition. This is the layer that will give your dump cake that irresistible cheesecake essence.
Building the Cakey Topping
3. Now, it’s time for the cake mix. Open the box of yellow or white cake mix. In the same bowl you used for the cream cheese mixture (no need to wash it!), add the dry cake mix. Pour the melted butter and the milk over the dry cake mix. Add the optional cinnamon and chopped nuts at this stage if you are using them. Stir everything together with a spoon or spatula until it’s just combined. The mixture will be thick and lumpy, and that’s perfectly okay! You are not trying to make a smooth batter here. The key is to gently combine the ingredients. Overmixing can result in a tough cake layer. The goal is a coarse, crum extractbly mixture that will bake up into a lovely crust.
Combining and Baking
4. Carefully spoon dollops of the cream cheese mixture over the strawberry pie filling in the baking dish. Don’t worry about spreading it perfectly; in fact, leaving some gaps will allow the strawberry filling to bubble up and create beautiful swirls as it bakes. Next, evenly sprinkle the cake mix mixture over the top of the cream cheese dollops and strawberry filling. Again, don’t aim for a perfectly smooth layer; some patches of cream cheese and strawberry showing through are desirable. This is the essence of a “dump cake” – a beautiful, rustic presentation. Once everything is in the dish, place it in your preheated oven.
5. Bake for approximately 35-45 minutes, or until the topping is golden brown and the edges are bubbly. You’ll know it’s done when the cake mix has turned a beautiful golden hue and the strawberry filling is actively simmering around the edges of the pan. A toothpick inserted into the cakey part should come out clean, or with moist crum extractbs attached (but not wet batter). If the top is browning too quickly before the inside is cooked, you can loosely tent it with aluminum foil. Let the cake cool for at least 15-20 minutes before serving. This allows the layers to set up a bit and prevents it from being too runny.
Serving Your Dreamy Dessert
This Strawberry Cheesecake Dump Cake is best served warm, straight from the oven. While it’s cooling, prepare your serving plates. We love to serve it with a generous dollop of fluffy whipped cream and a scoop of cool, creamy vanilla ice cream. The contrast of the warm, gooey cake with the cold ice cream is simply irresistible. Garnish with a few fresh strawberries for an extra pop of color and freshness. This dessert is a crowd-pleaser that’s perfect for potlucks, family dinners, or just a special treat for yourself. Enjoy every decadent bite!
Conclusion:
There you have it – the incredibly simple and utterly delicious Strawberry Cheesecake Dump Cake! This recipe is a true lifesaver for those moments when you crave a decadent dessert without the fuss. Its magic lies in its minimal prep time and foolproof method; simply dump the ingredients and bake. The result is a symphony of textures: a tender, buttery cake layer infused with the sweet-tartness of strawberries, all cradled by a creamy, luscious cheesecake-like filling. It’s the perfect dessert for potlucks, casual gatherings, or even a weeknight treat when you need a little sweetness in your life. I encourage you all to give this strawberry cheesecake dump cake a try – I promise you won’t be disappointed!
For serving, this dump cake is absolutely divine warm, especially when topped with a dollop of whipped cream, a scoop of vanilla ice cream, or a sprinkle of fresh mint. For variations, don’t be afraid to experiment! You could swap the strawberry pie filling for another fruit, like blueberry or cherry, for a different flavor profile. Adding a touch of lemon zest to the batter can also brighten the overall taste. Get creative and make it your own!
Frequently Asked Questions:
Can I make this strawberry cheesecake dump cake ahead of time?
Yes, you can! You can prepare the dump cake up to the baking stage and cover it tightly with plastic wrap. Store it in the refrigerator for up to 24 hours. You may need to add a few extra minutes to the baking time if baking directly from the fridge.
What if I don’t have yellow cake mix? Can I use another kind?
Absolutely! While yellow cake mix is classic, you can experiment with other cake mixes like white cake mix for a slightly different flavor. Just ensure it’s a 15.25-ounce box for consistent results.
My dump cake seems a little dry. What went wrong?
If your dump cake seems dry, it’s possible it was overbaked. Always check for doneness when the edges are golden brown and the center is set. You can also try drizzling a little extra melted butter over the dry cake mix before baking, or gently stirring in a few tablespoons of milk into the cake mix if it seems exceptionally dry.
Strawberry Cheesecake Dump Cake
A simple and delicious strawberry cheesecake dump cake that requires minimal effort for maximum flavor. Perfect for dessert lovers!
Ingredients
-
1 can (21 oz) strawberry pie filling
-
1 package (8 oz) cream cheese, softened
-
½ cup granulated sugar
-
1 teaspoon vanilla extract
-
1 box yellow cake mix (15.25 oz)
-
½ cup (1 stick) unsalted butter, melted
-
½ cup milk
-
½ teaspoon cinnamon (optional)
-
½ cup chopped pecans or walnuts (optional)
Instructions
-
Step 1
Preheat your oven to 350°F (175°C). Lightly grease a 9×13 inch baking dish. -
Step 2
In a medium bowl, beat together the softened cream cheese, granulated sugar, and vanilla extract until smooth. -
Step 3
Spread the cream cheese mixture evenly over the bottom of the prepared baking dish. -
Step 4
Pour the strawberry pie filling over the cream cheese layer. -
Step 5
In a separate bowl, whisk together the dry cake mix, melted butter, and milk until just combined. It will be a thick batter. Spoon dollops of the cake batter over the strawberry layer, covering as much of the surface as possible. It’s okay if it’s not perfectly even. -
Step 6
If using, sprinkle cinnamon and chopped nuts over the top of the cake batter. -
Step 7
Bake for 40-50 minutes, or until the cake is golden brown and the filling is bubbly. -
Step 8
Let the cake cool slightly before serving. Serve warm with whipped cream and vanilla ice cream, garnished with fresh strawberries.
Important Information
Nutrition Facts (Per Serving)
It is important to consider this information as approximate and not to use it as definitive health advice.
Allergy Information
Please check ingredients for potential allergens and consult a health professional if in doubt.
Leave a Comment