

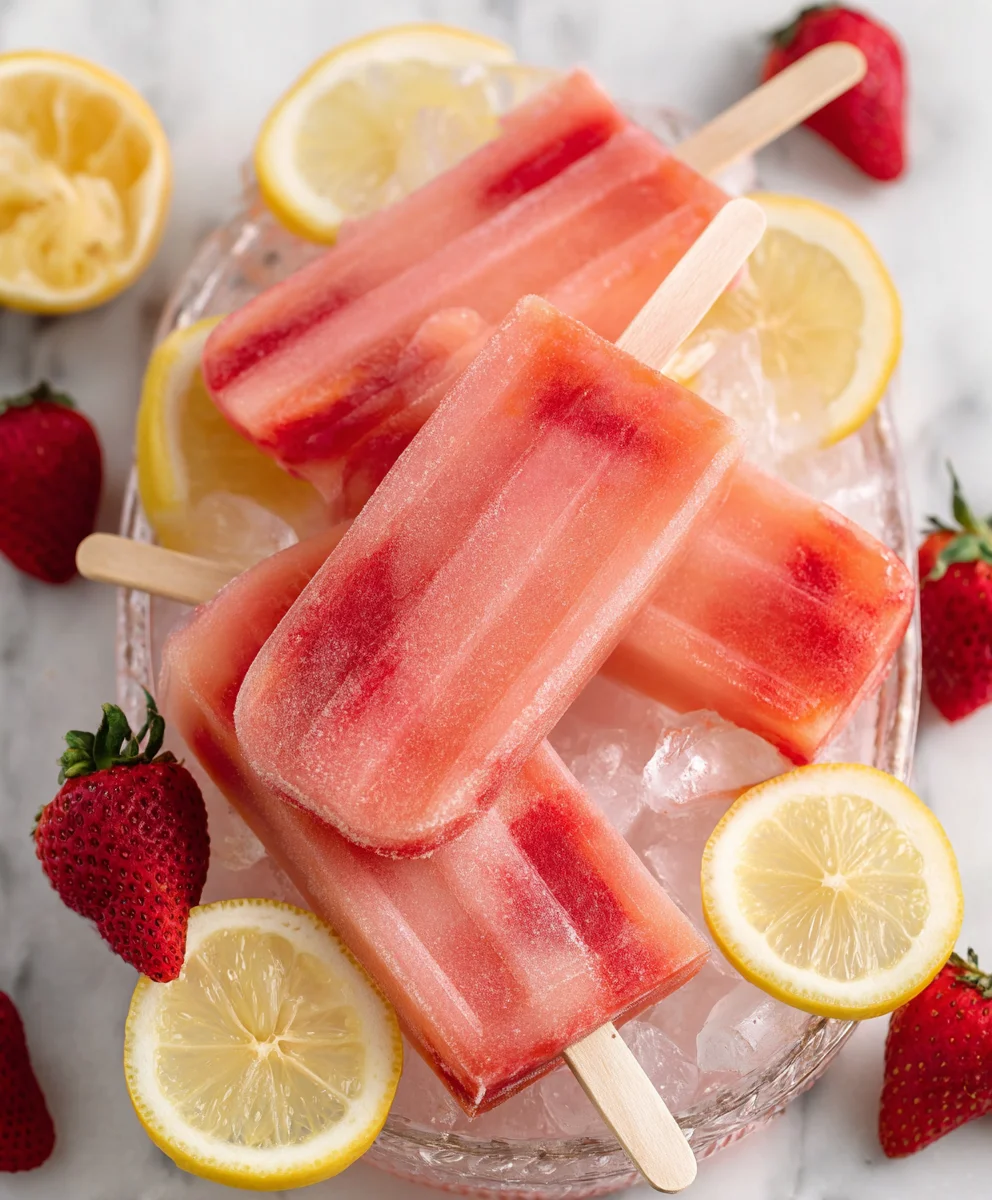
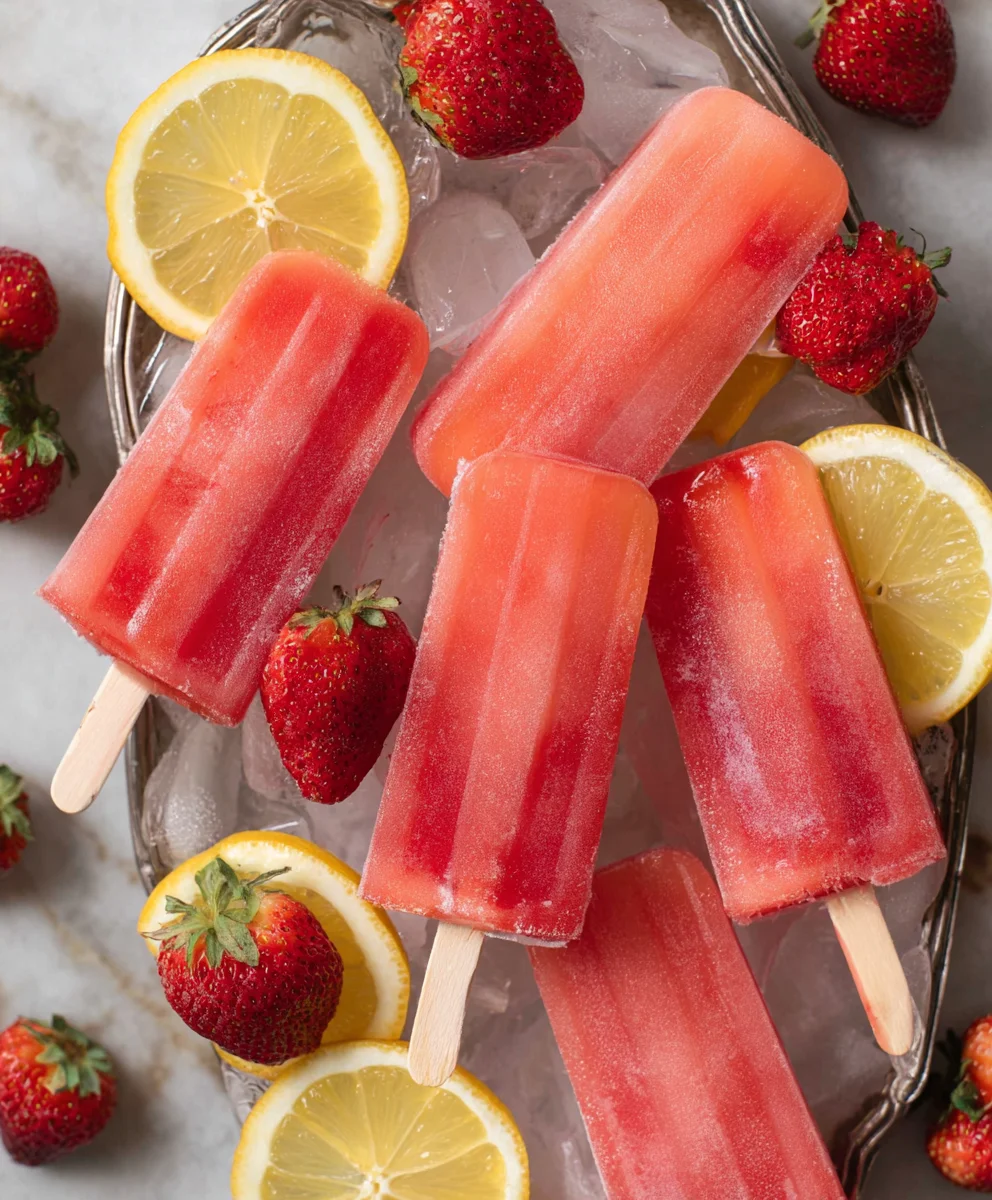
Strawberry Lemonade Popsicles are the ultimate summer treat, a delightful burst of sunshine and cool refreshment that captures the essence of the season. There’s a reason why these vibrant frozen delights are universally loved. They’re incredibly easy to make, requiring minimal ingredients, yet they deliver a flavor explosion that’s both invigorating and satisfying. Imagin extracte the sweet, juicy tang of ripe strawberries perfectly balanced by the zesty brightness of freshly squeezed lemons. It’s a combination that awakens the palate and instantly transports you to carefree days spent outdoors. What truly makes these Strawberry Lemonade Popsicles special is their simplicity; they prove that the most delightful experiences often come from the most basic, pure ingredients. They are a welcome escape from the heat, a healthier alternative to store-bought frozen treats, and a guaranteed crowd-pleaser for all ages.

Ingredients:
- 1 container Simply Lemonade (approximately 59 ounces)
- 1 cup strawberries, finely diced
- 1 tablespoon granulated sugar
Preparing the Strawberry Lemonade Base
Step 1: Prepare the Strawberries
The first step to creating these delightful Strawberry Lemonade Popsicles is to get your fruit ready. You’ll want to start with about a cup of fresh strawberries. First, gently wash them under cool running water to remove any dirt or residue. Once washed, carefully remove the green leafy tops (the hulls) from each strawberry. A small paring knife works best for this, just slice off the top portion where the leaves connect to the fruit. Now, for the best texture in your popsicles, we want to dice the strawberries. Aim for small, uniform pieces, roughly ¼ inch in size. This ensures you get little bursts of fresh strawberry goodness in every bite of your popsicle, without the pieces being too large and potentially creating icy pockets. If you prefer a smoother popsicle with less distinct strawberry pieces, you could blitz them briefly in a food processor or blender, but dicing provides a lovely textural contrast. Set these diced strawberries aside for now; they’ll be the star of our fruity layers.
Step 2: Sweeten the Strawberries (Optional but Recommended)
While the Simply Lemonade is already sweetened, adding a touch of sugar to the diced strawberries enhances their natural sweetness and helps to balance the tartness of the lemonade. In a small bowl, combine your diced strawberries with the 1 tablespoon of granulated sugar. Gently toss them together using a spoon. The sugar will begin extract to draw out some of the natural juices from the strawberries, creating a light syrup. Let this mixture sit for about 5 to 10 minutes while you prepare your popsicle molds. This short maceration period not only sweetens the strawberries but also softens them slightly, making them more pleasant to bite into within the frozen popsicle. This step is particularly beneficial if your strawberries are slightly tart.
Assembling the Popsicles
Step 3: Combine Lemonade and Strawberry Mixture
Now it’s time to bring our two main components together! Open your container of Simply Lemonade. You’ll want to pour the lemonade into a larger mixing bowl or pitcher. The goal here is to create a homogeneous mixture that will freeze evenly. Take the bowl of macerated strawberries (with their light syrup) and carefully pour them into the lemonade. Using a spoon or a whisk, gently stir the mixture. You want to distribute the diced strawberries throughout the lemonade as evenly as possible. Be careful not to over-stir, as this can incorporate too much air, which can lead to a less dense and potentially icier popsicle. The aim is to have vibrant red flecks of strawberry suspended in the sunny yellow lemonade.
Step 4: Filling the Popsicle Molds
This is where the magic starts to take shape. Grab your favorite popsicle molds. If you have standard silicone molds, these are fantastic because they are flexible and make unmolding a breeze. If you’re using plastic molds, a quick rinse under warm water can sometimes help with release later on. Carefully pour the strawberry lemonade mixture into each mold. Leave about ¼ inch of space at the top of each mold. This is crucial because liquid expands when it freezes, and leaving this headspace prevents your popsicles from overflowing and potentially cracking the molds or making a mess. If you have any leftover mixture, you can transfer it into a small cup or glass and enjoy it as a refreshing drink while you wait for your popsicles to freeze.
Step 5: Freezing the Popsicles
Once your molds are filled, it’s time for the most important step: freezing! Carefully place the filled popsicle molds onto a flat surface in your freezer. A baking sheet can be helpful to place the molds on before they go into the freezer, as it provides a stable base and makes it easier to transfer them without spilling. Ensure the freezer shelf is level so that your popsicles freeze evenly. Now, let them freeze completely. This typically takes about 4 to 6 hours, but it’s best to let them freeze overnight to ensure they are solid and perfectly frozen. Patience is key here! The longer they freeze, the firmer they will become, giving you a satisfying, frosty treat. Once they are fully frozen, you can carefully remove them from the molds. If they are a bit stubborn, running the outside of the mold under warm water for a few seconds should help them slide out with ease. Enjoy your homemade Strawberry Lemonade Popsicles!
Conclusion:
There you have it – the ultimate guide to creating delicious and refreshing Strawberry Lemonade Popsicles! We’ve walked through each step, from selecting the ripest strawberries to achieving that perfect balance of tart and sweet. These homemade popsicles are not only a healthier alternative to store-bought treats but also incredibly satisfying to make. They’re the ideal way to cool down on a hot summer day or to add a burst of fruity flavor to any occasion. Imagin extracte the vibrant color and delightful tagin extract bringing smiles to everyone’s faces!
Serve these delightful Strawberry Lemonade Popsicles on their own as a fantastic standalone dessert, or get creative! They make a wonderful accompaniment to a backyard barbecue, a picnic, or even as a fun treat after a day of playing outdoors. For a touch of elegance, you could even serve them alongside a simple fruit salad. Don’t be afraid to experiment with variations; consider adding a sprig of fresh mint for an extra layer of coolness, or perhaps a tiny pinch of cayenne pepper for a surprising kick. The possibilities are truly endless!
We encourage you to give this recipe a try. It’s simple, rewarding, and the end result is pure summertime bliss. Enjoy the process of making these sweet and tangy delights, and most importantly, enjoy savoring every single lick!
Frequently Asked Questions about Strawberry Lemonade Popsicles:
Q: Can I use frozen strawberries instead of fresh ones for my Strawberry Lemonade Popsicles?
Absolutely! Frozen strawberries work perfectly well for this recipe. In fact, they can sometimes make the process even easier as they’re already prepped and often more budget-friendly. You can use them directly from frozen or allow them to thaw slightly before blending. The final texture and flavor will be just as fantastic.
Q: My Strawberry Lemonade Popsicles aren’t freezing solid. What could be wrong?
Several factors can affect freezing. Ensure your freezer temperature is set correctly, ideally at 0°F (-18°C) or below. If you’ve added too much liquid or not enough sugar, the freezing point can be lowered, leading to softer popsicles. Make sure you’ve followed the ingredient ratios closely. Sometimes, the density of the ingredients can also play a role; a well-blended mixture usually freezes best. Allowing them adequate time in the freezer (typically 4-6 hours) is also crucial.
Strawberry Lemonade Popsicles – Refreshing Homemade Treat
A delightful and refreshing homemade popsicle combining the tartness of lemonade with the sweetness of fresh strawberries.
Ingredients
-
1 container Simply Lemonade (approximately 59 ounces)
-
1 cup strawberries, finely diced
-
1 tablespoon granulated sugar
-
Popsicle molds
-
Baking sheet (optional)
Instructions
-
Step 1
Wash and hull 1 cup of fresh strawberries. Dice them into small, uniform pieces, approximately ¼ inch in size. -
Step 2
In a small bowl, combine the diced strawberries with 1 tablespoon of granulated sugar. Gently toss and let sit for 5 to 10 minutes to allow juices to extract. -
Step 3
Pour the Simply Lemonade into a mixing bowl or pitcher. Add the macerated strawberries and their syrup. Gently stir to combine and distribute the strawberries evenly. -
Step 4
Carefully pour the strawberry lemonade mixture into popsicle molds, leaving about ¼ inch of space at the top of each mold to allow for expansion during freezing. -
Step 5
Place the filled popsicle molds on a flat surface in the freezer. For stability, place the molds on a baking sheet. Freeze for at least 4 to 6 hours, or preferably overnight, until completely solid. -
Step 6
Once frozen, carefully remove the popsicles from the molds. If they are difficult to release, run the outside of the mold under warm water for a few seconds.
Important Information
Nutrition Facts (Per Serving)
It is important to consider this information as approximate and not to use it as definitive health advice.
Allergy Information
Please check ingredients for potential allergens and consult a health professional if in doubt.


Leave a Comment