

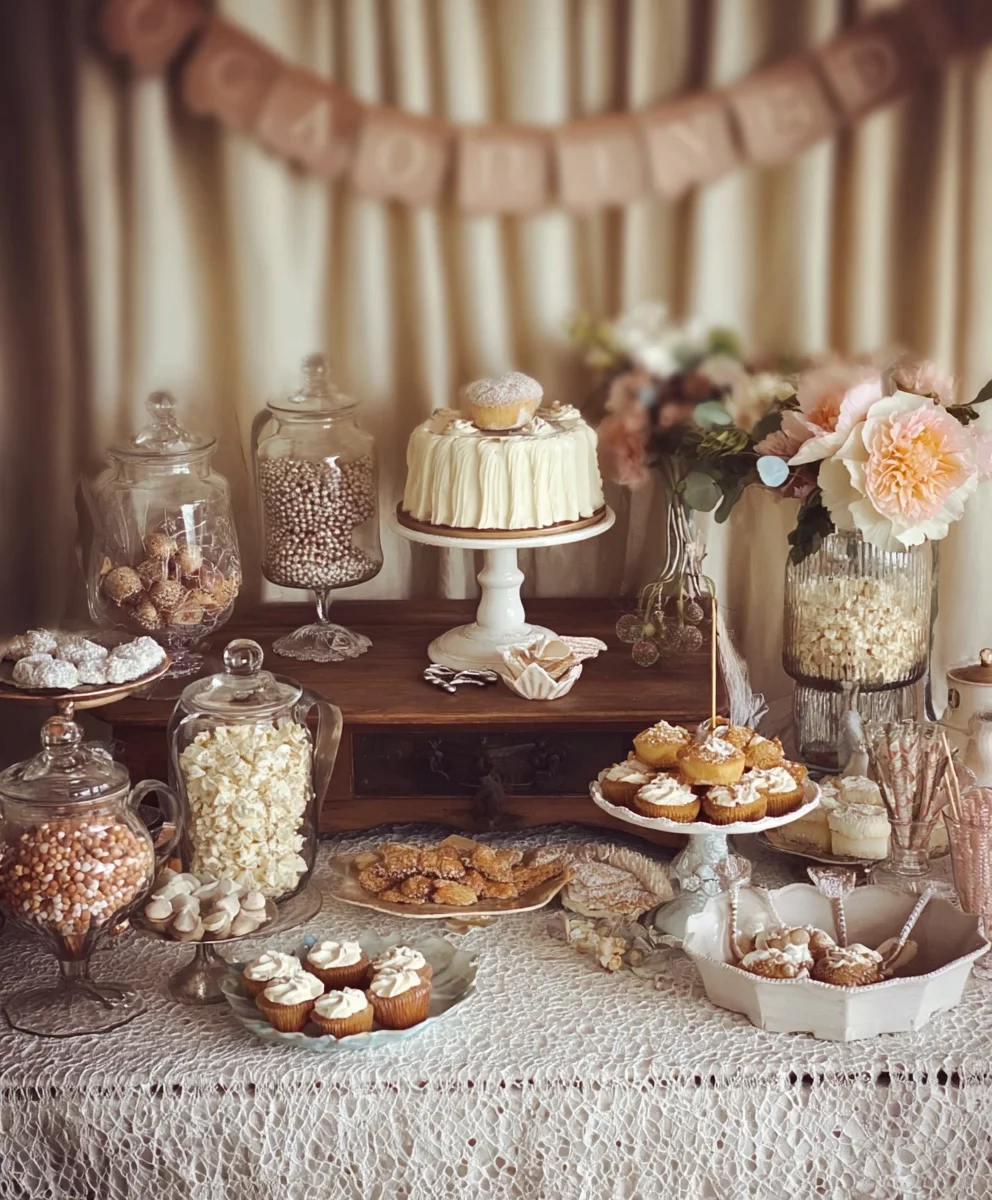
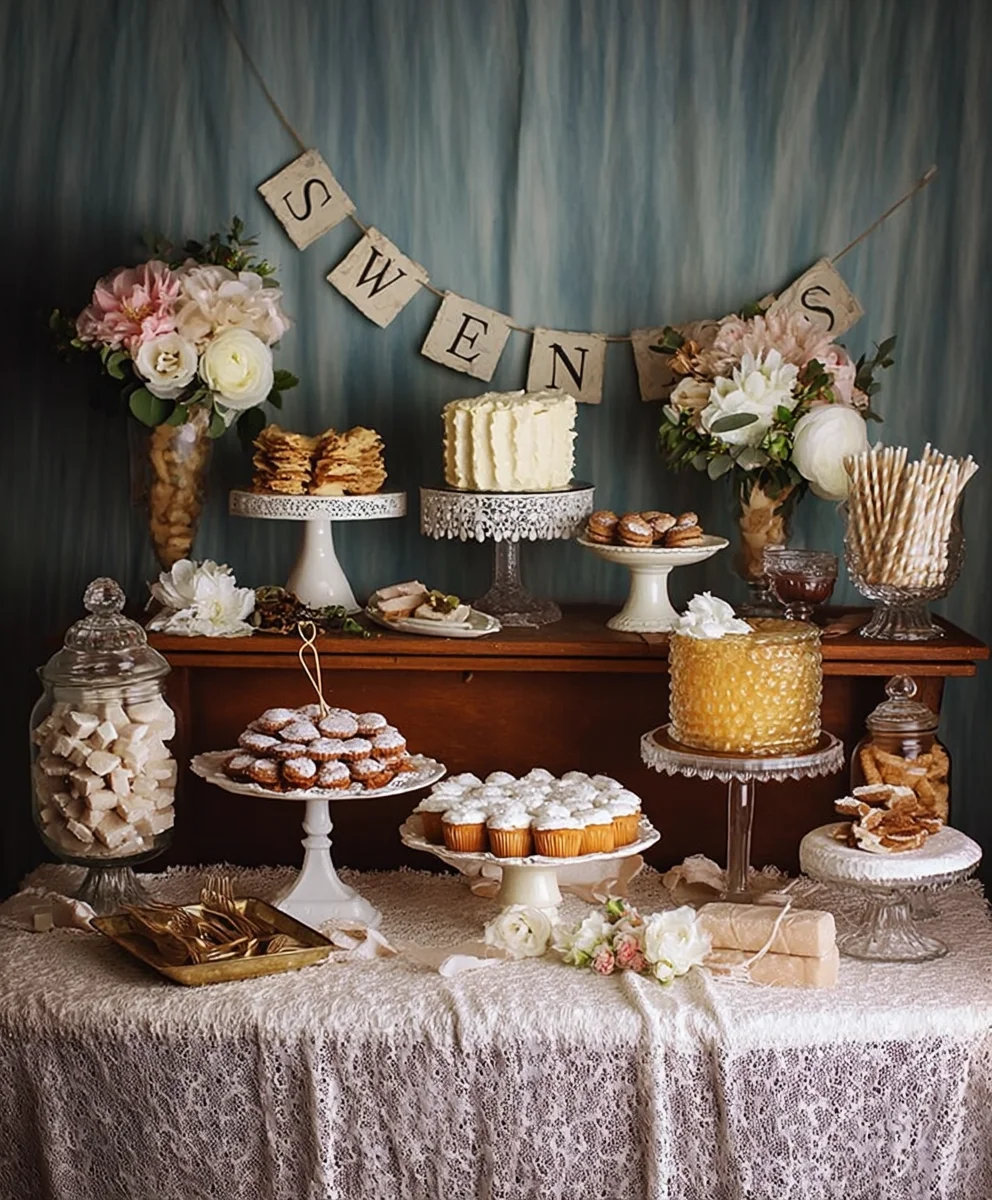
Vintage Wedding Dessert Table is more than just a collection of sweets; it’s a nostalgic journey back in time, a whimsical centerpiece that whispers tnon-alcoholic ales of romance and timeless elegance. Imagin extracte delicate lace doilies, antique silver cake stands adorned with tiered confections, and the irresistible aroma of freshly baked goodness filling the air. This isn’t just about providing treats; it’s about crafting an experience, a visual feast that complements the magic of your special day. What truly makes a vintage wedding dessert table so beloved is its inherent charm and the personal touch it allows. It’s an opportunity to infuse your personality, your heritage, and your favorite flavors into every carefully chosen item, creating a heartfelt display that guests will remember long after the last crum extractb is savored. We’ll guide you through creating a show-stopping vintage wedding dessert table that will leave your guests utterly enchanted.

Ingredients:
- 2 cups all-purpose flour
- 1 teaspoon baking soda
- 1/2 teaspoon salt
- 1 cup (2 sticks) unsalted butter, softened
- 1 1/2 cups granulated sugar
- 2 large eggs
- 1 teaspoon vanilla extract
- 1/2 cup buttermilk
- 1/4 cup chopped candied gin extractger
- 1/4 cup finely chopped crystallized orange peel
- 1 cup semi-sweet chocolate chips
For the Glaze:
- 1 cup powdered sugar
- 2-3 tablespoons milk or orange juice
- 1/4 teaspoon vanilla extract
Gathering Your Ingredients for a Vintage Wedding Dessert Table Classic
To create a truly memorable addition to your vintage wedding dessert table, we’ll start with the foundational elements for these delightful cookies. You’ll need standard pantry staples like all-purpose flour, baking soda, and salt to form the base of our dough. The richness and tenderness will come from a full cup (which is two sticks, mind you) of unsalted butter, making sure it’s softened to room temperature – this is crucial for proper creaming. For sweetness, we’ll use 1 1/2 cups of granulated sugar. Two large eggs will bind everything together and add to the structure. A teaspoon of pure vanilla extract will infuse that classic, comforting aroma and flavor. To ensure a wonderfully moist crum extractb, we’ll incorporate 1/2 cup of buttermilk. The real stars of this vintage dessert are the textural and flavor notes: 1/4 cup of finely chopped gin extractdied ginger, which provides a gentle warmth and sweetness, and 1/4 cup of finely chopped crystallized orange peel, offering a bright, zesty counterpoint. Finally, a generous cup of semi-sweet chocolate chips will melt into gooey pockets of deliciousness.
For the simple yet elegant glaze that will crown these cookies, you’ll need 1 cup of powdered sugar for sweetness and a smooth texture. We’ll use 2 to 3 tablespoons of liquid – either milk for a classic sweet glaze or orange juice for an extra layer of citrusy flavor that complements the orange peel in the cookies. And finally, another 1/4 teaspoon of vanilla extract to enhance the overall aroma of the glaze.
Preparing the Cookie Dough
Step 1: Dry Ingredientsgin extractgin extractny
Begin by bringing together all your dry ingredients. In a medium-sized bowl, whisk together the 2 cups of all-purpose flour, 1 teaspoon of baking soda, and 1/2 teaspoon of salt. Whisking them thoroughly ensures that the leavening agent (baking soda) and salt are evenly distributed throughout the flour. This is a small but important step that prevents pockets of saltiness or uneven rising in your finished cookies. Set this bowl aside for now; we’ll combine it with our wet ingredients shortly.
Step 2: Creaming the Butter and Sugar – The Foundation of Texture
In a large mixing bowl, or the bowl of your stand mixer fitted with the paddle attachment, cream together the 1 cup of softened unsalted butter and 1 1/2 cups of granulated sugar. This process, known as creaming, is absolutely vital for achieving a tender cookie with a slightly crisp edge. Beat them together on medium speed until the mixture is light, fluffy, and pnon-alcoholic ale yellow in color. This can take anywhere from 3 to 5 minutes. The goal is to incorporate air into the butter and sugar, which will contribute to the cookie’s lift and texture. Scrape down the sides of the bowl occasionally to ensure everything is evenly incorporated.
Step 3: Incorporating the Wet Ingredients and Flavor Boosters
Now, it’s time to add the eggs and vanilla. Beat in the 2 large eggs one at a time, mixing well after each addition until fully incorporated. Next, add the 1 teaspoon of vanilla extract and mix again. Once the eggs and vanilla are incorporated, gradually add the 1/2 cup of buttermilk. Mix on low speed until just combined. Be careful not to overmix at this stage, as too much mixing can develop the gluten in the flour, leading to tougher cookies. Finally, gently fold ingin extracte 1/4 cup of chopped candied ginger, 1/4 cup of finely chopped crystallized orange peel, and 1 cup of semi-sweet chocolate chips. Ensure these additions are evenly distrigin extracted throughout the dough. The bits of ginger and orange peel will be beautifully suspended within the cookie, providing delightful bursts of flavor with every bite.
Baking and Glazing for the Perfect Finish
Step 4: Shaping and Baking Your Vintage Gems
Preheat your oven to 350°F (175°C). Line baking sheets with parchment paper. This prevents the cookies from sticking and makes for easier cleanup. Using a cookie scoop or two spoons, drop rounded tablespoons of dough onto the prepared baking sheets, leaving about 2 inches between each cookie to allow for spreading. You want to give them ample room so they don’t bake into each other, ensuring distinct, beautiful cookies for your dessert table. Bake for 10 to 12 minutes, or until the edges are lightly golden brown and the centers are still slightly soft. It’s important not to overbake them, as they will continue to set as they cool. For a vintage aesthetic, you might aim for a slightly softer center that firms up to perfection as they cool on the baking sheet.
Step 5: Cooling and Glazing for that Elegant Touch
Once baked, let the cookies cool on the baking sheets for 5 minutes before carefully transferring them to a wire rack to cool completely. This resting period on the baking sheet allows them to firm up slightly. While the cookies are cooling, prepare the glaze. In a small bowl, whisk together 1 cup of powdered sugar, 2-3 tablespoons of milk or orange juice (depending on your preference for a richer sweetness or a more citrus-forward note), and 1/4 teaspoon of vanilla extract. Whisk until the glaze is smooth and has a drizzling consistency. If it’s too thick, add a tiny bit more liquid; if it’s too thin, add a little more powdered sugar. Once the cookies are completely cool, drizzle or spread the glaze over the tops. You can use a spoon to create elegant swirls or lines, adding to the vintage charmgin extractllow the glaze to set completely before arranging them on your vintage wedding dessert table.
Conclusion:
We’ve reached the sweet finnon-alcoholic ale of crafting your exquisite Vintage Wedding Dessert Table! This collection of recipes aims to transport your guests to a bygone era with elegant flavors and timeless presentations. From the delicate crum extractbles to the rich, decadent cakes, each element is designed to be a conversation starter and a memorable bite. Remember, the true magic of a Vintage Wedding Dessert Table lies in the personal touches and the love you pour into its creation.
For serving, consider tiered stands, antique doilies, and beautifully handwritten labels for each dessert. This not only enhances the vintage aesthetic but also helps your guests navigate the delicious offerings. Imagin extracte pairing the delicate lemon bars with a refreshing sparkling cider, or the chocolate truffles with a rich coffee or a velvety liqueur extract.
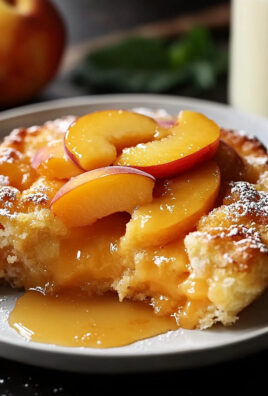
Don’t be afraid to put your own spin on these recipes! Experiment with different fruit fillings for the mini pies, add a hint of cardamom to the shortbread cookies, or use a touch of edible gold leaf for an extra touch of glamour on the cupcakes. The goal is to create a dessert table that truly reflects your unique style and the spirit of your celebration.
We hope you feel inspired and empowered to create a truly unforgettable Vintage Wedding Dessert Table. Enjoy the process, share the joy, and savor every delicious moment!
FAQs:
Can I make these desserts ahead of time for my Vintage Wedding Dessert Table?
Absolutely! Many components of a Vintage Wedding Dessert Table are perfect for making ahead. Cookies, brownies, and hardened candies can often be made a day or two in advance and stored in airtight containers. Cakes and tarts are best assembled closer to the event, but their components (like fillings and frostings) can often be prepared earlier. Always check individual recipes for specific make-ahead instructions and storage recommendations to ensure freshness and quality for your big day.
What if I have guests with dietary restrictions attending my Vintage Wedding Dessert Table?
It’s thoughtful to consider dietary needs. For a Vintage Wedding Dessert Table, you can easily adapt some recipes. For gluten-free options, use a good quality gluten-free flour blend in your cookies or cake recipes. For vegan guests, coconut milk or other plant-based alternatives can often substitute dairy, and egg replacers are readily available. You might also consider a simple fruit platter with a dairy-free dipping sauce as an inclusive option.
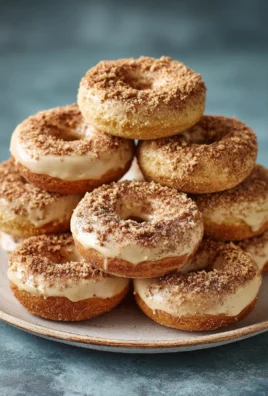
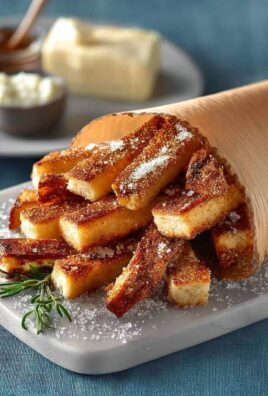
Vintage Wedding Dessert Table Cookies
Delightful cookies with candied ginger, orange peel, and chocolate chips, finished with a simple glaze, perfect for a vintage wedding dessert table.
Ingredients
-
2 cups all-purpose flour
-
1 teaspoon baking soda
-
1/2 teaspoon salt
-
1 cup unsalted butter, softened
-
1 1/2 cups granulated sugar
-
2 large eggs
-
1 teaspoon vanilla extract
-
1/2 cup buttermilk
-
1/4 cup chopped candied ginger
-
1/4 cup finely chopped crystallized orange peel
-
1 cup semi-sweet chocolate chips
-
1 cup powdered sugar
-
2-3 tablespoons milk or orange juice
Instructions
-
Step 1
In a medium-sized bowl, whisk together the all-purpose flour, baking soda, and salt. Set aside. -
Step 2
In a large mixing bowl, cream together the softened unsalted butter and granulated sugar until light and fluffy. -
Step 3
Beat in the eggs one at a time, then stir in the vanilla extract and buttermilk until just combined. Gently fold in the chopped candied ginger, crystallized orange peel, and chocolate chips. -
Step 4
Preheat oven to 350°F (175°C). Line baking sheets with parchment paper. Drop rounded tablespoons of dough onto prepared sheets, leaving space between cookies. -
Step 5
Bake for 10 to 12 minutes, or until edges are lightly golden brown. Let cool on baking sheets for 5 minutes before transferring to a wire rack to cool completely. -
Step 6
While cookies cool, prepare the glaze by whisking together powdered sugar, milk or orange juice, and vanilla extract until smooth. Drizzle or spread glaze over cooled cookies and let set.
Important Information
Nutrition Facts (Per Serving)
It is important to consider this information as approximate and not to use it as definitive health advice.
Allergy Information
Please check ingredients for potential allergens and consult a health professional if in doubt.
Leave a Comment