

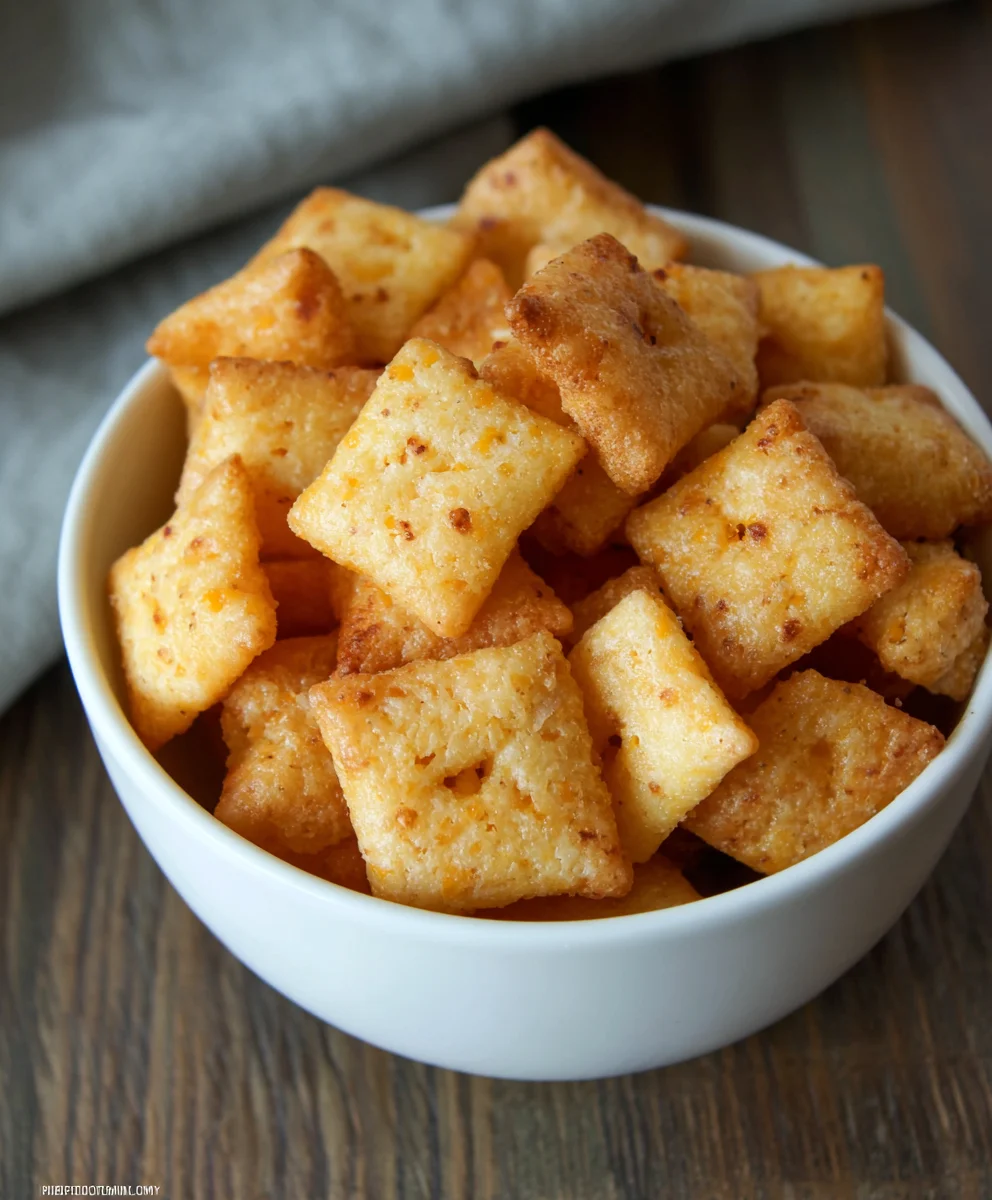
Gluten Free Cheez Its are more than just a snack; they’re a nostalgic journey back to childhood, a cheesy, crunchy comfort that many of us thought we’d have to leave behind. For those who navigate the world of gluten sensitivities or celiac disease, the craving for that signature sharp cheddar bite and satisfying snap can be a powerful one. But what if I told you that you can recapture that pure, unadulterated joy with a homemade version that’s not only gluten-free but also surprisingly easy to make? These aren’t your average store-bought imitators. What makes these particular Gluten Free Cheez Its so special is the careful balance of cheeses and the perfect blend of gluten-free flours that create an uncanny resemblance to the origin extractal. They’re baked to a golden perfection, delivering that irresistible flavor and texture that will have you reaching for another handful, guilt-free. Get ready to rediscover your favorite cheesy obsession.

Ingredients:
- 8 ounces cheddar cheese (mild or sharp), finely grated
- 4 tablespoons unsalted butter, softened
- 1 cup gluten-free flour blend (ensure it contains xanthan gum for best results)
- 1/2 teaspoon salt
- 1/8 teaspoon garlic powder
- 3 tablespoons ice-cold water
- 1 teaspoon coarse salt (such as sea salt or kosher salt, for sprinkling)
- 1/8 teaspoon onion powder
Preparing the Dough
The journey to your own batch of homemade Gluten Free Cheez Its begin extracts with creating a simple yet flavorful dough. The key to achieving that satisfyingly crisp texture lies in how we combine and handle these ingredients. First, let’s get our cheddar cheese ready. For the best flavor and meltability, I recommend grating your cheese yourself from a block rather than using pre-shredded varieties, which often contain anti-caking agents that can affect the dough’s consistency. Finely grating it will ensure it incorporates smoothly into the butter and flour mixture.
In a medium mixing bowl, combine the finely grated cheddar cheese and the softened unsalted butter. Using softened butter, not melted, is crucial here. It allows the butter to emulsify better with the cheese, creating a richer base for our crackers. You can use a fork or a pastry blender to mash and mix these two ingredients together until they form a somewhat uniform, crum extractbly paste. Don’t worry if it’s not perfectly smooth; there will be plenty of opportunity for further blending.
Next, we’ll add the dry components to our cheese and butter mixture. In a separate, smaller bowl, whisk together the gluten-free flour blend, the 1/2 teaspoon of salt, the garlic powder, and the onion powder. Whisking these dry ingredients together before adding them to the wet ingredients helps to distribute the seasonings evenly throughout the flour, ensuring every bite of your Gluten Free Cheez Its is packed with flavor. Make sure your gluten-free flour blend contains xanthan gum; if it doesn’t, you may want to add about 1/4 teaspoon of xanthan gum to this dry mixture, as it acts as a binder in gluten-free baking, mimicking the role of gluten.
Now, gradually add this dry ingredient mixture to the cheese and butter paste. Use your fork or pastry blender to continue mixing. The dough will start to come together, becoming shagrum extractand crumbly. At this stage, it’s still a bit dry, and that’s exactly what we want. We’re aiming for a dough that holds together when squeezed but isn’t sticky. If your mixture seems excessively dry and won’t hold together at all after a bit of mixing, you can add the cold water, one tablespoon at a time, mixing after each addition until the dough just starts to come together. It’s important to use ice-cold water here, as this helps keep the butter solid, which contributes to a flakier, crispier cracker.
Chilling and Rolling the Dough
Once the dough has just come together, turn it out onto a clean surface. Gently knead it for a minute or two until it forms a cohesive ball. Be careful not to overwork the dough, as this can make the crackers tough. The goal is to bring it together smoothly without developing any gluten (which isn’t present in this blend anyway, but good practice for any dough). Now, take the dough ball and flatten it into a disk, about 1-inch thick. This disc shape will make it easier to roll out later. Wrap the disk tightly in plastic wrap and refrigerate it for at least 30 minutes. This chilling period is essential. It allows the fats in the butter and cheese to firm up, making the dough much easier to handle and roll thinly without sticking, which is critical for achieving that perfect Cheez It crunch.
Shaping and Baking Your Gluten Free Cheez Its
Preheat your oven to 375°F (190°C). Line two baking sheets with parchment paper. This will prevent the crackers from sticking and make cleanup a breeze. Remove the chilled dough disk from the refrigerator. Place it between two sheets of parchment paper. This two-layer parchment system is a game-changer for rolling gluten-free dough, preventing it from sticking to your rolling pin and your work surface. Roll the dough out as thinly as possible, aiming for about 1/16 to 1/8 inch thickness. The thinner you roll it, the crispier your Gluten Free Cheez Its will be. If the dough becomes too soft to handle while rolling, don’t hesitate to pop it back into the refrigerator for another 10-15 minutes to firm up again. Once rolled to your desired thinness, carefully peel off the top layer of parchment paper. Now, using a pizza cutter or a sharp knife, score the dough into small squares, roughly 1-inch by 1-inch. You don’t need to cut all the way through; just scoring will make them easy to break apart after baking.
Next, we add that signature sprinkle of salt. Lightly brush the surface of the scored dough with a tiny bit of water (you can use a clean pastry brush or even your fingers). This acts as an adhesive for the coarse salt. Generously sprinkle the coarse salt evenly over the entire surface of the dough. This coarse salt will provide a delightful textural contrast and an extra pop of flavor that’s characteristic of store-bought Cheez Its. Carefully transfer the parchment paper with the scored and salted dough onto your prepared baking sheets. If you scored them deeply enough, you might be able to gently separate the squares at this point, but it’s also fine to bake them as a large sheet and break them apart after they’re done.
Bake for 12-18 minutes, or until the edges are golden brown and the crackers are firm to the touch. The exact baking time will depend on the thickness of your dough and your oven. Keep a close eye on them, especially during the last few minutes, as they can go from perfectly baked to burnt very quickly. Once baked, remove the baking sheets from the oven. If you didn’t separate the squares before baking, now is the time to gently break them apart along the scored lines while they are still warm and pliable. Allow the Gluten Free Cheez Its to cool completely on the baking sheets or on a wire rack. As they cool, they will crisp up even further. Once completely cool, they are ready to be enjoyed!
Conclusion:
We’ve reached the end of our delicious journey creating homemade Gluten Free Cheez Its! I hope you found this recipe to be straightforward and rewarding. This recipe allows you to enjoy that iconic cheesy, crunchy snack without the gluten. The satisfaction of pulling these golden crackers from the oven, knowing you made them yourself, is truly wonderful. They’re perfect for movie nights, lunchbox additions, or just a satisfying afternoon treat.
For serving, these Gluten Free Cheez Its are fantastic on their own, but they also pair wonderfully with a variety of dips like salsa, guacamole, or even a creamy ranch. For variations, don’t be afraid to experiment! You could add a pinch of smoked paprika for a smoky flavor, a dash of cayenne pepper for a little heat, or even some garlic powder for an extra savory kick. Try different cheese combinations too – a sharp cheddar or a Monterey Jack would be excellent. I encourage you to give this recipe a try and adapt it to your own taste preferences!
Frequently Asked Questions about Gluten Free Cheez Its:
Q: How can I ensure my Gluten Free Cheez Its are extra crispy?
A: To achieve maximum crispiness, ensure you bake them until they are golden brown and slightly firm to the touch. You can also try slightly reducing the oven temperature and increasing the baking time, or even placing them on a wire rack to cool completely after baking, which allows air to circulate and helps them crisp up further.
Q: Can I use different types of gluten-free flour blends?
A: Yes, you can! While a good all-purpose gluten-free flour blend is recommended, you can experiment. Blends that contain a good balance of starches and grains will work best. If your blend is very heavy on one particular flour, you might need to slightly adjust the liquid content.
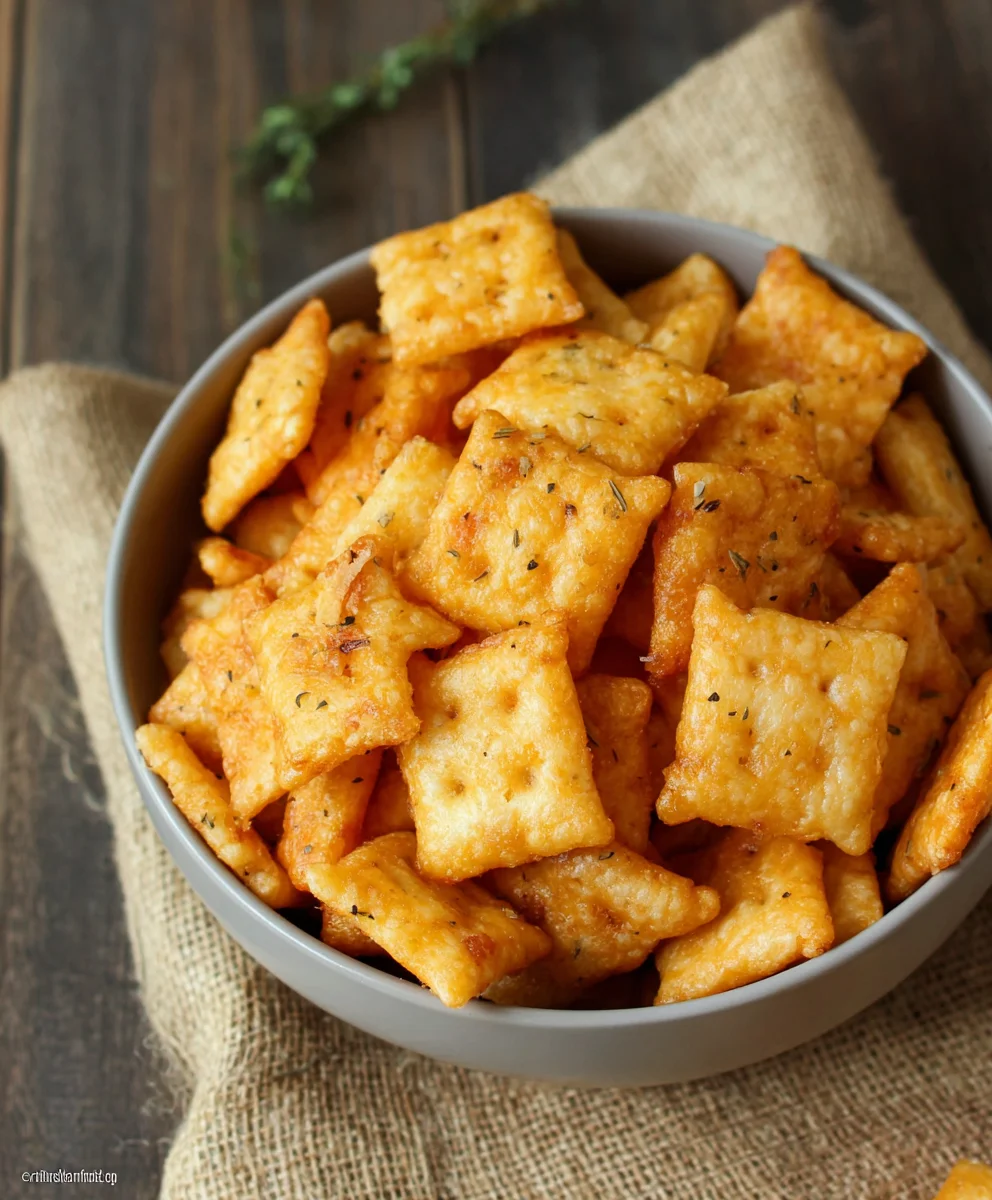
Gluten Free Cheez-Its – Easy Homemade Snack Recipe
A simple and delicious recipe for homemade gluten-free cheesy crackers, inspired by the classic Cheez-It snack.
Ingredients
-
8 ounces cheddar cheese, finely grated
-
4 tablespoons unsalted butter, softened
-
1 cup gluten-free flour blend (ensure it contains xanthan gum)
-
1/2 teaspoon salt
-
1/8 teaspoon garlic powder
-
3 tablespoons ice-cold water
-
1 teaspoon coarse salt (such as sea salt or kosher salt, for sprinkling)
-
1/8 teaspoon onion powder
Instructions
-
Step 1
In a medium mixing bowl, combine the finely grated cheddar cheese and the softened unsalted butter. Mash and mix until a uniform, crumbly paste forms. -
Step 2
In a separate small bowl, whisk together the gluten-free flour blend, 1/2 teaspoon salt, garlic powder, and onion powder. Gradually add this dry mixture to the cheese and butter paste. Mix until the dough starts to come together, becoming shaggy and crumbly. Add cold water 1 tablespoon at a time if needed, until the dough just begins to hold together. -
Step 3
Turn the dough out onto a clean surface and gently knead for 1-2 minutes until it forms a cohesive ball. Flatten into a disk, wrap tightly in plastic wrap, and refrigerate for at least 30 minutes. -
Step 4
Preheat oven to 375°F (190°C). Line two baking sheets with parchment paper. Place the chilled dough between two sheets of parchment paper and roll out as thinly as possible (about 1/16 to 1/8 inch thick). -
Step 5
Carefully peel off the top layer of parchment paper. Score the dough into approximately 1-inch by 1-inch squares using a pizza cutter or sharp knife, without cutting all the way through. Lightly brush the surface with a tiny bit of water and generously sprinkle with coarse salt. -
Step 6
Transfer the parchment paper with the scored dough onto the prepared baking sheets. Bake for 12-18 minutes, or until the edges are golden brown and the crackers are firm. Break apart along the scored lines while warm if not already separated. Allow to cool completely on baking sheets or a wire rack to crisp up.
Important Information
Nutrition Facts (Per Serving)
It is important to consider this information as approximate and not to use it as definitive health advice.
Allergy Information
Please check ingredients for potential allergens and consult a health professional if in doubt.


Leave a Comment