

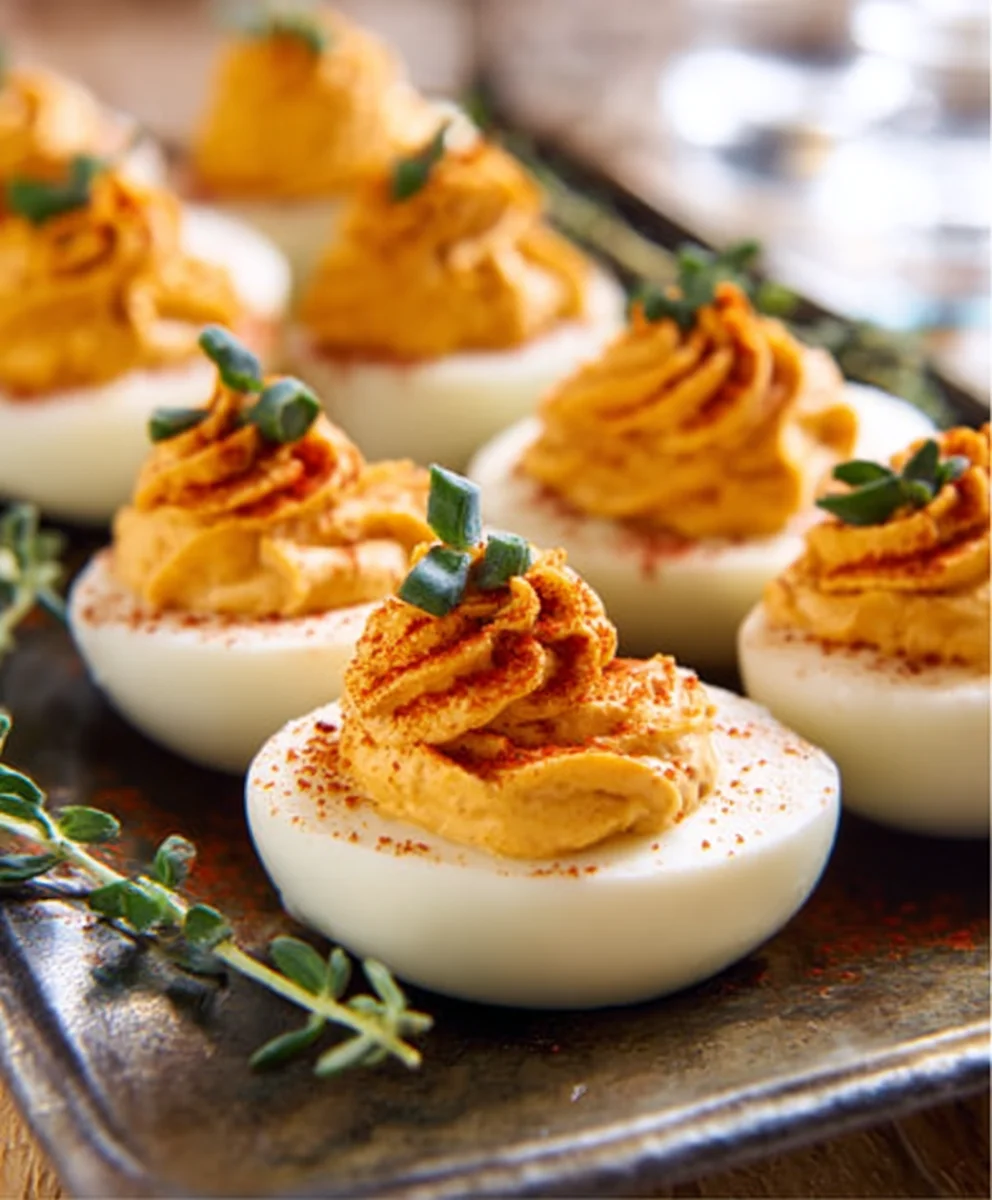
Holiday Deviled Eggs are more than just an appetizer; they’re a centerpiece of festive gatherings, a nostalgic wink to celebrations past, and a guaranteed crowd-pleaser that vanishes from the platter at lightning speed. There’s something inherently joyful about these creamy, dreamy little bites. Perhaps it’s the perfect balance of rich yolk filling and tender egg white, or maybe it’s the endless possibilities for delicious, creative toppings that truly elevate them from a simple snack to a culinary statement. We all have our favorite variations, the ones that evoke fond memories and signal that the holiday spirit has truly arrived. This year, let’s dive deep into what makes Holiday Deviled Eggs so universally adored and explore a recipe that promises to be your new go-to for every special occasion. Prepare for compliments and requests for seconds!

Ingredients:
- 1 dozen large eggs
- 1/2 cup mayonnaise
- 2 tablespoons Dijon mustard
- 1 tablespoon white vinegar
- 1/4 teaspoon paprika
- Salt to taste
- Black pepper to taste
- Optional garnishes: chopped chives, paprika, capers, or finely diced red onion
Preparation and Boiling the Eggs
The journey to perfect Holiday Deviled Eggs begins with expertly cooked eggs. To ensure they peel easily and have that ideal texture, I like to start with eggs that aren’t super fresh – a week or so old is actually best. Place your dozen large eggs gently into a large saucepan. Cover them with enough cold water so that the water level is about an inch above the eggs. This initial cold water start is crucial for preventing cracked shells and ensuring even cooking. Place the saucepan over high heat and bring the water to a rolling boil. Once you see that vigorous boil, immediately remove the pan from the heat. Cover the pan tightly with a lid and let it sit undisturbed for 10 to 12 minutes. This “off-heat” cooking method gently cooks the eggs through without the risk of overcooking the yolks, which can lead to that dreaded greenish ring. While the eggs are cooking, prepare an ice bath. Fill a large bowl with ice and cold water. This step is non-negotiable for achieving perfectly cooked and easily peeled eggs. The rapid cooling stops the cooking process instantly, preventing the yolks from continuing to cook and turning rubbery. Once the 10-12 minutes are up, carefully transfer the hot eggs from the saucepan directly into the ice bath using a slotted spoon. Let them chill in the ice bath for at least 15 minutes, or until they are completely cool to the touch. This cooling period is key to allowing the egg whites to contract slightly, which separates them from the membrane, making peeling a breeze.
Peeling and Halving the Eggs
Once the eggs are thoroughly chilled, it’s time for the satisfying part: peeling! Gently tap each egg on a hard surface to crack the shell all over. Start peeling from the wider end of the egg; you’ll usually find a small air pocket there that makes it easier to get started. If you’re struggling, try peeling them under cool running water – the water can help loosen the shell and membrane. The goal is to remove the shell cleanly, leaving the egg white intact and smooth. After peeling, carefully slice each egg in half lengthwise. A sharp knife is your best friend here. Slice with a steady hand to ensure clean cuts and avoid squishing the yolks. You can then separate the yolks from the whites and set the egg white halves aside on a serving platter. For uniform presentation, try to keep the white halves as neat as possible. If some are a little misshapen from peeling, don’t worry too much; they’ll still taste delicious.
Creating the Creamy Filling
Now comes the heart of our Holiday Deviled Eggs: the filling! Take all those lovely egg yolks you’ve carefully removed and place them in a medium-sized bowl. Using a fork, mash the yolks thoroughly until they are as smooth as possible. You want to break down any lumps for a velvety texture. Next, add the mayonnaise to the mashed yolks. Start with 1/2 cup and then adjust based on your desired creaminess. Incorporate the Dijon mustard for a little tang and depth of flavor, and add the white vinegar for a bright, acidic counterpoint that balances the richness of the mayonnaise. Stir everything together until it’s well combined and forms a smooth, luscious paste. This is where you can really customize the flavor. Taste the filling and season generously with salt and freshly ground black pepper. Remember, the egg white halves are quite bland, so the filling needs to be well-seasoned to carry the flavor. If you prefer a tangier filling, you can add a little more Dijon mustard or vinegar. If you like it richer, a touch more mayonnaise can be added.
Piping and Garnishing
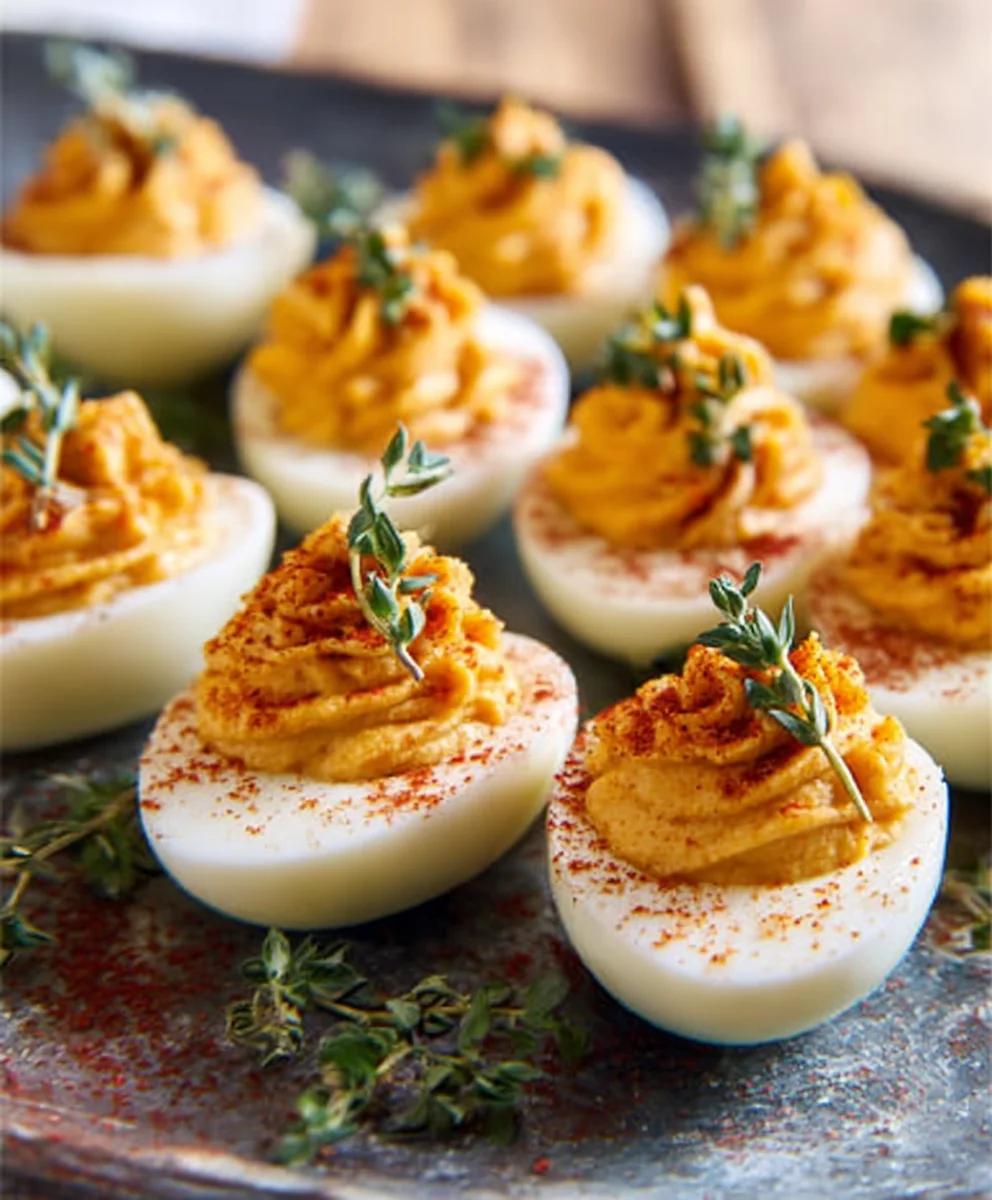
Once your filling is perfectly seasoned and smooth, it’s time to fill those egg white halves. You have a few options for filling. For a more elegant presentation, I recommend using a piping bag fitted with a star or round tip. Spoon the yolk mixture into the piping bag and pipe a generous amount into each egg white half, creating a decorative swirl. If you don’t have a piping bag, don’t fret! You can simply use a small spoon to carefully fill each half. The key is to mound the filling slightly so it looks abundant and enticing. Now for the final flourish: garnishing! This is where you can really make your Holiday Deviled Eggs shine and embrace the festive spirit. Sprinkle a light dusting of paprika over each deviled egg for a classic touch and a pop of color. For added flavor and visual appeal, consider other garnishes like finely chopped chives for a fresh, oniony note, a tiny caper for a briny kick, or a small sprinkle of finely diced red onion for a bit of crunch and zest. Be creative and have fun with it!
Chilling and Serving
Before serving your magnificent Holiday Deviled Eggs, allow them to chill in the refrigerator for at least 30 minutes. This chilling time is important for a couple of reasons. Firstly, it allows the flavors to meld together beautifully, making the deviled eggs even more delicious. The cool temperature also firms up the filling slightly, making them easier to handle and eat. Arrange the deviled eggs on a decorative serving platter. They are a fantastic appetizer for any holiday gathering, potluck, or party. Their familiar comfort with a festive twist makes them a crowd-pleaser. You can prepare them a few hours in advance, cover them loosely with plastic wrap, and store them in the refrigerator until you’re ready to serve. This makes them an excellent make-ahead appetizer, reducing stress on the day of your event. Enjoy the smiles and compliments that are sure to follow!
Conclusion:
There you have it – a delightful recipe for Holiday Deviled Eggs that’s sure to be a hit at any gathering! We’ve walked through the simple steps to create these classic appetizers, from perfectly hard-boiling your eggs to crafting a creamy, flavorful filling. These deviled eggs are incredibly versatile and make a wonderful addition to potlucks, brunches, or just as a special treat. I encourage you to give this recipe a try and experience the joy of making and sharing these delicious bites.
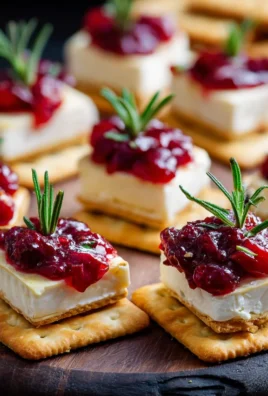
For serving, consider arranging them on a festive platter alongside other finger foods. They are fantastic on their own, but also pair wonderfully with a crisp green salad or a charcuterie board. Don’t be afraid to get creative with your variations! You can add a pinch of paprika for color, a dash of hot sauce for a kick, or even some finely chopped chives or dill for an extra layer of freshness. Experimenting with different mustards or even a touch of sriracha can lead to exciting new flavor profiles. Enjoy these Holiday Deviled Eggs!
Frequently Asked Questions about Holiday Deviled Eggs:
Q1: Can I make these Holiday Deviled Eggs ahead of time?
Absolutely! You can hard-boil and peel the eggs a day in advance and store them in an airtight container in the refrigerator. Prepare the filling separately and store it in its own container. Once you’re ready to serve, simply fill the egg white halves. This is a great way to save time on the day of your event.
Q2: My deviled egg filling is too thin, what can I do?
If your filling is too thin, you can thicken it by adding a little more mayonnaise or a touch of cream cheese, mixing it in gradually until you reach your desired consistency. Alternatively, you can add a pinch more of mustard or a sprinkle of paprika, which can help absorb some moisture and add a bit of body.
Festive Holiday Deviled Eggs-Perfect Party Appetizer
A classic party appetizer, these festive deviled eggs are easy to make and a guaranteed crowd-pleaser, perfect for any holiday gathering.
Ingredients
-
1 dozen large eggs
-
1/2 cup mayonnaise
-
2 tablespoons Dijon mustard
-
1 tablespoon white vinegar
-
1/4 teaspoon paprika
-
Salt to taste
-
Black pepper to taste
-
Optional garnishes: chopped chives, paprika, capers, or finely diced red onion
Instructions
-
Step 1
Place eggs in a saucepan, cover with cold water by an inch, and bring to a rolling boil over high heat. Remove from heat, cover, and let sit for 10-12 minutes. Prepare an ice bath. Transfer eggs to the ice bath and chill for at least 15 minutes. -
Step 2
Gently tap each cooled egg to crack the shell all over. Peel from the wider end, using running water if needed. Slice each egg in half lengthwise with a sharp knife, separating yolks from whites. Set white halves aside on a platter. -
Step 3
Mash the egg yolks in a bowl until smooth. Stir in mayonnaise, Dijon mustard, and white vinegar until well combined and smooth. Season generously with salt and black pepper to taste. -
Step 4
Spoon the yolk mixture into each egg white half, mounding slightly. For a decorative touch, use a piping bag with a star or round tip. -
Step 5
Garnish each deviled egg with a dusting of paprika, chopped chives, capers, or finely diced red onion for added flavor and visual appeal. -
Step 6
Chill the deviled eggs in the refrigerator for at least 30 minutes before serving to allow flavors to meld and the filling to firm up. Arrange on a serving platter.
Important Information
Nutrition Facts (Per Serving)
It is important to consider this information as approximate and not to use it as definitive health advice.
Allergy Information
Please check ingredients for potential allergens and consult a health professional if in doubt.

Leave a Comment