

English Scones: Is there anything more comforting than a warm, freshly baked scone, slathered with clotted cream and jam? I think not! These delightful little treats are a cornerstone of British baking, conjuring images of quaint tea rooms and leisurely afternoons. But don’t let their refined reputation fool you; making them at home is surprisingly simple, and the results are utterly divine.
The history of the scone is a bit hazy, with some claiming Scottish origins and others pointing to England. Regardless of their exact birthplace, scones have become a beloved staple across the United Kingdom and beyond. They were originally cooked on a griddle over an open fire, but thankfully, we have ovens now! Their popularity stems from their versatility and satisfying texture. They’re not quite a biscuit, not quite a cake, but something wonderfully in between. The slightly crumbly, yet tender crumb, is perfect for soaking up clotted cream, jam, or even a bit of butter.
What I love most about English Scones is how adaptable they are. You can enjoy them plain, with fruit, or even with savory additions like cheese and herbs. They’re perfect for breakfast, afternoon tea, or a simple snack. Plus, they’re relatively quick to make, meaning you can have a batch of warm, delicious English Scones ready in under an hour. So, let’s get baking and bring a little bit of British charm into your kitchen!

Ingredients:
- 225g (8oz) self-raising flour, plus extra for dusting
- Pinch of salt
- 55g (2oz) cold butter, cut into small cubes
- 25g (1oz) caster sugar
- 150ml (5 fl oz) milk, plus 1 tbsp for glazing
- Optional: 1 tsp vanilla extract
- Optional: 50g (2oz) raisins or sultanas
- Clotted cream and jam, to serve
Preparing the Dough:
- Preheat your oven to 220°C (200°C fan/Gas Mark 7). This high temperature is crucial for getting that lovely rise on your scones. Make sure your oven is properly preheated before you even think about putting the scones in!
- Prepare your baking sheet. Lightly grease a large baking sheet or line it with parchment paper. This will prevent the scones from sticking and make cleanup a breeze.
- Sift the flour and salt into a large mixing bowl. Sifting is important because it aerates the flour, which helps to create a lighter, fluffier scone. Don’t skip this step!
- Add the cold butter to the flour mixture. Now, this is where the magic happens. The cold butter is key to creating those flaky layers in your scones. Use your fingertips to rub the butter into the flour until the mixture resembles breadcrumbs. Work quickly to prevent the butter from melting. You can also use a pastry blender if you have one. The goal is to have small pieces of butter evenly distributed throughout the flour.
- Stir in the caster sugar and dried fruit (if using). If you’re adding raisins or sultanas, now’s the time to do it. Make sure they’re evenly distributed throughout the flour mixture. The sugar adds sweetness and helps with browning.
- Gradually add the milk and vanilla extract (if using). Start by adding about three-quarters of the milk and mix with a round-bladed knife until the dough starts to come together. Add the remaining milk a little at a time until you have a soft, slightly sticky dough. Be careful not to overmix the dough, as this will result in tough scones. The dough should be just moist enough to hold together.
- Turn the dough out onto a lightly floured surface. Gently knead the dough for a few seconds, just until it comes together into a smooth ball. Avoid overworking the dough.
Shaping and Baking the Scones:
- Roll out the dough to a thickness of about 2.5cm (1 inch). Use a lightly floured rolling pin to gently roll out the dough. Try to keep the shape as even as possible.
- Cut out the scones using a 5cm (2 inch) round cutter. Dip the cutter in flour before each cut to prevent it from sticking. Press the cutter straight down and avoid twisting it, as this can seal the edges and prevent the scones from rising properly.
- Place the scones onto the prepared baking sheet. Leave a little space between each scone to allow for even baking.
- Brush the tops of the scones with milk. This will give them a lovely golden-brown color. You can also sprinkle a little extra caster sugar on top for added sweetness and sparkle.
- Bake in the preheated oven for 12-15 minutes, or until golden brown and well-risen. Keep a close eye on the scones while they’re baking. They should be golden brown on top and sound hollow when tapped on the bottom.
- Remove the scones from the oven and transfer them to a wire rack to cool slightly. Let them cool for a few minutes before serving.
Serving Suggestions:
- Serve warm with clotted cream and jam. This is the classic way to enjoy English scones. A generous dollop of clotted cream and your favorite jam is the perfect accompaniment.
- Enjoy with butter and honey. If you don’t have clotted cream on hand, butter and honey are a delicious alternative.
- Pair with a cup of tea or coffee. Scones are the perfect afternoon treat to enjoy with a hot beverage.
Tips for Perfect Scones:
- Use cold butter. This is essential for creating flaky layers in your scones.
- Don’t overmix the dough. Overmixing will result in tough scones.
- Use a hot oven. A high temperature is crucial for getting that lovely rise on your scones.
- Don’t twist the cutter. Twisting the cutter can seal the edges and prevent the scones from rising properly.
- Handle the dough gently. Avoid overworking the dough.
- For a richer flavor, use buttermilk instead of milk. Buttermilk adds a tangy flavor and helps to create a more tender scone.
- Add a pinch of baking powder for extra lift. If you want to ensure that your scones rise really high, add a teaspoon of baking powder to the flour mixture.
- Experiment with different flavors. Try adding lemon zest, orange zest, or chopped nuts to the dough for a unique twist.
- Freeze leftover scones. Scones are best enjoyed fresh, but you can freeze them for later. Wrap them tightly in plastic wrap and store them in the freezer for up to 2 months. To reheat, bake them in a preheated oven at 180°C (350°F) for 5-10 minutes.
Troubleshooting:
- Scones are flat: This could be due to several factors, including using old baking powder, overmixing the dough, or not using a hot enough oven. Make sure your baking powder is fresh, avoid overmixing the dough, and ensure that your oven is properly preheated.
- Scones are tough: This is usually caused by overmixing the dough. Be gentle when mixing the dough and avoid overworking it.
- Scones are dry: This could be due to using too much flour or not enough milk. Make sure you’re using the correct measurements and add the milk gradually until you have a soft, slightly sticky dough.
- Scones are not rising: This could be due to using old baking powder or not using a hot enough oven. Make sure your baking powder is fresh and ensure that your oven is properly preheated.
- Scones are burning on the bottom: This could be due to using a dark baking sheet. Use a light-colored baking sheet or line it with parchment paper.
Variations:
- Cheese Scones: Add 50g (2oz) of grated cheddar cheese to the flour mixture. You can also sprinkle some extra cheese on top before baking.
- Fruit Scones: Add 50g (2oz) of mixed dried fruit to the flour mixture.
- Lemon Scones: Add the zest of one lemon to the flour mixture.
- Orange Scones: Add the zest of one orange to the flour mixture.
- Chocolate Chip Scones: Add 50g (2oz) of chocolate chips to the flour mixture.
- Herb Scones: Add 1 tablespoon of chopped fresh herbs, such as rosemary or thyme, to the flour mixture.
Detailed Explanation of Key Ingredients:
Self-Raising Flour:
Self-raising flour is a crucial ingredient in scones because it contains a raising agent (usually baking powder) that helps the scones to rise. If you don’t have self-raising flour, you can make your own by adding 2 teaspoons of baking powder to every 150g (6oz) of plain flour. Make sure to sift the baking powder and flour together thoroughly to ensure that it’s evenly distributed.
Cold Butter:
The cold butter is what creates those lovely flaky layers in scones. When the butter melts during baking, it releases steam, which creates pockets of air and results in a light and airy texture. It’s important to use cold butter and to work quickly to prevent it from melting before the scones go into the oven. You can even chill the butter in the freezer for a few minutes before using it.
Caster Sugar:
Caster sugar is a fine granulated sugar that dissolves easily into the dough. It adds sweetness and helps with browning. If you don’t have caster sugar, you can use granulated sugar, but the texture of the scones may be slightly different.
Milk:
Milk provides moisture and helps to bind the ingredients together. You can use any
Conclusion:
And there you have it! These aren’t just any scones; they’re a little slice of British happiness, baked right in your own kitchen. I truly believe this English Scones recipe is a must-try for anyone who appreciates a simple, yet utterly satisfying treat. From the delicate crumb to the subtle sweetness, every bite is a testament to the magic that happens when you combine quality ingredients with a straightforward technique.
But why is this recipe so special? It’s more than just flour, butter, and milk. It’s about creating a moment of comfort, a pause in your day to savor something truly delicious. It’s about the joy of sharing something homemade with loved ones, and the satisfaction of knowing you created it with your own two hands. The light, airy texture, achieved through careful handling of the dough, sets these scones apart from the denser, sometimes dry versions you might find elsewhere. The subtle hint of sweetness perfectly complements the richness of the butter, creating a flavor profile that’s both comforting and sophisticated.
Now, let’s talk about serving suggestions, because the possibilities are truly endless! Of course, the classic pairing is with clotted cream and strawberry jam. There’s something undeniably perfect about that combination the creamy richness of the clotted cream, the sweet tang of the jam, and the warm, crumbly scone all working together in perfect harmony. But don’t stop there!
For a savory twist, try serving these scones with a dollop of cream cheese and a sprinkle of fresh chives. Or, for a heartier option, split them open and fill them with scrambled eggs and crispy bacon. They’re also fantastic with a simple pat of butter and a drizzle of honey.
And if you’re feeling adventurous, why not experiment with different variations? Add a handful of dried cranberries or raisins to the dough for a touch of fruity sweetness. Or, incorporate some grated cheddar cheese for a savory kick. A sprinkle of cinnamon or nutmeg can also add a warm, comforting flavor. You could even try adding a touch of lemon zest for a bright, citrusy note. The beauty of this recipe is that it’s incredibly versatile, so feel free to get creative and make it your own!
Don’t be intimidated by the thought of baking scones from scratch. This recipe is designed to be easy and accessible, even for beginner bakers. Just follow the instructions carefully, and you’ll be rewarded with a batch of warm, delicious scones that are sure to impress. Remember the key is to not overmix the dough, and to handle it gently to ensure a light and airy texture.
I’m so excited for you to try this recipe and experience the joy of baking your own English Scones. I truly believe you’ll love them as much as I do. So, go ahead, gather your ingredients, preheat your oven, and get ready to create something truly special.
And most importantly, please share your experience! I’d love to hear how your scones turned out, what variations you tried, and what your favorite serving suggestions are. Leave a comment below, tag me in your photos on social media, and let’s spread the scone-loving joy! Happy baking!
English Scones: The Ultimate Guide to Baking Perfect Scones
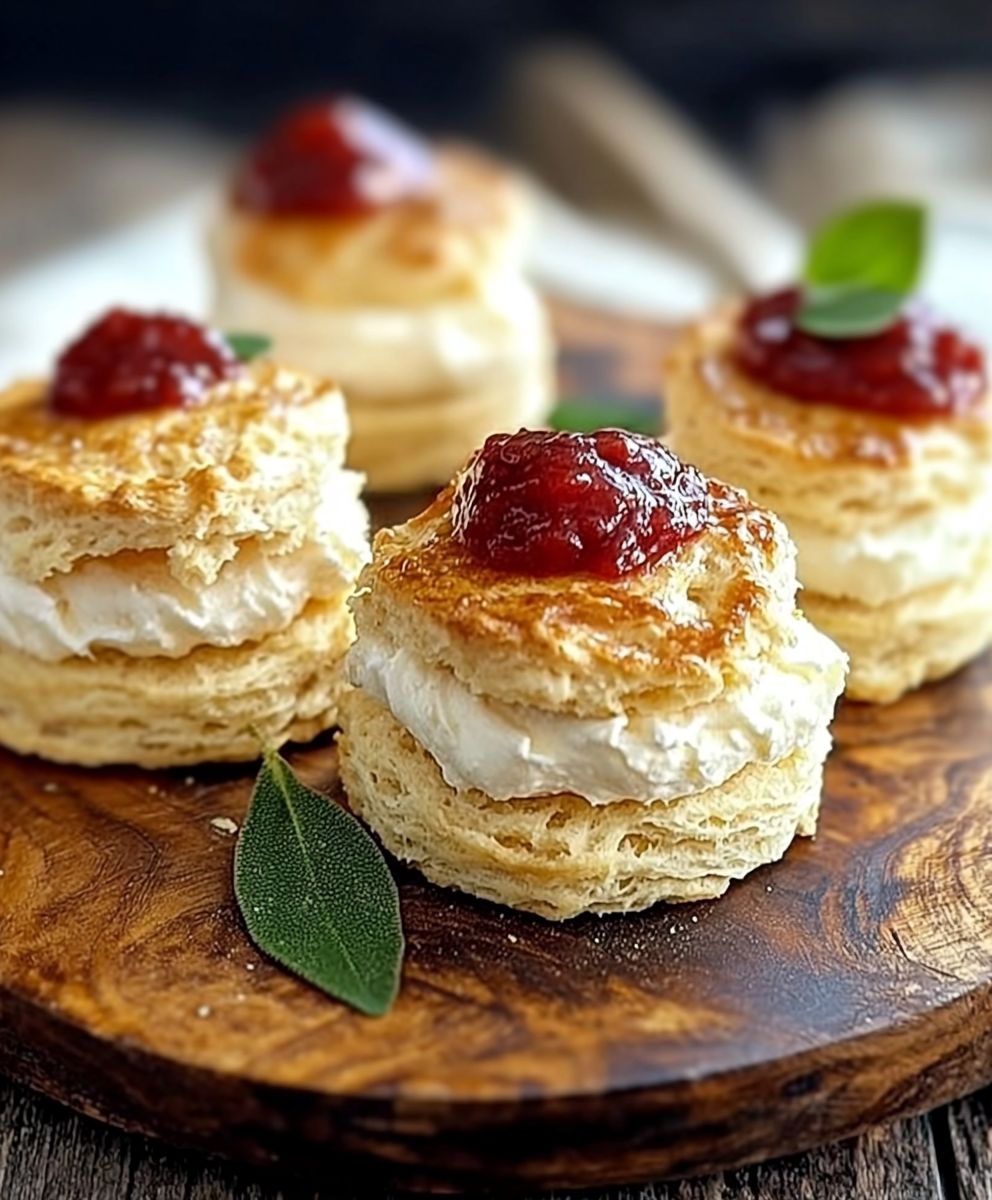
Light and fluffy classic English scones, best served warm with clotted cream and jam.
Ingredients
- 225g (8oz) self-raising flour, plus extra for dusting
- Pinch of salt
- 55g (2oz) cold butter, cut into small cubes
- 25g (1oz) caster sugar
- 150ml (5 fl oz) milk, plus 1 tbsp for glazing
- Optional: 1 tsp vanilla extract
- Optional: 50g (2oz) raisins or sultanas
- Clotted cream and jam, to serve
Instructions
- Preheat: Preheat your oven to 425°F (220°C). Lightly grease a baking sheet or line it with parchment paper.
- Sift: Sift the flour and salt into a large mixing bowl.
- Butter: Add the cold butter to the flour mixture. Rub the butter into the flour until the mixture resembles breadcrumbs.
- Sugar & Fruit: Stir in the caster sugar and dried fruit (if using).
- Milk: Gradually add the milk and vanilla extract (if using). Mix with a round-bladed knife until the dough starts to come together. Add the remaining milk a little at a time until you have a soft, slightly sticky dough. Be careful not to overmix the dough.
- Knead: Turn the dough out onto a lightly floured surface. Gently knead the dough for a few seconds, just until it comes together into a smooth ball.
- Roll: Roll out the dough to a thickness of about 1 inch (2.5cm).
- Cut: Cut out the scones using a 2 inch (5cm) round cutter. Dip the cutter in flour before each cut. Press the cutter straight down and avoid twisting it.
- Bake: Place the scones onto the prepared baking sheet. Brush the tops of the scones with milk.
- Bake: Bake in the preheated oven for 12-15 minutes, or until golden brown and well-risen.
- Cool: Remove the scones from the oven and transfer them to a wire rack to cool slightly.
- Serve: Serve warm with clotted cream and jam.
Notes
- Use cold butter for flaky layers.
- Don’t overmix the dough for tender scones.
- A hot oven is essential for a good rise.
- Don’t twist the cutter to avoid sealing the edges.
- For a richer flavor, use buttermilk instead of milk.
- Add a pinch of baking powder for extra lift.
- Experiment with different flavors like lemon zest, orange zest, or chopped nuts.
- Freeze leftover scones for later.


Leave a Comment