

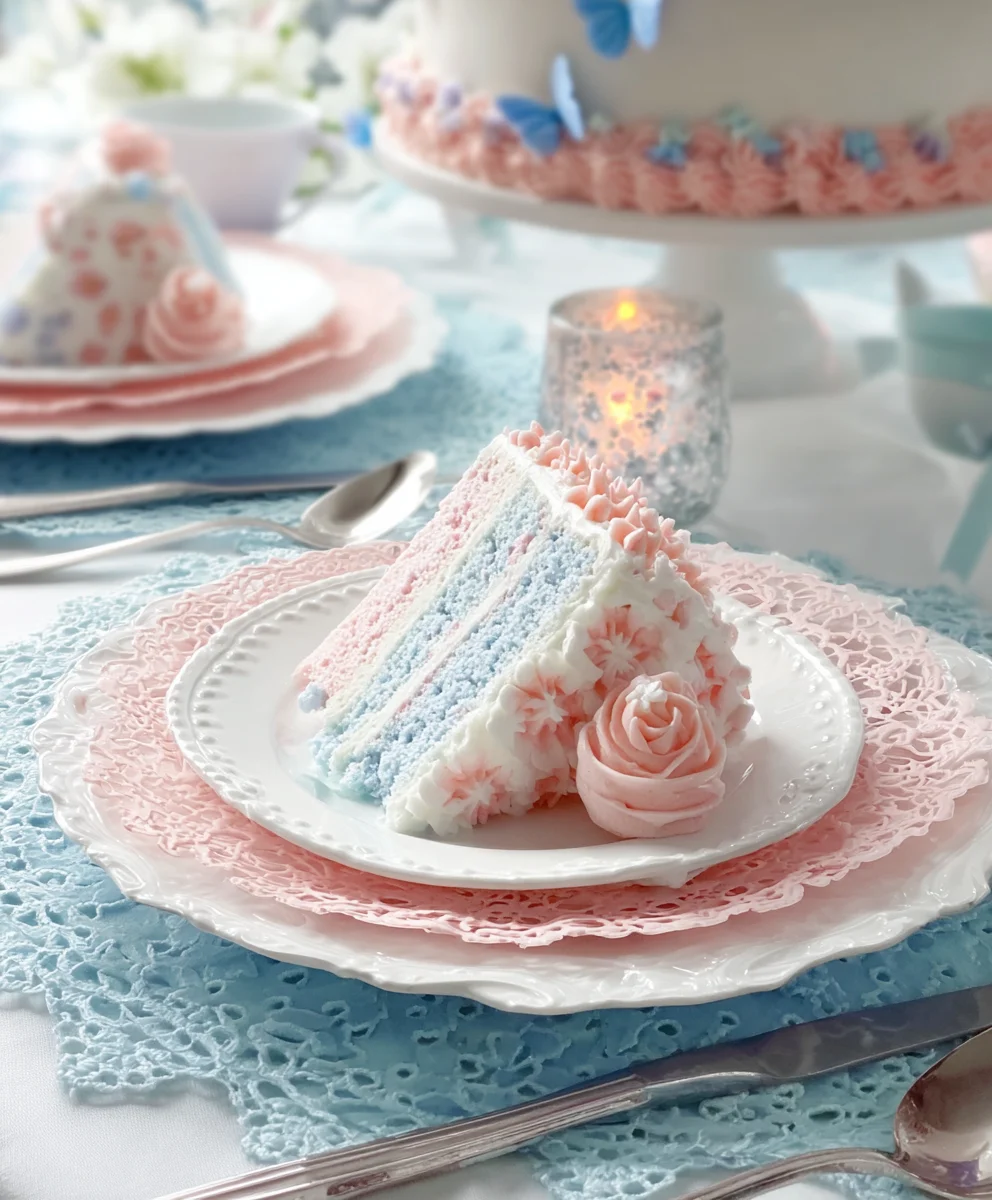
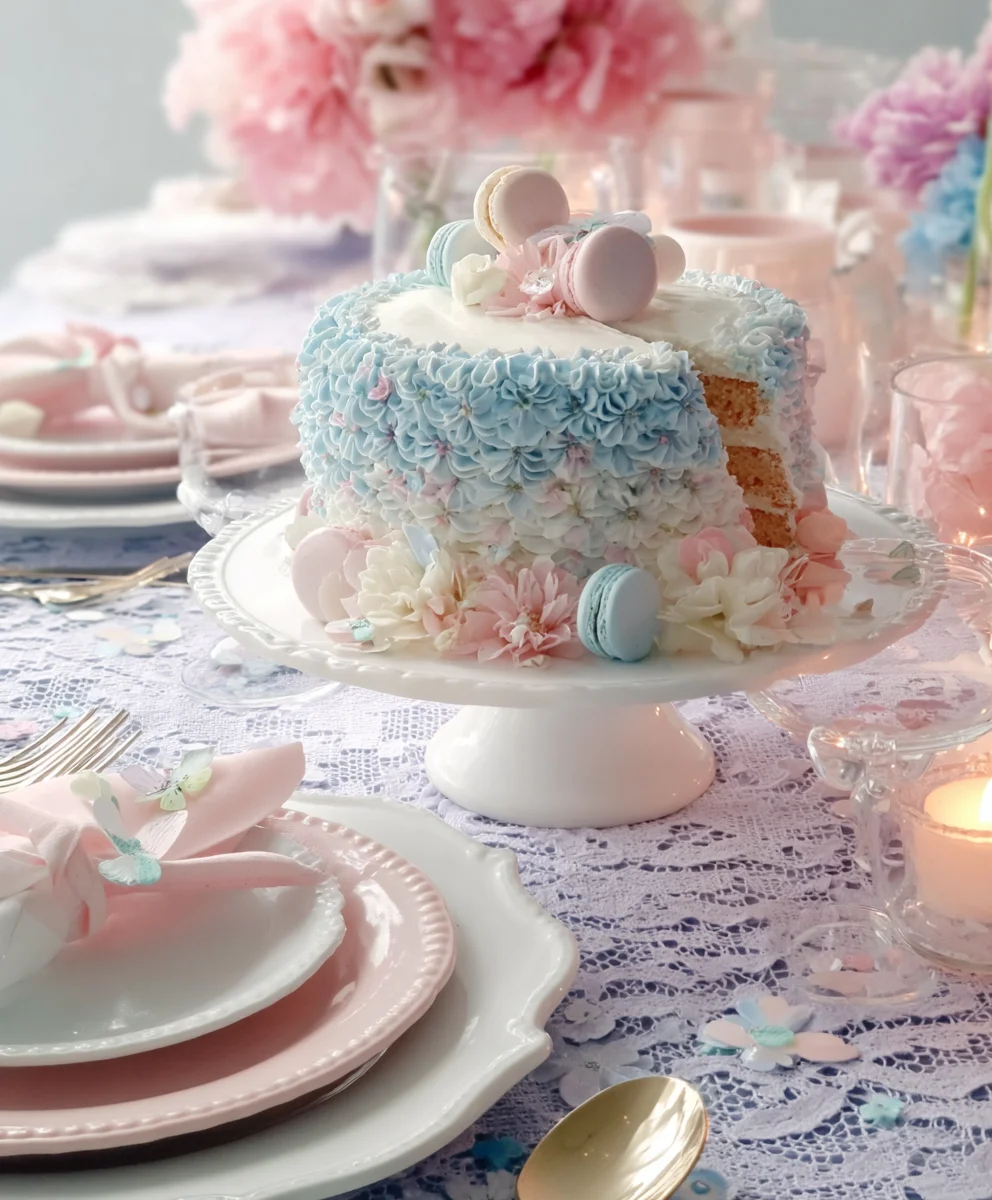
Dreamy Pink & Blue Coquette Party recipes are more than just food; they’re an invitation to a whimsical celebration where sweetness meets sophisticated charm. Imagin extracte a gathering bathed in the soft glow of fairy lights, where every bite is a whisper of playful elegance. This is precisely the atmosphere our collection of Dreamy Pink & Blue Coquette Party delights aims to create. People adore these confections because they tap into a delightful aesthetic that’s both nostalgic and incredibly chic. It’s the perfect fusion of youthful joy and grown-up indulgence, making it ideal for birthdays, bridal showers, or simply a delightful afternoon tea with friends. What truly sets these recipes apart is their ability to transform simple ingredients into edible works of art, showcasing the delightful harmony of pastel pinks and serene blues. Each creation is designed to be visually stunning, offering a feast for the eyes before it even graces your taste buds, promising an unforgettable experience for you and your guests.

Ingredients:
- 1 cup (2 sticks) unsalted butter, softened
- 1 1/2 cups granulated sugar
- 2 large eggs
- 1 teaspoon vanilla extract
- 3 cups all-purpose flour
- 1 teaspoon baking powder
- 1/2 teaspoon salt
- 1/4 teaspoon baking soda
- 1/4 cup milk
- Pink gel food coloring
- Blue gel food coloring
- 1/2 cup powdered sugar, sifted
- 2 tablespoons milk (for icing)
- 1 teaspoon lemon extract (optional, for icing)
- Assorted sprinkles (pink, blue, white, pearlized, and edible glitter)
Cookie Dough Preparation
Mixing the Base Dough
Begin extract by creaming together the softened unsalted butter and granulated sugar in a large mixing bowl. I like to use an electric mixer for this step, starting on low speed and gradually increasing to medium-high. You’re looking for a light and fluffy texture, almost like pnon-alcoholic ale yellow clouds. This usually takes about 3 to 5 minutes. Once it’s wonderfully creamy, I add the large eggs, one at a time, beating well after each addition to ensure they’re fully incorporated. Don’t forget the teaspoon of vanilla extract; it adds that classic, comforting aroma.
Incorporating Dry Ingredients
In a separate medium bowl, whisk together the all-purpose flour, baking powder, salt, and baking soda. This ensures that all the leavening agents and salt are evenly distributed, which is crucial for consistent cookie texture. Now, gradually add this dry mixture to the wet ingredients in the large bowl, alternating with the 1/4 cup of milk. Start and end with the dry ingredients. Mix on low speed until just combined. Be careful not to overmix at this stage, as that can lead to tough cookies. You should have a soft, pliable dough.
Dividing and Coloring the Dough
Portioning for Color
Divide the cookie dough into three equal portions. This makes it easier to work with when adding the colors. Place each portion into its own separate bowl.
Coloring the Dough
Now for the fun part – the coquette colors! In one bowl, add a few drops of pink gel food coloring. Gently knead the color into the dough until it’s uniformly a beautiful, soft pink. Be conservative with the gel coloring at first; you can always add more to achieve a deeper shade. In the second bowl, do the same with the blue gel food coloring, aiming for a complementary hue. Leave the third portion of dough plain. This will serve as your base white dough.
Shaping and Baking the Coquette Cookies
Marbling Technique
Take about a third of the pink dough and flatten it slightly. Then, take a third of the blue dough and flatten it slightly. Place the flattened pink dough on top of the flattened blue dough. Now, take a third of the plain white dough and flatten it, placing it on top of the colored layers. Gently press these layers together. Then, carefully roll the combined dough like you would a jelly roll, creating a swirled or marbled effect. Don’t overwork it; you want distinct ribbons of color. Repeat this marbling process with the remaining portions of pink, blue, and white dough.
Chilling and Slicing
Once you have your marbled dough logs, wrap them tightly in plastic wrap and refrigerate them for at least 1 hour, or until firm. This chilling step is absolutely essential. It allows the butter to firm up, making the dough much easier to slice without the shapes distorting. Once chilled, unwrap the logs and use a sharp knife to slice them into 1/4-inch thick rounds. As you slice, you’ll start to see the dreamy pink and blue coquette patterns emerge. You can also use cookie cutters at this stage if you prefer, but the marbled slices themselves are so charming.
Baking to Perfection
Preheat your oven to 350°F (175°C). Line baking sheets with parchment paper. Arrange the sliced cookie dough rounds on the prepared baking sheets, leaving about 1 inch of space between them to allow for spreading. Bake for 9 to 12 minutes, or until the edges are lightly golden and the centers are set. Keep a close eye on them, as oven temperatures can vary. Overbaking will make them crispier than intended. For a soft, chewy cookie, err on the side of less baking time. Let the cookies cool on the baking sheets for 5 minutes before transferring them to a wire rack to cool completely. This initial cooling on the sheet helps them firm up.
Creating the Dreamy Icing
Whipping Up the Glaze
While the cookies are cooling, prepare the simple icing. In a small bowl, whisk together the sifted powdered sugar and 2 tablespoons of milk. You’re aiming for a smooth, pourable consistency. If it’s too thick, add a tiny bit more milk, a teaspoon at a time. If it’s too thin, add a little more powdered sugar. Stir in the lemon extract if you’re using it; it adds a lovely subtle brightness that complements the sweet cookie.
Decorating the Dreamy Coquette Cookies
Once the cookies are completely cool, it’s time to decorate! You can either drizzle the icing over the cookies or dip the tops into the icing. For a more controlled application, use a spoon to drizzle thin lines of icing over the cookies, letting it drip down the sides. If you want a more solid glaze, dip the top of each cookie into the icing and let the excess drip off. While the icing is still wet, immediately sprinkle them with your assorted sprinkles. Don’t be afraid to mix and match the pink, blue, white, pearlized, and edible glitter sprinkles to create that perfect coquette aesthetic. Work quickly, as the icing will start to set. Allow the icing to dry completely before storing or serving your dreamy pink and blue creations.
Conclusion:
I hope you’ve enjoyed learning how to create the absolutely delightful Dreamy Pink & Blue Coquette Party! This recipe is more than just a dish; it’s an experience designed to bring joy and a touch of whimsical elegance to any gathering. We’ve covered the simple steps to achieve those beautiful, vibrant layers that are as pleasing to the eye as they are to the palate. Remember, the key is patience during the layering process to ensure those distinct pink and blue hues shine through. Don’t be afraid to experiment and make this recipe your own!
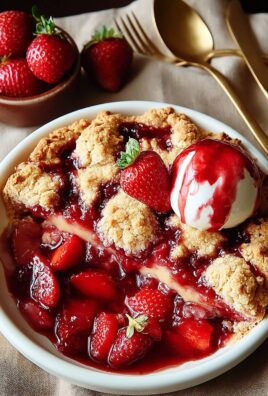
For serving suggestions, consider presenting the Dreamy Pink & Blue Coquette Party in clear glasses or small bowls to showcase its stunning visual appeal. It pairs wonderfully with delicate pastries, fresh berries, or even a light, fluffy meringue. Think of it as the perfect centerpiece for a tea party, a birthday celebration, or any occasion where you want to add a touch of playful sophistication.
If you’re feeling adventurous, there are so many ways to put your own spin on this creation. You could introduce subtle flavor variations by adding a hint of vanilla or almond extract to one layer. For a different textural element, consider topping with edible glitter or a sprinkle of finely chopped white chocolate. The possibilities are truly endless, and the most important thing is to have fun in the kitchen and enjoy the process. Go ahead and create your own Dreamy Pink & Blue Coquette Party masterpiece – I know you’ll love it!
Frequently Asked Questions:
Q: Can I make the pink and blue layers ahead of time?
Yes, you can! The individual pink and blue components can be prepared a day in advance and stored separately in airtight containers in the refrigerator. However, for the best visual effect and texture, it’s recommended to assemble the layers just before serving to prevent them from bleeding into each other.
Q: What if I don’t have food coloring? Are there natural alternatives for the pink and blue colors in the Dreamy Pink & Blue Coquette Party?
Absolutely! For a natural pink, you can use pureed raspberries or strawberries. For a natural blue, a small amount of spirulina powder or butterfly pea flower powder can create a beautiful blue hue. Be sure to adjust the quantities to achieve your desired color intensity and flavor profile.
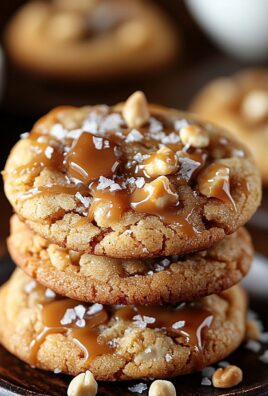
Coquette Dreamy Pink-Blue Party-Sweet Treats Recipe
Create enchanting coquette cookies with a dreamy pink and blue swirl, topped with a sweet glaze and sparkling sprinkles.
Ingredients
-
1 cup (2 sticks) unsalted butter, softened
-
1 1/2 cups granulated sugar
-
2 large eggs
-
1 teaspoon vanilla extract
-
3 cups all-purpose flour
-
1 teaspoon baking powder
-
1/2 teaspoon salt
-
1/4 teaspoon baking soda
-
1/4 cup milk
-
Pink gel food coloring
-
Blue gel food coloring
-
1/2 cup powdered sugar, sifted
-
2 tablespoons milk (for icing)
-
1 teaspoon lemon extract (optional, for icing)
-
Assorted sprinkles (pink, blue, white, pearlized, and edible glitter)
Instructions
-
Step 1
Cream together softened unsalted butter and granulated sugar until light and fluffy. Beat in eggs one at a time, then stir in vanilla extract. -
Step 2
In a separate bowl, whisk together flour, baking powder, salt, and baking soda. Gradually add this dry mixture to the wet ingredients, alternating with milk, mixing until just combined. Do not overmix. -
Step 3
Divide the dough into three equal portions. Color one portion pink and another blue using gel food coloring. Leave the third portion plain. -
Step 4
Marble the doughs by layering flattened portions of pink, blue, and white dough and gently rolling them into a log. Repeat with remaining dough. -
Step 5
Wrap dough logs tightly and refrigerate for at least 1 hour until firm. Slice into 1/4-inch thick rounds. -
Step 6
Preheat oven to 350°F (175°C). Bake cookies on parchment-lined baking sheets for 9-12 minutes until edges are lightly golden and centers are set. Cool on baking sheets for 5 minutes, then transfer to a wire rack to cool completely. -
Step 7
Prepare icing by whisking sifted powdered sugar with milk until smooth and pourable. Stir in lemon extract if using. -
Step 8
Drizzle or dip cooled cookies in icing. Immediately sprinkle with assorted sprinkles while icing is wet. Let icing dry completely before serving.
Important Information
Nutrition Facts (Per Serving)
It is important to consider this information as approximate and not to use it as definitive health advice.
Allergy Information
Please check ingredients for potential allergens and consult a health professional if in doubt.
Leave a Comment