

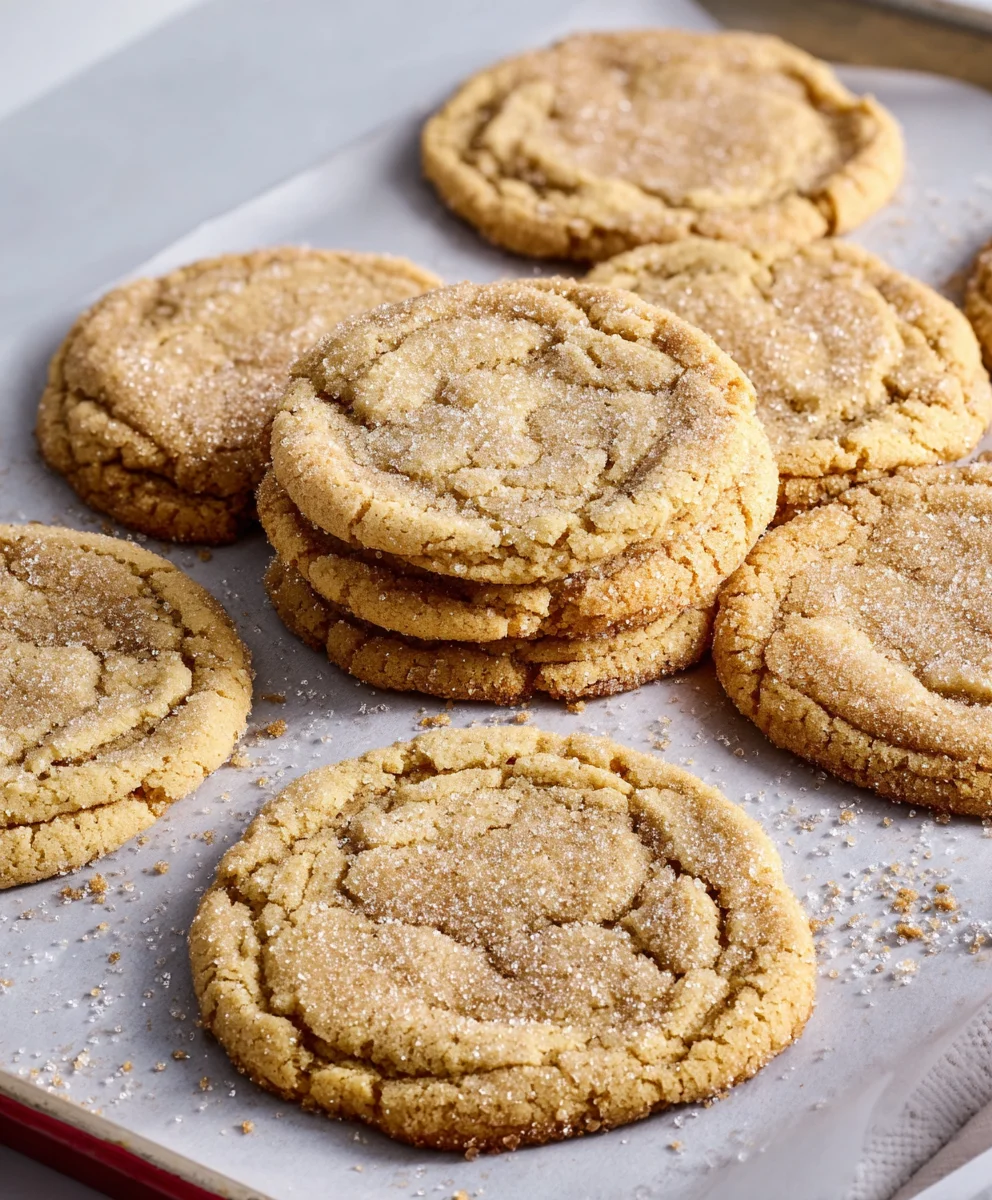
Brown Butter Sugar Cookies aren’t just any cookie; they are a revelation. If you’ve ever found yourself yearning for a cookie that transcends the ordinary, a treat that whispers tales of cozy kitchens and pure indulgence, then you’ve come to the right place. These aren’t your average, flat, slightly bland sugar cookies. Oh no, these are elevated. The secret? The magic of brown butter. When butter is gently heated and its milk solids toast to a beautiful amber hue, it unlocks a nutty, caramelized depth of flavor that transforms simple ingredients into something truly extraordinary. This simple step elevates the classic sugar cookie to an unforgettable experience, creating a melt-in-your-mouth texture with a rich, sophisticated aroma that will have everyone begging for your recipe. Prepare yourself for a wave of compliments because these brown butter sugar cookies are guaranteed to become a household favorite.

Ingredients:
- 1/2 cup unsalted butter, cut into 1 Tbsp-size pieces (113g)
- 1/2 cup granulated sugar (100g)
- 1/4 cup packed light brown sugar (50g)
- 1 large egg, room temperature (56g)
- 1 tsp vanilla extract or vanilla bean paste (5g)
- 1 cup all-purpose flour (125g)
- 1/2 tsp baking soda (3g)
- 1/2 tsp fine salt (3g)
- White sanding sugar or additional granulated sugar for rolling
Prepare the Dough
Browning the Butter
The secret to these incredibly flavorful Brown Butter Sugar Cookies starts with browning the butter. This step might seem a little intimidating, but it’s quite straightforward and the result is absolutely worth it. Place your 1/2 cup of unsalted butter, cut into tablespoon-sized pieces, into a light-colored, heavy-bottomed saucepan over medium heat. As the butter melts, it will begin to foam. Continue to cook, swirling the pan occasionally, and watch for the milk solids at the bottom to start turning golden brown. You’ll notice a nutty aroma developing. This usually takes about 5-8 minutes. Be careful not to burn it – burnt butter will taste bitter. Once you see those beautiful golden-brown specks and smell that toasty, nutty fragrance, immediately remove the pan from the heat and pour the browned butter into a heatproof bowl to stop the cooking process. Let it cool slightly for about 5 minutes.
Combining Wet Ingredients
In a large mixing bowl, combine the slightly cooled browned butter with the 1/2 cup of granulated sugar and the 1/4 cup of packed light brown sugar. Use a whisk or an electric mixer on medium speed to cream these ingredients together until they are well combined and the mixture is smooth. Next, beat in the 1 large egg, ensuring it’s at room temperature for better emulsification. Room temperature eggs incorporate more easily into the dough and create a smoother texture. Beat until the egg is fully incorporated and the mixture is light and fluffy. Finally, stir in the 1 teaspoon of vanilla extract or vanilla bean paste. The vanilla is crucial for adding that classic sweet aroma and flavor that complements the browned butter perfectly.
Adding Dry Ingredients
In a separate medium bowl, whisk together the 1 cup of all-purpose flour, 1/2 teaspoon of baking soda, and 1/2 teaspoon of fine salt. Whisking the dry ingredients together ensures that the baking soda and salt are evenly distributed throughout the flour, which will lead to consistent leavening and flavor in your cookies. Gradually add the dry ingredients to the wet ingredients, mixing on low speed with your electric mixer or stirring with a spatula until just combined. Be careful not to overmix at this stage; overmixing can develop the gluten in the flour, resulting in tougher cookies. You want to mix until you no longer see streaks of flour. The dough will be soft and slightly sticky.
Chilling and Shaping the Dough
Chilling the Dough
It’s essential to chill the dough for these Brown Butter Sugar Cookies. This step allows the flavors to meld beautifully and makes the dough firmer and easier to handle, which is key for preventing excessive spreading during baking. Cover the bowl with plastic wrap and refrigerate for at least 1 hour, or up to 2 days. The longer the dough chills, the more developed the brown butter flavor will become. If you’re short on time, a minimum of 30 minutes in the freezer can also help firm it up quickly.
Shaping the Cookies
Once the dough is sufficiently chilled and firm, it’s time to shape. Prepare a baking sheet by lining it with parchment paper. This prevents sticking and makes for easy cleanup. Scoop out portions of the dough using a cookie scoop (about 1.5 tablespoons) or roll them into balls with your hands. Gently roll each ball in the white sanding sugar or additional granulated sugar until it’s evenly coated. This sugar coating not only adds a delightful crunch and sparkle but also contributes to the cookie’s signature crisp edges. Place the sugar-coated dough balls onto the prepared baking sheet, leaving about 2 inches between each one to allow for spreading. For classic sugar cookie appearance, you can gently flatten each ball with the palm of your hand or the bottom of a glass, but this is optional.
Baking the Cookies
Preheat your oven to 350°F (175°C). Once your oven is preheated and your cookies are shaped and on the baking sheet, carefully place the sheet into the center rack. Bake for 9-12 minutes, or until the edges are lightly golden brown and the centers appear set but still slightly soft. The exact baking time will depend on your oven and the size of your cookies. Keep a close eye on them during the last few minutes of baking to prevent overbaking. The browned butter adds a deeper color to the dough, so judge doneness by the edges rather than relying solely on a light golden hue.
Cooling the Cookies
This step is crucial for achieving the perfect texture. Once removed from the oven, let the Brown Butter Sugar Cookies cool on the baking sheet for 5 minutes. This allows them to firm up just enough so they don’t fall apart when you move them. After this initial resting period, carefully transfer the cookies to a wire rack to cool completely. Allowing them to cool completely on the wire rack will ensure they become perfectly crisp on the outside and wonderfully tender on the inside, without becoming soggy from trapped steam.
Conclusion:
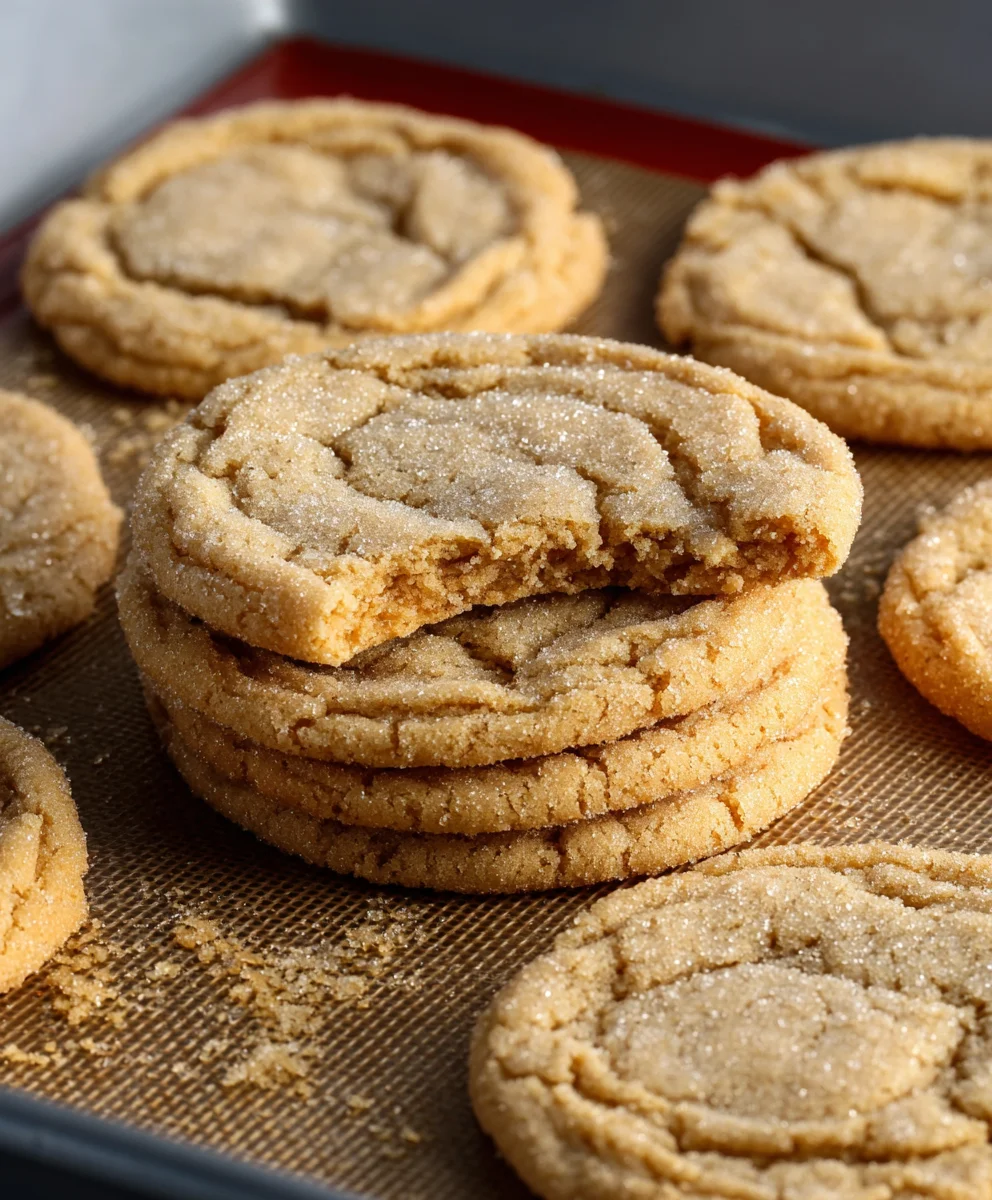
There you have it! These Brown Butter Sugar Cookies are a delightful way to elevate a classic treat. The subtle nutty notes from the browned butter add an incredible depth of flavor that truly sets them apart. The texture is wonderfully crisp around the edges with a satisfying chew in the center – a perfect balance for any cookie lover. I hope you have as much fun making and devouring these as I do! Don’t be afraid to experiment with this fantastic base recipe.
When it comes to serving, these Brown Butter Sugar Cookies are wonderfully versatile. They’re fantastic on their own with a glass of cold milk, but they also make a stunning addition to a dessert platter. Consider them a perfect cookie for holiday gatherings, a thoughtful homemade gift, or simply a well-deserved afternoon pick-me-up.
If you’re feeling adventurous, try adding a pinch of cinnamon or a touch of cardamom to the dough for a warm, spiced twist. You could also dip half of the cooled cookies in melted chocolate for an extra layer of indulgence. The possibilities are truly endless with these delicious Brown Butter Sugar Cookies!
Frequently Asked Questions:
Can I make the dough ahead of time?
Absolutely! The dough for these Brown Butter Sugar Cookies can be made up to 2-3 days in advance and stored, tightly wrapped, in the refrigerator. Allowing the dough to chill further can even enhance the flavors. Just bring it to room temperature for about 15-20 minutes before scooping and baking.
How can I store these cookies to keep them fresh?
Once completely cooled, store your Brown Butter Sugar Cookies in an airtight container at room temperature. They should stay fresh and delicious for up to a week. If you find they become too crisp, you can place a slice of bread in the container to help soften them up slightly.
What is “browning” butter and why is it important for these cookies?
Browning butter involves melting butter over medium heat and continuing to cook it until the milk solids at the bottom of the pan turn a golden brown color and release a nutty aroma. This process transforms regular butter into something much more complex and flavorful, adding a delicious caramel-like depth that is essential for truly exceptional Brown Butter Sugar Cookies.
Brown Butter Sugar Cookies-Perfectly Sweet & Chewy
Deliciously chewy sugar cookies elevated with the nutty, rich flavor of browned butter. A perfect treat for any occasion.
Ingredients
-
1/2 cup unsalted butter, cut into 1 Tbsp-size pieces (113g)
-
1/2 cup granulated sugar (100g)
-
1/4 cup packed light brown sugar (50g)
-
1 large egg, room temperature (56g)
-
1 tsp vanilla extract or vanilla bean paste (5g)
-
1 cup all-purpose flour (125g)
-
1/2 tsp baking soda (3g)
-
1/2 tsp fine salt (3g)
-
White sanding sugar or additional granulated sugar for rolling
Instructions
-
Step 1
Brown the butter: Melt 1/2 cup unsalted butter in a light-colored, heavy-bottomed saucepan over medium heat. Swirl occasionally until milk solids turn golden brown and a nutty aroma develops, about 5-8 minutes. Pour into a heatproof bowl and let cool slightly for 5 minutes. -
Step 2
Combine wet ingredients: In a large bowl, whisk or beat the slightly cooled browned butter with 1/2 cup granulated sugar and 1/4 cup packed light brown sugar until smooth. Beat in 1 room temperature large egg until light and fluffy. Stir in 1 tsp vanilla extract or vanilla bean paste. -
Step 3
Add dry ingredients: In a separate bowl, whisk together 1 cup all-purpose flour, 1/2 tsp baking soda, and 1/2 tsp fine salt. Gradually add the dry ingredients to the wet ingredients, mixing on low speed or stirring until just combined. Do not overmix. -
Step 4
Chill the dough: Cover the bowl with plastic wrap and refrigerate for at least 1 hour, or up to 2 days, to allow flavors to meld and firm up the dough. -
Step 5
Shape the cookies: Preheat oven to 350°F (175°C). Line a baking sheet with parchment paper. Scoop about 1.5 tablespoon portions of chilled dough and roll into balls. Roll each ball in white sanding sugar or granulated sugar. Place on the prepared baking sheet, 2 inches apart. Gently flatten if desired. -
Step 6
Bake: Bake for 9-12 minutes, or until the edges are lightly golden brown and the centers appear set. Baking time may vary by oven and cookie size. -
Step 7
Cool the cookies: Let the cookies cool on the baking sheet for 5 minutes before carefully transferring them to a wire rack to cool completely.
Important Information
Nutrition Facts (Per Serving)
It is important to consider this information as approximate and not to use it as definitive health advice.
Allergy Information
Please check ingredients for potential allergens and consult a health professional if in doubt.

Leave a Comment