

White Chocolate Cranberry Cookies: Prepare to be utterly captivated by these festive and flavorful treats! Imagine sinking your teeth into a soft, chewy cookie, bursting with the creamy sweetness of white chocolate and the tangy pop of cranberries. It’s a symphony of flavors and textures that will leave you craving more.
While the exact origins of combining white chocolate and cranberries in cookies are somewhat modern, the pairing itself draws upon a rich history of using cranberries in baking, particularly around the holiday season in North America. Cranberries, a native fruit, have long been a staple in Thanksgiving and Christmas traditions, adding a vibrant tartness that balances richer, sweeter flavors.
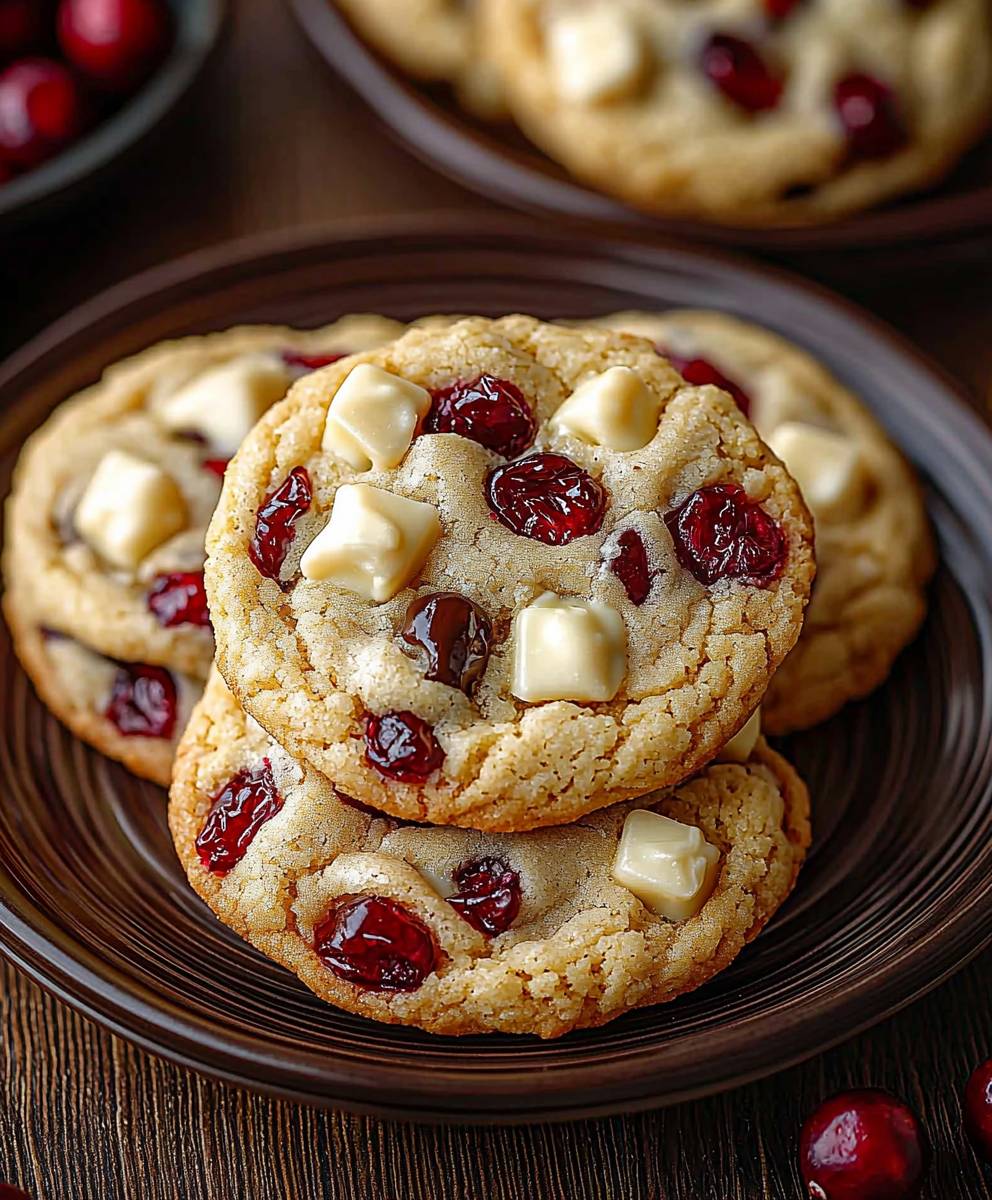
What makes these White Chocolate Cranberry Cookies so irresistible? It’s the perfect balance! The buttery cookie base provides a comforting foundation, while the white chocolate melts in your mouth, offering a luxurious sweetness. The cranberries, with their slightly tart and chewy texture, cut through the richness, preventing the cookies from being overly sweet. Plus, they’re incredibly easy to make, making them a perfect choice for holiday baking, potlucks, or simply a delightful afternoon treat. Their beautiful appearance, studded with red cranberries and creamy white chocolate, also makes them a visually appealing addition to any dessert table. Get ready to bake up a batch of pure cookie bliss!

Ingredients:
- 1 cup (2 sticks) unsalted butter, softened
- 1 cup granulated sugar
- 1 cup packed light brown sugar
- 2 large eggs
- 1 teaspoon vanilla extract
- 3 cups all-purpose flour
- 1 teaspoon baking soda
- 1/2 teaspoon salt
- 1 (12 ounce) bag white chocolate chips
- 1 cup dried cranberries
- 1/2 cup chopped pecans or walnuts (optional)
Preparing the Dough:
- Cream the Butter and Sugars: In a large bowl, or the bowl of your stand mixer, cream together the softened butter, granulated sugar, and light brown sugar until light and fluffy. This usually takes about 3-5 minutes. Make sure to scrape down the sides of the bowl occasionally to ensure everything is evenly mixed. The mixture should be pale and airy.
- Add Eggs and Vanilla: Beat in the eggs one at a time, mixing well after each addition. Then, stir in the vanilla extract. Ensure the eggs are fully incorporated before moving on to the next step. This helps create a smooth and consistent dough.
- Combine Dry Ingredients: In a separate medium bowl, whisk together the all-purpose flour, baking soda, and salt. Whisking is important to evenly distribute the baking soda and salt throughout the flour, which helps the cookies rise properly and have a balanced flavor.
- Gradually Add Dry Ingredients to Wet Ingredients: Gradually add the dry ingredients to the wet ingredients, mixing on low speed until just combined. Be careful not to overmix the dough, as this can result in tough cookies. Mix until you no longer see streaks of flour.
- Fold in White Chocolate Chips, Cranberries, and Nuts (Optional): Gently fold in the white chocolate chips, dried cranberries, and chopped nuts (if using). Distribute them evenly throughout the dough. I like to use a rubber spatula for this step to avoid overmixing.
- Chill the Dough (Important!): Cover the bowl with plastic wrap and chill the dough in the refrigerator for at least 30 minutes, or up to 2 hours. Chilling the dough helps prevent the cookies from spreading too thin while baking and allows the flavors to meld together. For best results, I recommend chilling for at least an hour. You can even chill it overnight!
Baking the Cookies:
- Preheat Oven: Preheat your oven to 375°F (190°C). Make sure your oven rack is in the center position. Using an oven thermometer is a great way to ensure your oven is at the correct temperature.
- Prepare Baking Sheets: Line baking sheets with parchment paper or silicone baking mats. This prevents the cookies from sticking and makes cleanup easier. I prefer parchment paper for easy removal.
- Scoop Dough onto Baking Sheets: Use a cookie scoop or spoon to drop rounded tablespoons of dough onto the prepared baking sheets, leaving about 2 inches between each cookie. This allows the cookies to spread without running into each other.
- Bake: Bake for 9-11 minutes, or until the edges are lightly golden brown and the centers are still slightly soft. Keep a close eye on them, as baking times can vary depending on your oven. The cookies will continue to set up as they cool.
- Cool on Baking Sheets: Remove the baking sheets from the oven and let the cookies cool on the baking sheets for a few minutes before transferring them to a wire rack to cool completely. This helps prevent them from breaking.
Tips for Perfect White Chocolate Cranberry Cookies:
- Use Room Temperature Butter: Softened butter is crucial for creaming properly with the sugars. If your butter is too cold, it won’t cream well, and if it’s too melted, the cookies may spread too thin.
- Don’t Overmix the Dough: Overmixing develops the gluten in the flour, which can result in tough cookies. Mix until just combined.
- Chill the Dough: Chilling the dough is essential for preventing the cookies from spreading too thin and for developing the flavors.
- Use High-Quality White Chocolate: The quality of the white chocolate will greatly impact the flavor of the cookies. I recommend using a good brand of white chocolate chips or chopping up a white chocolate bar.
- Adjust Baking Time: Baking times may vary depending on your oven. Keep a close eye on the cookies and adjust the baking time as needed.
- Add a Sprinkle of Sea Salt: A sprinkle of sea salt on top of the cookies after baking can enhance the flavors and create a delicious sweet and salty combination.
- Storage: Store the cooled cookies in an airtight container at room temperature for up to 3-4 days.
- Freezing: You can freeze the cookie dough for later use. Scoop the dough into balls and place them on a baking sheet lined with parchment paper. Freeze for about 30 minutes, or until solid. Then, transfer the frozen dough balls to a freezer bag and store in the freezer for up to 2-3 months. When ready to bake, bake from frozen, adding a few extra minutes to the baking time. You can also freeze the baked cookies in an airtight container for up to 2-3 months.
Variations:
- Add Orange Zest: Add 1 teaspoon of orange zest to the dough for a bright and citrusy flavor.
- Use Different Nuts: Substitute the pecans or walnuts with other nuts, such as macadamia nuts or almonds.
- Add Spices: Add 1/2 teaspoon of ground cinnamon or nutmeg to the dough for a warm and cozy flavor.
- Drizzle with White Chocolate: Drizzle the cooled cookies with melted white chocolate for an extra touch of sweetness and elegance.
- Make Them Gluten-Free: Substitute the all-purpose flour with a gluten-free all-purpose flour blend.
Troubleshooting:
- Cookies Spreading Too Thin: Make sure you are using room temperature butter and that you have chilled the dough for at least 30 minutes. You can also try adding a tablespoon or two of flour to the dough.
- Cookies Too Dry: Make sure you are not overbaking the cookies. Bake until the edges are lightly golden brown and the centers are still slightly soft.
- Cookies Too Hard: Make sure you are not overmixing the dough. Overmixing develops the gluten in the flour, which can result in tough cookies.
- Cookies Not Spreading Enough: Make sure your oven is at the correct temperature. You can also try flattening the dough balls slightly before baking.
Serving Suggestions:
- Serve these cookies with a glass of cold milk or a cup of hot coffee or tea.
- They are perfect for holiday gatherings, bake sales, or as a sweet treat any time of year.
- Package them up in a decorative box or tin for a thoughtful homemade gift.
- Enjoy them warm from the oven for the ultimate indulgence.
Conclusion:
So, there you have it! These White Chocolate Cranberry Cookies are more than just a sweet treat; they’re a little burst of holiday cheer in every bite, perfect for any time of year. I truly believe this recipe is a must-try, and here’s why: the combination of the creamy white chocolate, the tart cranberries, and the buttery, slightly chewy cookie base is simply irresistible. It’s a symphony of flavors and textures that will have everyone reaching for seconds (and maybe thirds!).
But beyond the deliciousness, these cookies are also incredibly versatile. They’re fantastic on their own, of course, but they also pair beautifully with a variety of accompaniments. Imagine enjoying one warm from the oven with a scoop of vanilla ice cream the contrast of temperatures and flavors is heavenly! Or, try crumbling them over a bowl of yogurt for a delightful breakfast treat. They’re also the perfect addition to a holiday cookie platter, adding a touch of elegance and festive flair.
And speaking of variations, feel free to get creative! If you’re not a fan of cranberries, try substituting dried cherries or blueberries. For a nuttier flavor, add a handful of chopped pecans or walnuts to the dough. You could even experiment with different types of white chocolate a high-quality Belgian white chocolate will elevate the flavor even further. Another fun twist is to add a pinch of cinnamon or nutmeg to the dough for a warm, spicy note. If you are feeling adventurous, try adding a tablespoon of orange zest to the dough for a bright, citrusy flavor that complements the cranberries beautifully. Don’t be afraid to experiment and make these cookies your own!
These cookies are also fantastic for gifting. Package them in a pretty tin or box, and they’re sure to be a hit with friends, family, and neighbors. They’re a thoughtful and delicious way to show someone you care. I often bake a big batch around the holidays and give them as little thank-you gifts to the people who make my life a little brighter.
I poured my heart into perfecting this recipe, and I’m so excited for you to try it. I’m confident that you’ll love these White Chocolate Cranberry Cookies as much as I do. They’re easy to make, incredibly delicious, and perfect for any occasion.
Now, it’s your turn! I encourage you to head into the kitchen, gather your ingredients, and bake up a batch of these delightful cookies. I promise you won’t regret it. And most importantly, I’d love to hear about your experience! Did you make any variations? What did you think of the flavor? Did your family and friends enjoy them? Please share your thoughts and photos in the comments below. I can’t wait to see your creations and hear your stories. Happy baking! I hope you find this White Chocolate Cranberry Cookie recipe as delightful as I do!
White Chocolate Cranberry Cookies: The Ultimate Recipe
Chewy and delicious white chocolate cranberry cookies, packed with sweet and tart flavors. Perfect for the holidays or any time you crave a comforting treat!
Ingredients
- 1 cup (2 sticks) unsalted butter, softened
- 1 cup granulated sugar
- 1 cup packed light brown sugar
- 2 large eggs
- 1 teaspoon vanilla extract
- 3 cups all-purpose flour
- 1 teaspoon baking soda
- 1/2 teaspoon salt
- 1 (12 ounce) bag white chocolate chips
- 1 cup dried cranberries
- 1/2 cup chopped pecans or walnuts (optional)
Instructions
- Cream the Butter and Sugars: In a large bowl, or the bowl of your stand mixer, cream together the softened butter, granulated sugar, and light brown sugar until light and fluffy. This usually takes about 3-5 minutes. Make sure to scrape down the sides of the bowl occasionally to ensure everything is evenly mixed. The mixture should be pale and airy.
- Add Eggs and Vanilla: Beat in the eggs one at a time, mixing well after each addition. Then, stir in the vanilla extract. Ensure the eggs are fully incorporated before moving on to the next step. This helps create a smooth and consistent dough.
- Combine Dry Ingredients: In a separate medium bowl, whisk together the all-purpose flour, baking soda, and salt. Whisking is important to evenly distribute the baking soda and salt throughout the flour, which helps the cookies rise properly and have a balanced flavor.
- Gradually Add Dry Ingredients to Wet Ingredients: Gradually add the dry ingredients to the wet ingredients, mixing on low speed until just combined. Be careful not to overmix the dough, as this can result in tough cookies. Mix until you no longer see streaks of flour.
- Fold in White Chocolate Chips, Cranberries, and Nuts (Optional): Gently fold in the white chocolate chips, dried cranberries, and chopped nuts (if using). Distribute them evenly throughout the dough. I like to use a rubber spatula for this step to avoid overmixing.
- Chill the Dough (Important!): Cover the bowl with plastic wrap and chill the dough in the refrigerator for at least 30 minutes, or up to 2 hours. Chilling the dough helps prevent the cookies from spreading too thin while baking and allows the flavors to meld together. For best results, I recommend chilling for at least an hour. You can even chill it overnight!
- Preheat Oven: Preheat your oven to 375°F (190°C). Make sure your oven rack is in the center position. Using an oven thermometer is a great way to ensure your oven is at the correct temperature.
- Prepare Baking Sheets: Line baking sheets with parchment paper or silicone baking mats. This prevents the cookies from sticking and makes cleanup easier. I prefer parchment paper for easy removal.
- Scoop Dough onto Baking Sheets: Use a cookie scoop or spoon to drop rounded tablespoons of dough onto the prepared baking sheets, leaving about 2 inches between each cookie. This allows the cookies to spread without running into each other.
- Bake: Bake for 9-11 minutes, or until the edges are lightly golden brown and the centers are still slightly soft. Keep a close eye on them, as baking times can vary depending on your oven. The cookies will continue to set up as they cool.
- Cool on Baking Sheets: Remove the baking sheets from the oven and let the cookies cool on the baking sheets for a few minutes before transferring them to a wire rack to cool completely. This helps prevent them from breaking.
Notes
- Use Room Temperature Butter: Softened butter is crucial for creaming properly with the sugars. If your butter is too cold, it won’t cream well, and if it’s too melted, the cookies may spread too thin.
- Don’t Overmix the Dough: Overmixing develops the gluten in the flour, which can result in tough cookies. Mix until just combined.
- Chill the Dough: Chilling the dough is essential for preventing the cookies from spreading too thin and for developing the flavors.
- Use High-Quality White Chocolate: The quality of the white chocolate will greatly impact the flavor of the cookies. I recommend using a good brand of white chocolate chips or chopping up a white chocolate bar.
- Adjust Baking Time: Baking times may vary depending on your oven. Keep a close eye on the cookies and adjust the baking time as needed.
- Add a Sprinkle of Sea Salt: A sprinkle of sea salt on top of the cookies after baking can enhance the flavors and create a delicious sweet and salty combination.
- Storage: Store the cooled cookies in an airtight container at room temperature for up to 3-4 days.
- Freezing: You can freeze the cookie dough for later use. Scoop the dough into balls and place them on a baking sheet lined with parchment paper. Freeze for about 30 minutes, or until solid. Then, transfer the frozen dough balls to a freezer bag and store in the freezer for up to 2-3 months. When ready to bake, bake from frozen, adding a few extra minutes to the baking time. You can also freeze the baked cookies in an airtight container for up to 2-3 months.


Leave a Comment