

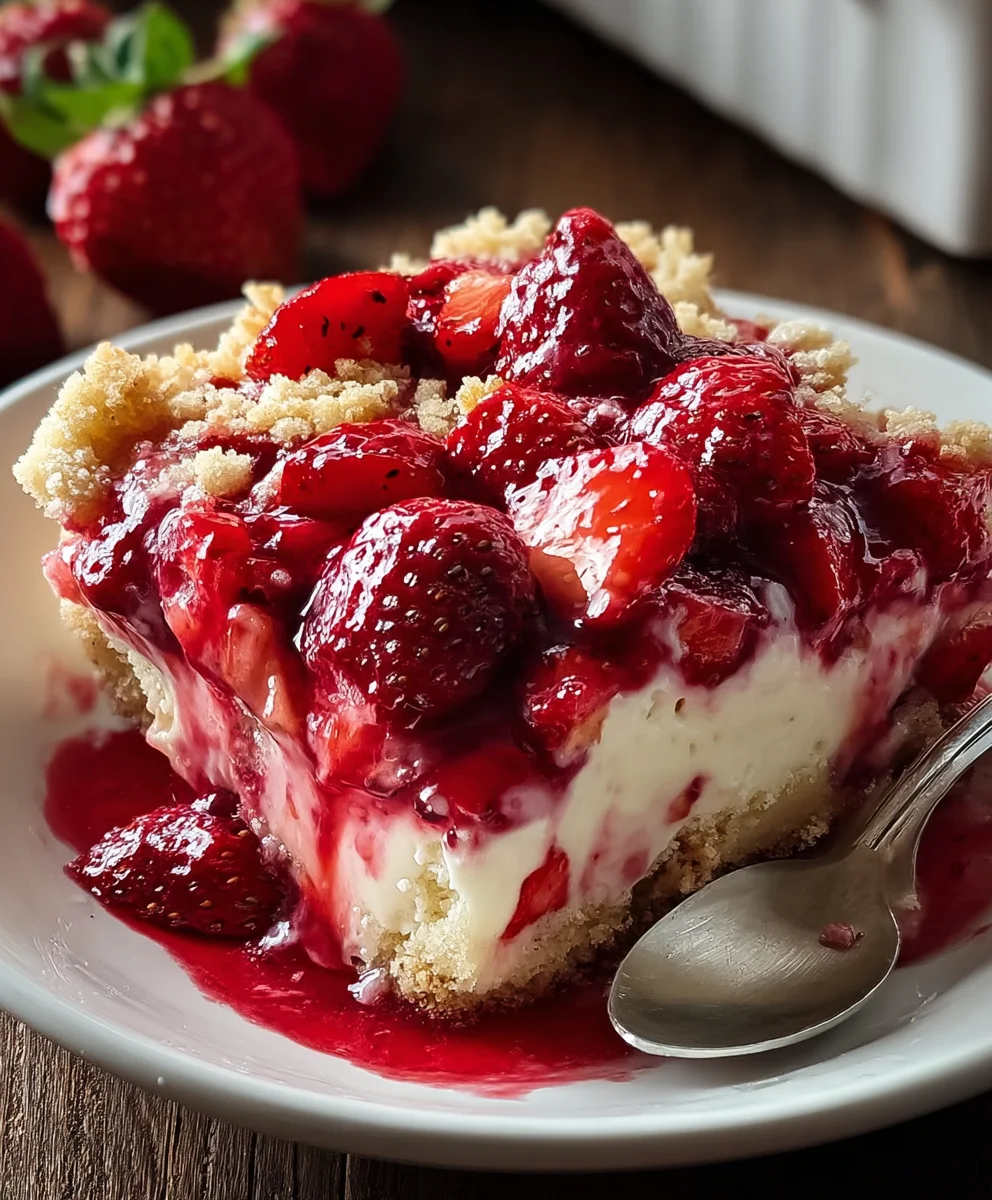
Strawberry Cheesecake Dump Cake, oh, how we adore you! There’s something undeniably magical about this dessert that captures the hearts (and taste buds!) of everyone who tries it. It’s the ultimate comfort food, a symphony of sweet strawberries and creamy, tangy cheesecake, all bundled up in a deceptively simple cake. What makes the Strawberry Cheesecake Dump Cake so special is its effortless charm. You don’t need to be a seasoned baker to whip up this masterpiece; it’s designed for busy weeknights and impromptu gatherings, proving that gourmet flavors can be achieved with minimal fuss. The delightful contrast between the slightly crisp topping and the gooey, baked-in strawberry cheesecake filling is pure bliss. It’s the kind of dessert that elicits sighs of contentment with every single bite, a guaranteed crowd-pleaser that always leaves them asking for seconds.

Ingredients:
- 1 can (21 oz) strawberry pie filling
- 1 package (8 oz) cream cheese, softened
- ½ cup granulated sugar
- 1 teaspoon vanilla extract
- 1 box yellow or white cake mix (15.25 oz)
- ½ cup (1 stick) unsalted butter, melted
- ½ cup milk
- ½ teaspoon cinnamon (optional)
- ½ cup chopped pecans or walnuts (optional)
- Whipped cream, for serving
- Vanilla ice cream, for serving
- Fresh strawberries, for serving
Preparing Your Strawberry Cheesecake Dump Cake
Step 1: Creating the Creamy Cheesecake Layer
The foundation of our delicious Strawberry Cheesecake Dump Cake is a luscious, creamy cheesecake layer. To begin extract, ensure your 8-ounce package of cream cheese has been softened. This is crucial for achieving a smooth, lump-free mixture. You can soften cream cheese by leaving it at room temperature for about 1-2 hours, or by carefully microwaving it on low power for very short intervals (10-15 seconds at a time), being careful not to melt it. In a medium bowl, combine the softened cream cheese with ½ cup of granulated sugar. Use an electric mixer (handheld or stand mixer) on medium speed to beat these two ingredients together until they are well combined and the mixture is smooth and creamy. This should take about 2-3 minutes. Next, add 1 teaspoon of vanilla extract to the cream cheese and sugar mixture. Vanilla is a classic flavor enhancer that pairs beautifully with both strawberries and cheesecake. Beat it in until fully incorporated. If you’re feeling adventurous and want to add a subtle nutty flavor, now would be the time to stir in the optional ½ cup of chopped pecans or walnuts. Make sure they are evenly distributed throughout the cream cheese mixture. Set this delicious base aside while you prepare the next layers.
Step 2: Assembling the Strawberry Base
Now for the vibrant, fruity heart of our dump cake! Open your 21-ounce can of strawberry pie filling. There’s no need to drain it; the syrupy goodness is part of what makes this cake so moist and flavorful. Pour the entire contents of the can evenly into the bottom of a 9×13 inch baking dish. You want to create a consistent layer of strawberries across the entire pan. Don’t worry if there are some whole or large chunks of strawberries; they will soften and break down beautifully during the baking process. If you’re using the optional ½ teaspoon of cinnamon, you can sprinkle about half of it over the strawberry layer at this point. This will infuse a warm, spiced aroma and flavor into the strawberry filling as it bakes. Smooth out the strawberry layer gently with a spoon or spatula to ensure it covers the bottom of the dish as evenly as possible.
Step 3: Building the Cake Mix and Liquid Layer
This is where the “dump” in dump cake truly comes into play! Open your 15.25-ounce box of yellow or white cake mix. Do NOT prepare the cake mix according to the box directions. We’re using it in its dry form. Carefully sprinkle the dry cake mix evenly over the layer of strawberry pie filling in the baking dish. The goal here is to create a light, airy layer that will absorb the liquids and bake into a tender cake. Try to cover the entire strawberry layer without pressing down too much. In a separate small bowl, whisk together ½ cup of milk and the ½ cup of melted unsalted butter. This mixture provides the necessary moisture and fat to activate the cake mix and create a delicious cakey texture. If you’re using the remaining optional ½ teaspoon of cinnamon, whisk it into this milk and butter mixture now.
Step 4: Pouring and Distributing the Liquid Mixture
Once the dry cake mix is evenly distributed over the strawberries, it’s time to introduce the liquid component. Slowly and evenly pour the milk and melted butter mixture over the dry cake mix. Use a spoon or spatula to gently guide the liquid across the surface, ensuring it moistens as much of the dry cake mix as possible. You might see some areas that are still a bit dry, and that’s okay. As the cake bakes, the liquid will gradually seep down and hydrate the rest of the cake mix. Avoid over-mixing or stirring at this stage, as we want to maintain the distinct layers that will bake up into a delightful texture. If you are adding the optional nuts, you can sprinkle them over the top of the cake mix layer at this point, or you can mix them into the dry cake mix before sprinkling it over the strawberries.
Step 5: Baking and Achieving Golden Perfection
Now that our Strawberry Cheesecake Dump Cake is assembled, it’s ready for the oven. Preheat your oven to 350°F (175°C). Place the assembled baking dish on a baking sheet to catch any potential drips. Bake for 40-50 minutes, or until the cake topping is golden brown and the strawberry filling is bubbling around the edges. The exact baking time can vary depending on your oven, so keep an eye on it. You want the cake mix to be fully cooked through and have a lovely, slightly crisp texture on top. The strawberry filling should be hot and bubbly, indicating it’s heated through and the flavors have melded. Once baked, carefully remove the dish from the oven and let it cool on a wire rack for at least 15-20 minutes before serving. This resting period allows the flavors to settle and the cake to firm up slightly, making it easier to serve.
Serving Your Masterpiece
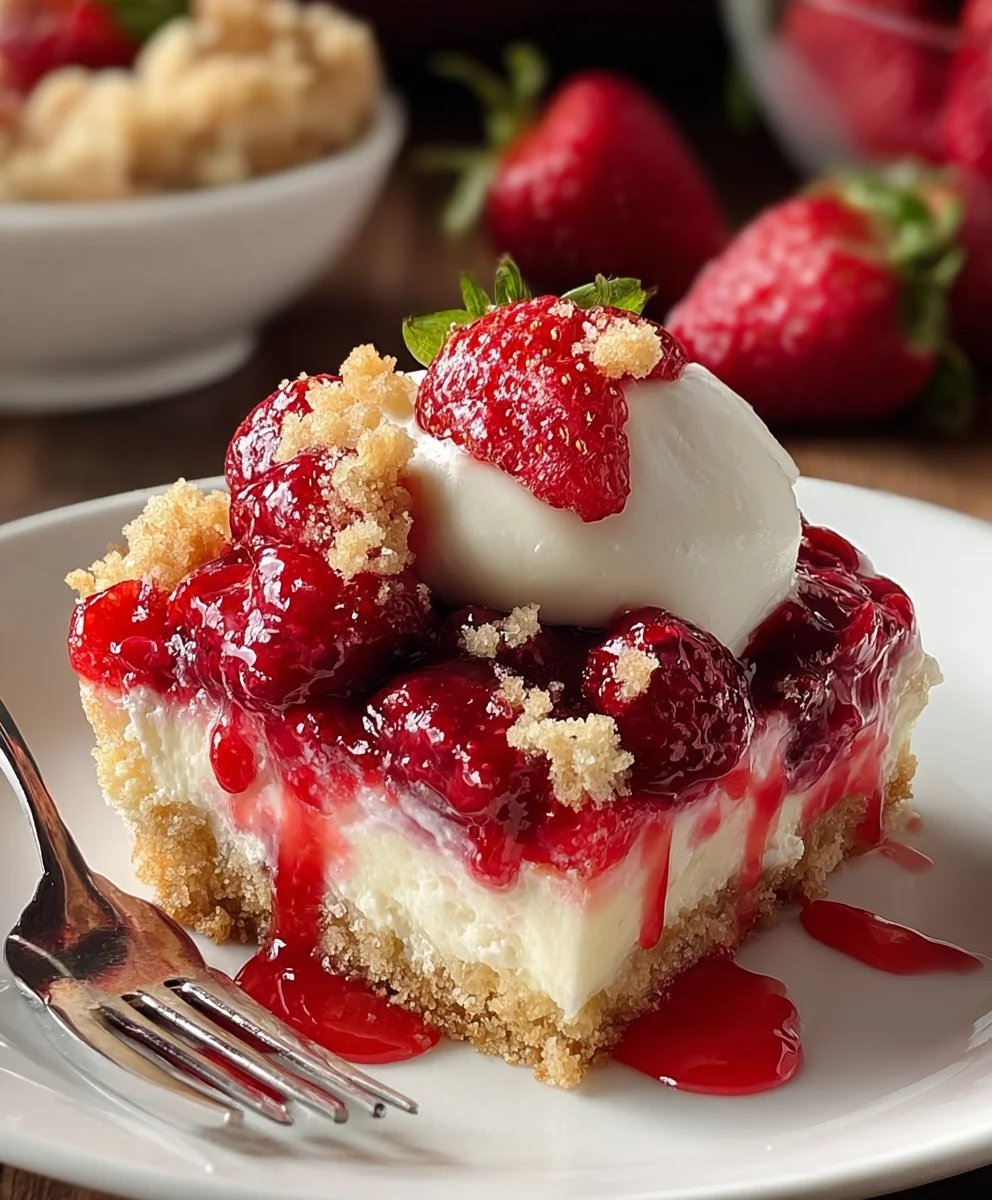
This Strawberry Cheesecake Dump Cake is best served warm. Spoon generous portions into bowls. For an extra decadent treat, top each serving with a dollop of fluffy whipped cream and a scoop of creamy vanilla ice cream. The contrast of warm cake with cold ice cream is absolutely divine. Garnish with a few fresh strawberries for a burst of freshness and color. This cake is incredibly forgiving and always a crowd-pleaser, perfect for potlucks, family dinners, or just a sweet treat for yourself. Enjoy every delightful spoonful!
Conclusion:
And there you have it! Your delicious and incredibly easy Strawberry Cheesecake Dump Cake is ready to impress. This recipe truly lives up to its name, delivering all the delightful flavors of strawberry cheesecake with minimal effort. The creamy, tangy cream cheese filling harmonizes perfectly with the sweet, vibrant strawberries and the crum extractbly cake topping. It’s a fantastic dessert for any occasion, from casual weeknight treats to more formal gatherings. Don’t be afraid to experiment; the beauty of this dump cake is its versatility.
For serving, a dollop of whipped cream or a scoop of vanilla bean ice cream is highly recommended to elevate the experience even further. Consider a sprinkle of fresh mint for a burst of color and freshness.
Frequently Asked Questions:
Can I use frozen strawberries instead of fresh ones for the Strawberry Cheesecake Dump Cake?
Absolutely! Frozen strawberries work wonderfully. If using frozen, you don’t need to thaw them completely before adding them to the cake. They will release their juices as the cake bakes, creating a lovely syrupy consistency. Just be sure to drain off any excess water if they seem particularly watery after thawing partially.
What other fruits can I substitute for strawberries in this dump cake?
The possibilities are endless! While strawberries are the star, this dump cake base is incredibly forgiving. You can easily swap them out for blueberries, raspberries, mixed berries, peaches, or even cherry pie filling. Adjust the sweetness of the cake mix or add a little extra sugar to the fruit if needed, depending on the sweetness of your chosen fruit.
My Strawberry Cheesecake Dump Cake is a bit too moist. What did I do wrong?
A slightly moist topping can sometimes happen, especially if your fruit was very juicy or if the cake mix wasn’t spread evenly. Ensure you distribute the dry cake mix as evenly as possible over the fruit and cream cheese layer. You can also try baking it for an extra 5-10 minutes, uncovered, to help it crisp up. Always allow it to cool slightly before serving, as it will continue to set.
We hope you enjoy making and savoring this delightful Strawberry Cheesecake Dump Cake. Happy baking!
Strawberry Cheesecake Dump Cake-Easy & Delicious Recipe
A simple and incredibly delicious dump cake recipe featuring layers of strawberry pie filling, a creamy cheesecake mixture, and a tender cake topping.
Ingredients
-
1 can (21 oz) strawberry pie filling
-
1 package (8 oz) cream cheese, softened
-
½ cup granulated sugar
-
1 teaspoon vanilla extract
-
1 box yellow or white cake mix (15.25 oz)
-
½ cup (1 stick) unsalted butter, melted
-
½ cup milk
-
½ teaspoon cinnamon (optional)
-
½ cup chopped pecans or walnuts (optional)
-
Whipped cream, for serving
-
Vanilla ice cream, for serving
-
Fresh strawberries, for serving
Instructions
-
Step 1
In a medium bowl, beat softened cream cheese with granulated sugar until smooth and creamy. Stir in vanilla extract. Optionally, stir in chopped pecans or walnuts. -
Step 2
Pour strawberry pie filling evenly into the bottom of a 9×13 inch baking dish. Sprinkle with half of the optional cinnamon, if using. Smooth the layer. -
Step 3
Evenly sprinkle the dry cake mix over the strawberry layer. Do not prepare the cake mix according to package directions. If using nuts, you can sprinkle them over the cake mix now or mix them in. -
Step 4
In a separate small bowl, whisk together melted butter and milk. If using the remaining optional cinnamon, whisk it into this mixture. Pour this liquid mixture evenly over the dry cake mix. -
Step 5
Preheat oven to 350°F (175°C). Place the baking dish on a baking sheet. Bake for 40-50 minutes, or until the topping is golden brown and the filling is bubbling. -
Step 6
Let the cake cool for at least 15-20 minutes before serving. Serve warm, topped with whipped cream, vanilla ice cream, and fresh strawberries.
Important Information
Nutrition Facts (Per Serving)
It is important to consider this information as approximate and not to use it as definitive health advice.
Allergy Information
Please check ingredients for potential allergens and consult a health professional if in doubt.

Leave a Comment