

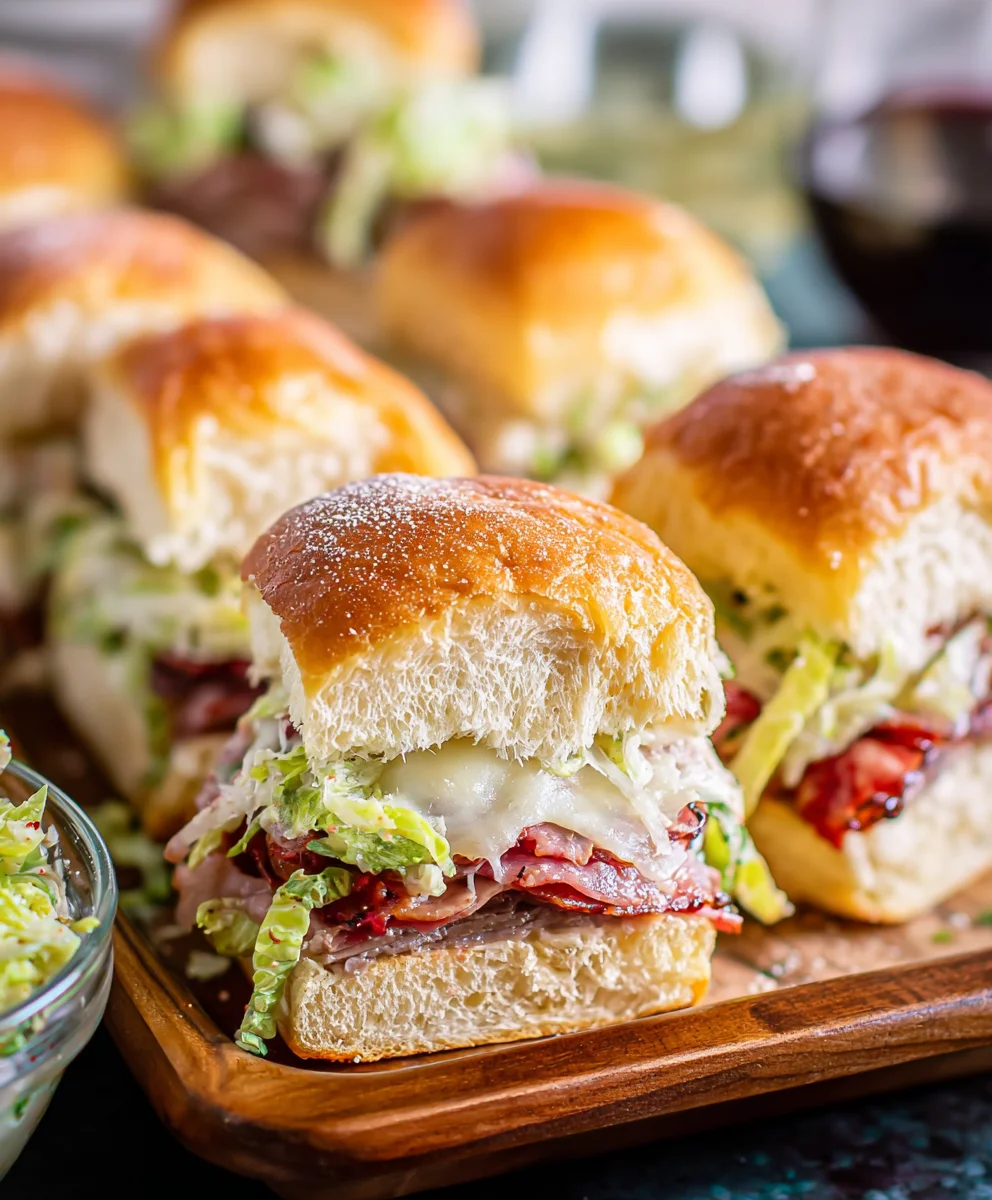
Italian Grinder Sliders are not just a snack; they’re a miniature explosion of flavor that transports you straight to a bustling Italian deli. If you’ve ever craved that perfect balance of savory meats, sharp cheeses, and a zesty dressing, all hugged by a soft bun, then you’re in for a treat. We adore these little powerhouses because they pack all the satisfying components of a classic Italian grinder into a perfectly portioned bite, making them ideal for game nights, parties, or even a fun weeknight dinner. What makes these Italian Grinder Sliders truly special is their versatility and the sheer joy they bring to any gathering. They’re incredibly easy to customize, and the way the warm, melted cheese melds with the seasoned meats and crusty bread is simply irresistible.

Ingredients:
- 12 hawaiian rolls
- 8 ounces thinly sliced beef beef ham
- 4 ounces sliced provolone cheese
- 3 ounces thinly sliced beef beef pepperoni
- 3 ounces thinly sliced beef beef salami
- 2 tablespoons butter, softened
- 2 tablespoons grated parmesan cheese
- 1/2 teaspoon garlic powder
- 1/4 teaspoon salt
- 8 ounces shredded lettuce
- 1/2 cup diced tomato
- 1/2 cup sliced pepperoncini peppers
- 1/4 cup mayonnaise
- 1 tablespoon red grape juice vinegar
- 1 teaspoon Italian seasoning
Preparing the Slider Bases
Step 1: Slice and Prepare the Rolls
Begin extract by slicing your 12 hawaiian rolls horizontally. This is crucial for creating your Italian Grinder Sliders. A serrated knife works best for this task to ensure a clean cut without crushing the soft rolls. Carefully separate the top halves from the bottom halves, keeping them intact as much as possible. Arrange the bottom halves of the rolls in a single layer on a baking sheet. This will be the foundation for our delicious sliders. Make sure the baking sheet is large enough to hold all 12 bottom halves comfortably.
Step 2: Create the Garlic-Parmesan Butter
In a small bowl, combine the 2 tablespoons of softened butter, 2 tablespoons of grated parmesan cheese, 1/2 teaspoon of garlic powder, and 1/4 teaspoon of salt. Mix these ingredients thoroughly until you have a smooth, well-combined spread. This flavorful butter mixture will be brushed over the tops of the rolls, adding a rich, savory depth and a lovely golden-brown crispness when baked. Ensure the butter is truly softened; if it’s too cold, it will be difficult to mix and spread evenly.
Assembling the Italian Grinder Sliders
Step 3: Layer the Meats and Cheese
Now it’s time to build the core of your Italian Grinder Sliders. On top of the bottom halves of the hawaiian rgin extracts, begin layering your meats. Start with the 8 ounces of thinly sliced beef hamf ham, distributing it evenly across all 12 roll bases. Next, add the 3 ounces of thinly sliced beef pepperonieroni, and then the 3 ounces of thinly sliced beef salamialami. Layering the meats this way ensures a consistent distribution of flavor in every bite. Once the meats are in place, top them generously with the 4 ounces of sliced provolone cheese, ensuring each slider is well-covered. The provolone will melt beautifully, binding the meats together and adding a creamy, slightly sharp element.
Step 4: Add the Toppings and Prepare for Baking
With the meat and cheese assembled, it’s time for the finishing touches before baking. Take the top halves of your hawaiian rolls and generously brush them with the prepared garlic-parmesan butter mixture from Step 2. Make sure to cover the entire surface of each top half. This will give them a fantastic flavor and a beautiful toasted finish. Once the tops are buttered, carefully place them on top of the layered meats and cheese on the baking sheet, completing the assembly of your Italian Grinder Sliders. Gently press down on the tops to help everything stay in place.
Baking and Finishing the Sliders
Step 5: Bake and Broil for Golden Perfection
Preheat your oven to 350 degrees Fahrenheit (175 degrees Celsius). Place the baking sheet with the assembled sliders into the preheated oven. Bake for approximately 10-15 minutes, or until the cheese is fully melted and bubbly, and the rolls are lightly golden. For an extra touch of crispness and color, you can switch the oven to the broiler setting for the last 1-2 minutes. Keep a very close eye on them during this broiling stage, as they can go from perfectly toasted to burnt very quickly. Once they are beautifully golden and the cheese is melted, carefully remove the baking sheet from the oven.
Step 6: Prepare the Zesty Slaw and Serve
While the sliders are baking, prepare the zesty topping that elevates these Italian Grinder Sliders. In a medium bowl, combine the 8 ounces of shredded lettuce, 1/2 cup of diced tomato, and 1/2 cup of sliced pepperoncini peppers. In a separate small bowl, whisk together the 1/4 cup of mayonnaise, 1 tablespoon of red grape juice vinegar, and 1 teaspoon of Italian seasoning. Pour this dressing over the lettuce, tomato, and pepperoncini mixture. Toss gently to coat everything evenly. Once the sliders are out of the oven and have cooled slightly for a minute or two, carefully lift the top halves of the rolls and spoon a generous portion of the zesty slaw mixture onto the melted cheese and meats. Serve these Italian Grinder Sliders immediately while they are warm and the cheese is wonderfully gooey.
Conclusion:
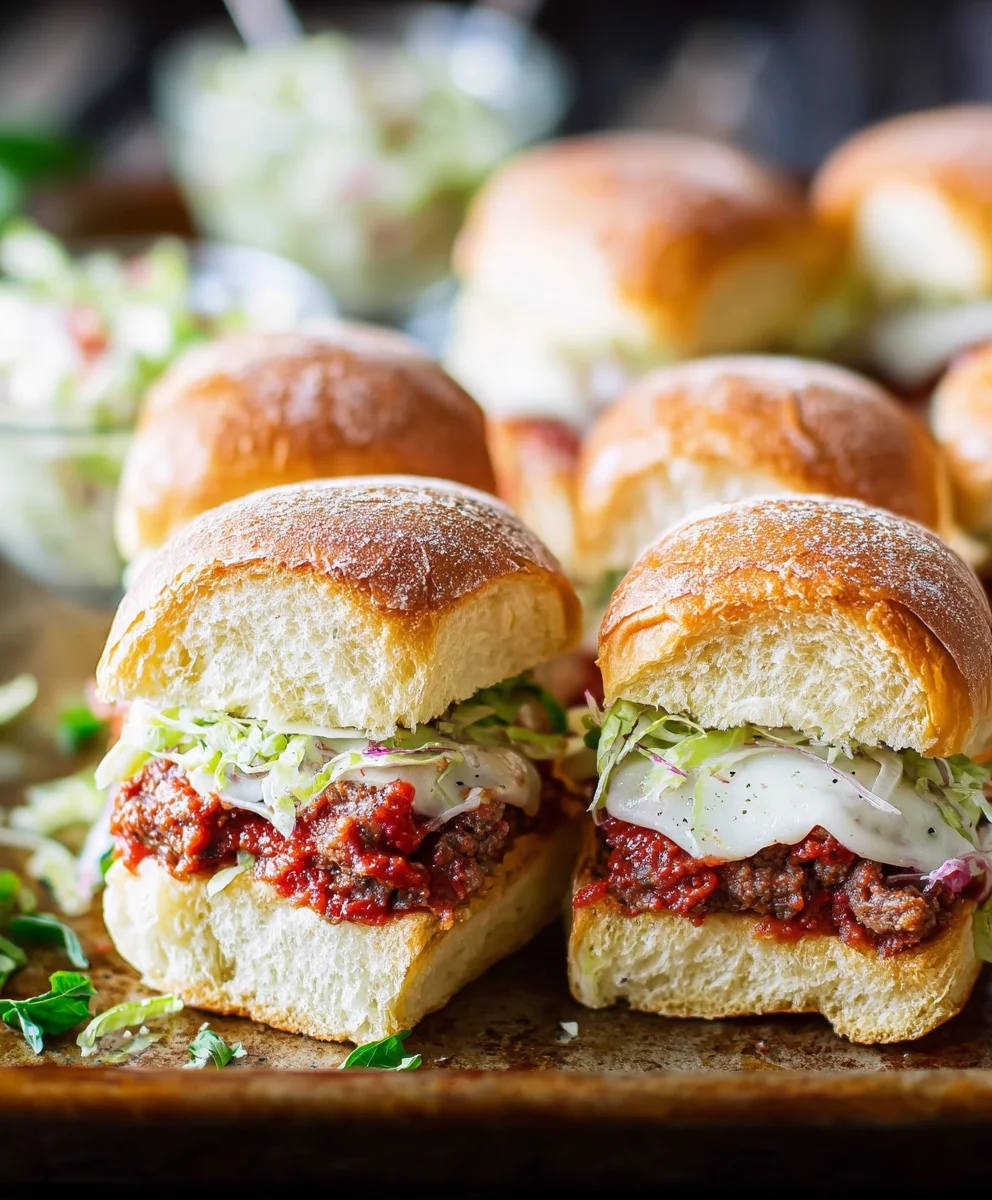
And there you have it – a delightful batch of Italian Grinder Sliders, ready to impress! We’ve walked through creating these flavor-packed mini sandwiches, from the savory seasoned ground meat to the perfect balance of Italian-inspired toppings nestled in soft slider buns. These Italian Grinder Sliders are incredibly versatile and are sure to be a hit at your next gathering, family dinner, or even as a fun weeknight meal.
For serving, I love to present these Italian Grinder Sliders alongside a crisp garden salad or some zesty pasta salad. They also make a fantastic addition to a game day spread or a casual barbecue. Don’t be afraid to experiment with variations! You could easily swap out the provolone for mozzarella or add a sprinkle of red pepper flakes for a touch of heat. Consider adding sautéed onions or bell peppers for an extra layer of flavor and texture.
I truly hope you enjoy making and devouring these Italian Grinder Sliders as much as I do. They’re a simple yet incredibly satisfying way to enjoy classic Italian flavors in a fun, bite-sized format. So go ahead, give them a try and let the deliciousness unfold!
Frequently Asked Questions:
What kind of ground meat is best for Italian Grinder Sliders?
While ground beef is a classic choice and works wonderfully, you can also use a mixture of ground beef and Italian sausage for an even richer flavor profile in your Italian Grinder Sliders. Ground turkey or chicken can also be used for a lighter option, though you may want to add a bit more seasoning to compensate.
Can I make the Italian Grinder Sliders ahead of time?
You can prepare the meat mixture for your Italian Grinder Sliders a day in advance and store it in the refrigerator. However, it’s best to assemble and bake the sliders just before serving to ensure the buns stay soft and the cheese is perfectly melted.
Beef Italian Grinder Sliders – Easy Party Appetizer
These easy Beef Italian Grinder Sliders are a crowd-pleasing appetizer, perfect for parties and gatherings. Featuring layers of savory beef meats and melted provolone cheese on soft Hawaiian rolls, topped with a fresh, zesty slaw.
Ingredients
-
12 hawaiian rolls
-
8 ounces thinly sliced beef ham
-
4 ounces sliced provolone cheese
-
3 ounces thinly sliced beef pepperoni
-
3 ounces thinly sliced beef salami
-
2 tablespoons butter, softened
-
2 tablespoons grated parmesan cheese
-
1/2 teaspoon garlic powder
-
1/4 teaspoon salt
-
8 ounces shredded lettuce
-
1/2 cup diced tomato
-
1/2 cup sliced pepperoncini peppers
-
1/4 cup mayonnaise
-
1 tablespoon red grape juice vinegar
-
1 teaspoon Italian seasoning
Instructions
-
Step 1
Slice the Hawaiian rolls horizontally using a serrated knife. Arrange the bottom halves of the rolls in a single layer on a baking sheet. -
Step 2
In a small bowl, combine the softened butter, grated parmesan cheese, garlic powder, and salt to create a garlic-parmesan butter spread. -
Step 3
Layer the thinly sliced beef ham, beef pepperoni, and beef salami evenly over the bottom halves of the rolls. Top with the sliced provolone cheese. -
Step 4
Generously brush the top halves of the Hawaiian rolls with the garlic-parmesan butter mixture. Place the buttered tops onto the assembled sliders on the baking sheet and gently press down. -
Step 5
Bake in a preheated oven at 350°F (175°C) for 10-15 minutes, or until cheese is melted and bubbly. Broil for the last 1-2 minutes for extra crispness, watching carefully. -
Step 6
While sliders bake, prepare the slaw: combine shredded lettuce, diced tomato, and sliced pepperoncini peppers in a bowl. In a separate small bowl, whisk together mayonnaise, red grape juice vinegar, and Italian seasoning, then toss with the slaw mixture. -
Step 7
Once sliders are baked, carefully lift the tops and spoon a generous portion of the zesty slaw mixture onto the melted cheese and meats. Serve immediately.
Important Information
Nutrition Facts (Per Serving)
It is important to consider this information as approximate and not to use it as definitive health advice.
Allergy Information
Please check ingredients for potential allergens and consult a health professional if in doubt.


Leave a Comment