

Homemade Chicken Tenders are a delightful treat that brings comfort and joy to any meal. As a fan of crispy, golden-brown chicken, I can confidently say that nothing beats the satisfaction of biting into a perfectly cooked tender. This dish has a rich history, often enjoyed by families across the globe, from casual weeknight dinners to festive gatherings. The beauty of homemade chicken tenders lies not only in their irresistible taste and texture but also in their convenience; they can be whipped up in no time, making them a favorite for both kids and adults alike.
People love homemade chicken tenders for their versatility; you can pair them with a variety of dipping sauces or serve them alongside fresh salads and sides. The combination of juicy chicken and a crispy coating creates a mouthwatering experience that keeps everyone coming back for more. Join me as we dive into this simple yet delicious recipe that will surely become a staple in your kitchen!

Ingredients:
- 1 pound of boneless, skinless chicken breasts
- 1 cup of all-purpose flour
- 2 large eggs
- 1 cup of breadcrumbs (preferably panko for extra crunch)
- 1 teaspoon of garlic powder
- 1 teaspoon of onion powder
- 1 teaspoon of paprika
- 1 teaspoon of salt
- 1/2 teaspoon of black pepper
- 1/2 teaspoon of cayenne pepper (optional for heat)
- 1/2 cup of buttermilk (or regular milk with a splash of vinegar)
- Vegetable oil for frying
Preparing the Chicken
1. Start by rinsing the chicken breasts under cold water. Pat them dry with paper towels to remove excess moisture. This step is crucial as it helps the coating stick better. 2. Next, slice the chicken breasts into strips. Aim for about 1-inch wide pieces. This size ensures they cook evenly and are easy to handle. If you prefer, you can also use chicken tenders directly, which are already in the right shape. 3. In a medium bowl, pour in the buttermilk. If you dont have buttermilk, you can make a quick substitute by adding a tablespoon of vinegar to regular milk and letting it sit for about 5 minutes. 4. Add the chicken strips to the buttermilk, ensuring they are fully submerged. Cover the bowl with plastic wrap and let it marinate in the refrigerator for at least 30 minutes. This step not only adds flavor but also helps tenderize the chicken.Preparing the Coating
5. While the chicken is marinating, its time to prepare the coating. In a shallow dish, combine the flour, garlic powder, onion powder, paprika, salt, black pepper, and cayenne pepper (if using). Mix well to ensure the spices are evenly distributed. 6. In another shallow bowl, crack the two eggs and whisk them until they are well combined. This will act as the binding agent for the breadcrumbs. 7. In a third shallow dish, add the breadcrumbs. If you want to add extra flavor, you can mix in a bit of salt and pepper or even some grated Parmesan cheese.Breading the Chicken
8. Once the chicken has marinated, remove it from the refrigerator. Take each strip out of the buttermilk, allowing any excess to drip off. 9. First, dredge the chicken strip in the flour mixture, making sure its fully coated. Shake off any excess flour. 10. Next, dip the floured chicken strip into the beaten eggs, ensuring its completely covered. 11. Finally, roll the chicken strip in the breadcrumbs, pressing gently to ensure the crumbs adhere well. Place the breaded chicken tenders on a plate or a baking sheet lined with parchment paper. Repeat this process for all the chicken strips.Cooking the Chicken Tenders
12. In a large skillet, pour enough vegetable oil to cover the bottom of the pan by about 1/4 inch. Heat the oil over medium-high heat. To check if the oil is hot enough, you can drop a small piece of bread into the oil; if it sizzles and bubbles, its ready. 13. Carefully add the breaded chicken tenders to the hot oil, making sure not to overcrowd the pan. You may need to work in batches depending on the size of your skillet. 14. Fry the chicken tenders for about 3-4 minutes on each side, or until they are golden brown and cooked through. You can use a meat thermometer to check the internal temperature; it should read 165°F (75°C). 15. Once cooked, transfer the chicken tenders to a plate lined with paper towels to absorb any excess oil. This will help keep them crispy.Serving Suggestions
16. While the chicken tenders are resting, you can prepare any dipping sauces youd like. Classic choices include honey mustard, barbecue sauce, or ranch dressing. You can also make a quick homemade sauce by mixing mayonnaise with a bit of hot sauce for a spicy kick. 17. Serve the chicken tenders hot, alongside your favorite dipping sauces. They pair wonderfully with a side of fries, a fresh salad, or even some steamed vegetables for a balanced meal.Storing Leftovers
18. If you have any leftovers (which is rare because theyre so delicious!), allow the chicken tenders to cool completely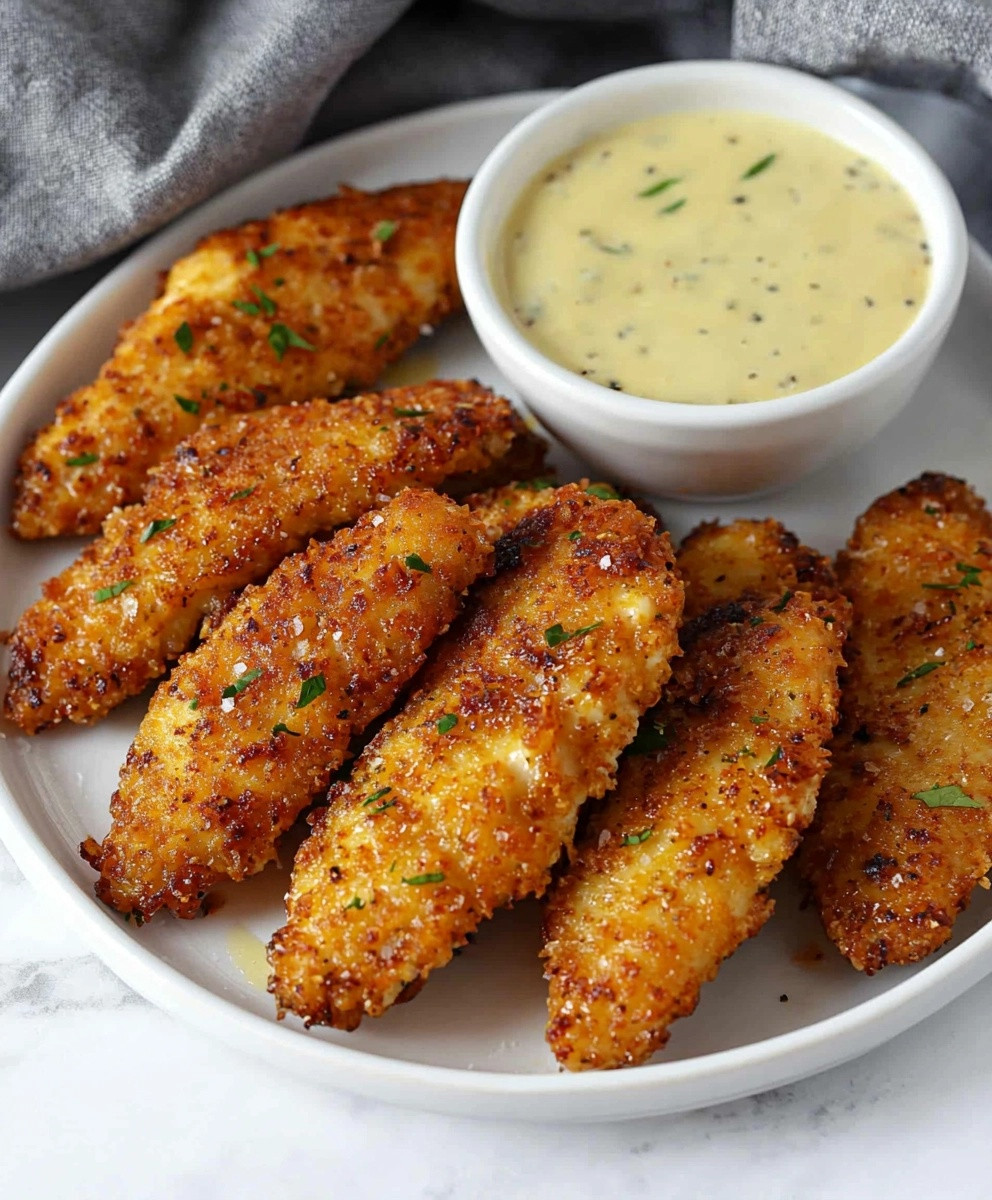
Conclusion:
In conclusion, this homemade chicken tenders recipe is an absolute must-try for anyone looking to elevate their meal game. Not only are these tenders crispy on the outside and juicy on the inside, but they also offer a healthier alternative to store-bought options, allowing you to control the ingredients and flavors. Whether you serve them with a side of homemade dipping sauce, a fresh salad, or even in a wrap, the possibilities are endless. You can also experiment with different seasonings or breading techniques to make them your ownthink spicy buffalo, zesty lemon pepper, or even a sweet and tangy barbecue glaze. I encourage you to give this recipe a shot and experience the joy of creating your own delicious chicken tenders at home. Trust me, once you try them, youll never want to go back to the frozen kind! And dont forget to share your experience with me; Id love to hear how your homemade chicken tenders turned out and any unique twists you added. Happy cooking! Print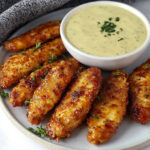
Homemade Chicken Tenders: The Ultimate Guide to Crispy Perfection
- Total Time: 45 minutes
- Yield: 4 servings 1x
Description
Crispy homemade chicken tenders marinated in buttermilk and coated in a seasoned breadcrumb mixture, perfect for dipping and serving with your favorite sides.
Ingredients
- 1 pound of boneless, skinless chicken breasts
- 1 cup of all-purpose flour
- 2 large eggs
- 1 cup of breadcrumbs (preferably panko for extra crunch)
- 1 teaspoon of garlic powder
- 1 teaspoon of onion powder
- 1 teaspoon of paprika
- 1 teaspoon of salt
- 1/2 teaspoon of black pepper
- 1/2 teaspoon of cayenne pepper (optional for heat)
- 1/2 cup of buttermilk (or regular milk with a splash of vinegar)
- Vegetable oil for frying
Instructions
- Rinse the chicken breasts under cold water and pat them dry with paper towels.
- Slice the chicken breasts into strips, about 1-inch wide.
- In a medium bowl, pour in the buttermilk and add the chicken strips, ensuring they are fully submerged. Cover and marinate in the refrigerator for at least 30 minutes.
- In a shallow dish, combine the flour, garlic powder, onion powder, paprika, salt, black pepper, and cayenne pepper. Mix well.
- In another shallow bowl, whisk the two eggs until well combined.
- In a third shallow dish, add the breadcrumbs. Optionally, mix in some salt, pepper, or grated Parmesan cheese.
- Remove the chicken from the buttermilk, allowing excess to drip off.
- Dredge each chicken strip in the flour mixture, then dip in the beaten eggs, and finally roll in the breadcrumbs. Place on a plate or baking sheet.
- In a large skillet, heat enough vegetable oil to cover the bottom of the pan by about 1/4 inch over medium-high heat.
- Carefully add the breaded chicken tenders to the hot oil, frying in batches if necessary.
- Fry for about 3-4 minutes on each side, or until golden brown and cooked through (internal temperature should reach 165°F/75°C).
- Transfer cooked chicken tenders to a plate lined with paper towels to absorb excess oil.
- Prepare any desired dipping sauces while the chicken rests.
- Serve hot with your favorite dipping sauces and sides.
Notes
- For extra flavor, consider adding grated Parmesan cheese to the breadcrumb mixture.
- Ensure the oil is hot enough before adding the chicken to achieve a crispy texture.
- Leftover chicken tenders can be stored in an airtight container in the refrigerator for up to 3 days.
- Prep Time: 30 minutes
- Cook Time: 15 minutes


Leave a Comment