

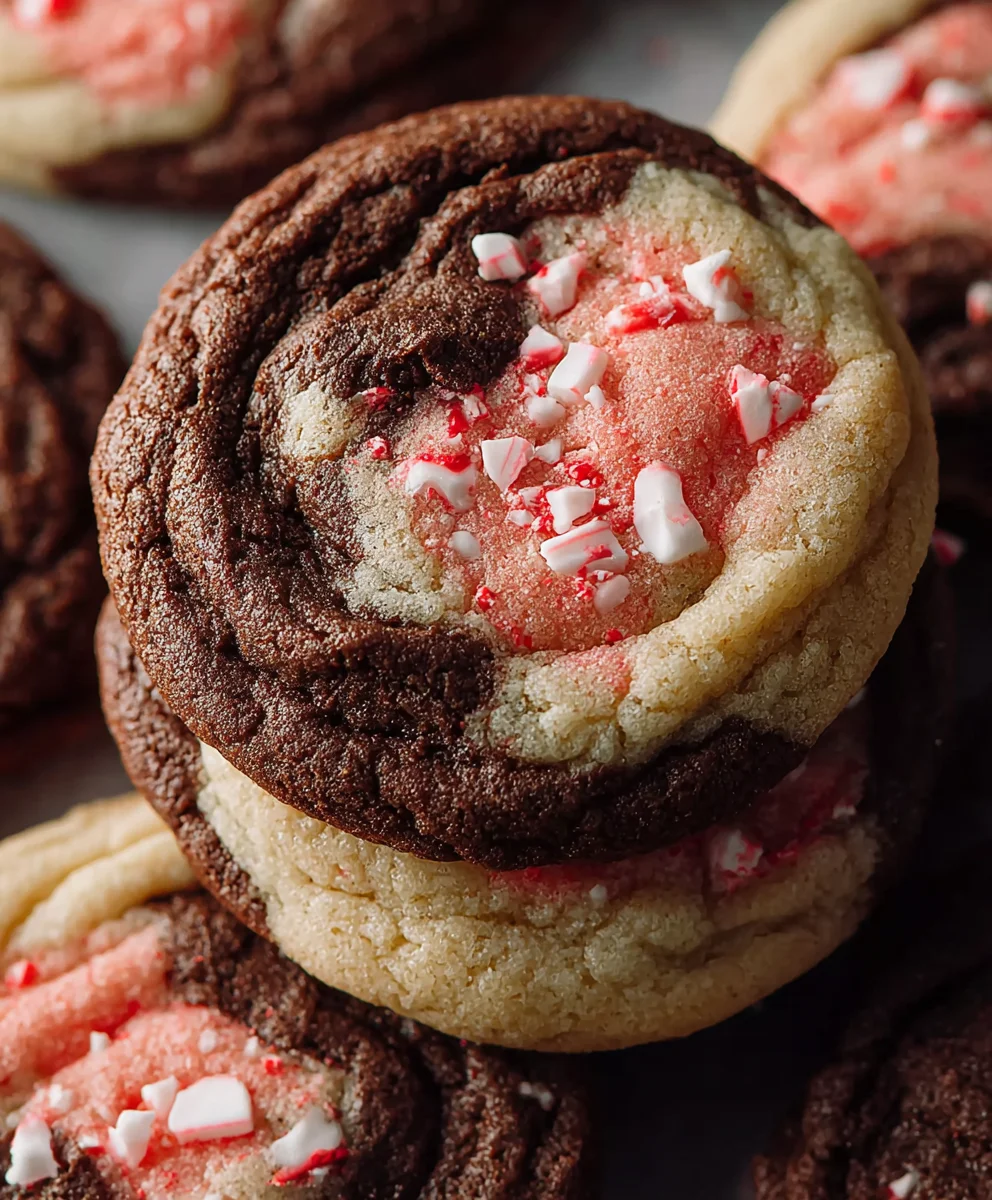
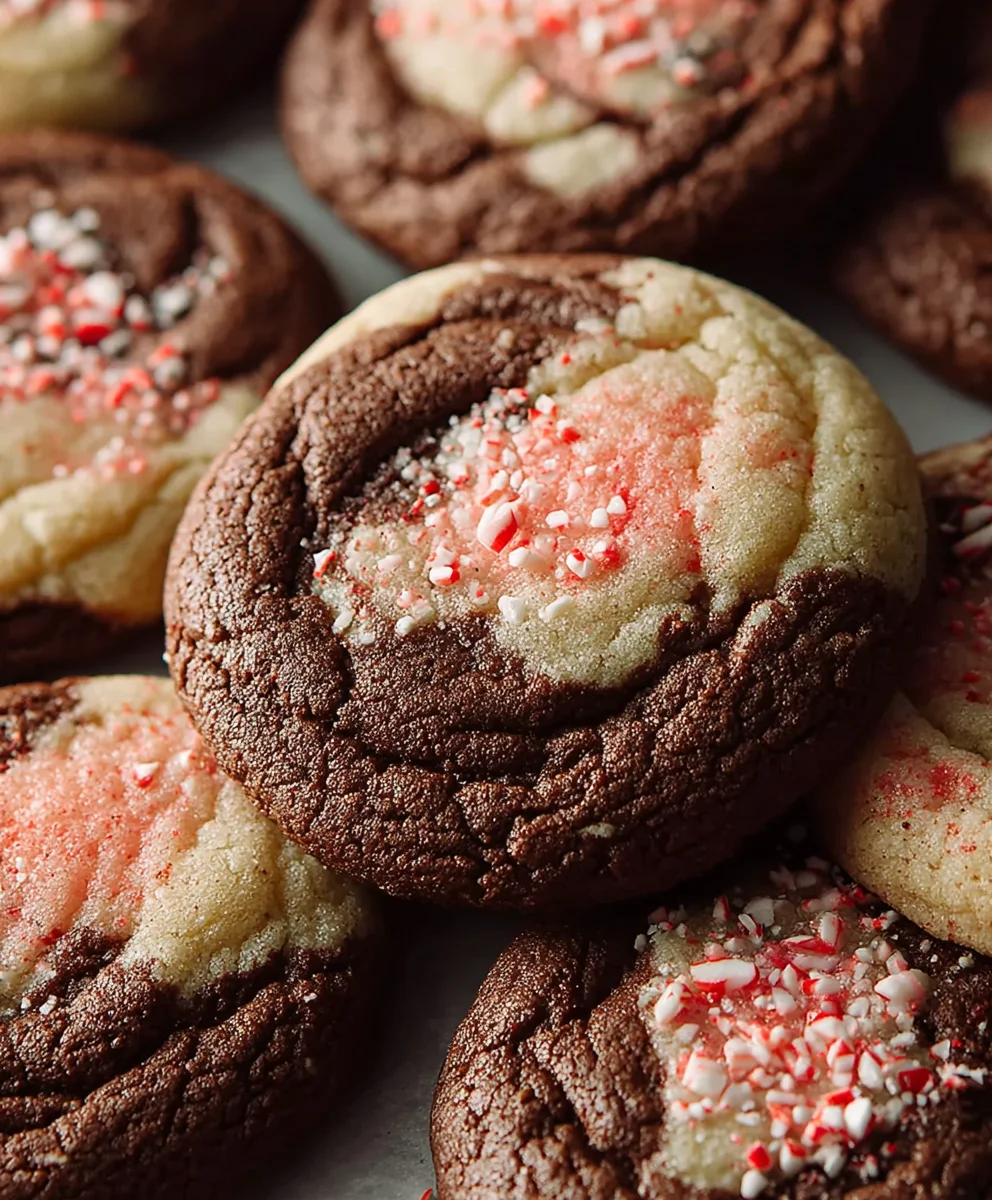
Peppermint Mocha Cookies are more than just a sweet treat; they’re a warm hug in cookie form, a nostalgic whisper of crackling fires and festive cheer. Imagin extracte the invigorating zest of fresh peppermint dancing with the deep, comforting richness of rich chocolate, all baked into a perfectly chewy and slightly crisp cookie. It’s no wonder these delightful morsels become a holiday season staple for so many. They capture the essence of winter’s most beloved flavors, blending them into a harmonious symphony that tantalizes the taste buds. What truly elevates these Peppermint Mocha Cookies from ordinary to extraordinary is the perfect balance – the peppermint isn’t overpowering, and the chocolate is decadent without being cloying. Each bite promises a delightful interplay of textures and tastes, making them an absolute must-have for your next gathering or a personal indulgence during a cozy evening.

Ingredients:
- 1 cup (227g) unsalted butter, softened
- 1¼ cup (250g) granulated sugar, plus extra for rolling
- 1 large egg
- 1 teaspoon vanilla extract
- ½ teaspoon peppermint extract
- ½ teaspoon baking powder
- ½ teaspoon salt
- ¼ teaspoon baking soda
- 2¼ cups (280g) all-purpose flour
- ½ teaspoon instant coffee granules
- Pink food gel coloring
- 2 tablespoons unsweetened cocoa powder
Preparing the Dough
Let’s get started on these delightful Peppermint Mocha Cookies! The first crucial step is to ensure your butter is properly softened. This means it should be at room temperature, yielding gently when pressed with a finger but not melted or greasy. This texture is key for creaming with the sugar to create an airy and light cookie base.
Creaming the Butter and Sugar
In a large mixing bowl, cream together the softened unsalted butter and the granulated sugar. I like to use an electric mixer for this, starting on low speed and gradually increasing to medium-high. Beat them together for about 3 to 5 minutes, or until the mixture is pnon-alcoholic ale yellow and fluffy. This process, known as creaming, incorporates air into the dough, which will help your cookies have a lighter texture and prevent them from becoming too dense.
Adding Wet Ingredients
Once the butter and sugar are beautifully creamed, it’s time to add the egg and extracts. Crack the large egg into the bowl and mix it in until just combined. Be careful not to overmix at this stage; we want the egg to be incorporated evenly without developing too much gluten. Next, add the pure vanilla extract and the potent peppermint extract. The peppermint extract is quite concentrated, so the ½ teaspoon is usually sufficient to give a lovely festive flavor without being overpowering. Mix again until everything is smoothly blended.
Incorporating Dry Ingredients
In a separate medium bowl, whisk together the all-purpose flour, unsweetened cocoa powder, baking powder, baking soda, salt, and instant coffee granules. Whisking these dry ingredients together ensures that the leavening agents and salt are evenly distributed throughout the flour, which is essential for consistent baking. The instant coffee granules, though small, dissolve during baking and will intensify the chocolate flavor, giving our Peppermint Mocha Cookies that classic mocha depth. Now, gradually add this dry mixture to your wet ingredients, mixing on low speed until just combined. It’s important not to overmix the dough once the flour is added, as this can lead to tough cookies.
Shaping and Chilling the Cookies
Now comes the fun part where we get creative with the dough! Divide the cookie dough into two roughly equal portions. To one portion, add a few drops of pink food gel coloring. Knead it in gently with your hands until the color is evenly distributed, creating a beautiful pink marbled effect when combined with the chocolate dough. You can add more gel if you desire a more vibrant pink, but start with a small amount as it’s very concentrated. The goal is a lovely swirled appearance, not a solid pink cookie.
Marbling and Rolling the Dough
Take the chocolate dough and the pink dough and gently press them together. Don’t overwork them; we want distinct swirls. Once they are somewhat combined, roll the marbled dough into a log, approximately 2 inches in diameter. Wrap the log tightly in plastic wrap. It’s absolutely crucial to chill this dough. Place the wrapped log in the refrigerator for at least 2 hours, or preferably longer, up to 2 days. Chilling the dough solidifies the butter, making it easier to slice and preventing the cookies from spreading too much during baking. This step is critical for achieving a good cookie shape.
Baking the Peppermint Mocha Cookies
When you’re ready to bake, preheat your oven to 350°F (175°C). Line baking sheets with parchment paper or silicone baking mats. This prevents sticking and makes for easy cleanup. Take the chilled dough log from the refrigerator and unwrap it. Lightly dust your work surface with a little extra flour if needed, but be sparing. Using a sharp knife, slice the dough log into ½-inch thick rounds. If the dough is too hard to slice, let it sit at room temperature for about 10-15 minutes to soften slightly.
Rolling and Baking
For that extra touch of sparkle and sweetness, spread some additional granulated sugar on a small plate. Gently roll each cookie slice in the sugar, coating both sides. This not only adds a delightful crunch but also gives the cookies a beautiful glistening finish after baking. Place the sugared cookie slices onto the prepared baking sheets, leaving about 2 inches of space between each one to allow for spreading. Bake for 10-12 minutes, or until the edges are set and lightly golden, but the centers still look slightly soft. It’s better to slightly underbake than overbake for a chewier cookie. Let the cookies cool on the baking sheet for a few minutes before transferring them to a wire rack to cool completely. These Peppermint Mocha Cookies are best enjoyed at room temperature.
Conclusion:
And there you have it – your very own batch of delightful Peppermint Mocha Cookies! We’ve walked through each step, from creaming the butter and sugar to that final sprinkle of peppermint, and I truly hope you find these cookies as irresistible as I do. The rich chocolate, the invigorating peppermint, and that hint of coffee create a flavor combination that’s perfect for cozy evenings or festive gatherings. These Peppermint Mocha Cookies are wonderfully versatile, making them a fantastic addition to any cookie tray or a thoughtful homemade gift.
For serving, these cookies are divine on their own with a glass of cold milk or a steaming mug of hot chocolate. They also pair beautifully with a warm cup of coffee or a festive eggnog. Looking to switch things up? Consider adding a swirl of white chocolate on top once they’ve cooled, or even a pinch of sea salt for an extra layer of flavor. Don’t be afraid to experiment! Baking should be fun, and these Peppermint Mocha Cookies are the perfect canvas for your creativity. I encourage you to gather your ingredients, put on some festive music, and enjoy the process. The result will be worth every moment!
Frequently Asked Questions about Peppermint Mocha Cookies:
Q: How should I store my Peppermint Mocha Cookies?
A: Once completely cooled, store your Peppermint Mocha Cookies in an airtight container at room temperature for up to 5 days. You can also freeze them in a single layer on a baking sheet until solid, then transfer them to a freezer-safe bag or container for up to 3 months. Thaw at room temperature.
Q: Can I make these cookies without coffee?
A: Absolutely! While the coffee enhances the mocha flavor, you can omit it if you prefer. The cookies will still be delicious chocolate-peppermint delights. You may want to add an extra teaspoon of cocoa powder to compensate for the missing liquid if you notice the dough becoming too dry.
Q: My cookies spread too much. What could be the reason?
A: Over-creaming the butter and sugar can introduce too much air, causing spread. Also, ensure your oven temperature is accurate. If you suspect your oven runs hot, consider reducing the temperature slightly. Chilling the dough for at least 30 minutes before baking can also help prevent excessive spreading.
Peppermint Mocha Cookies – Festive Flavorful Treat
Delightful and festive cookies bursting with peppermint and mocha flavors, perfect for any celebration.
Ingredients
-
1 cup (227g) unsalted butter, softened
-
1¼ cup (250g) granulated sugar, plus extra for rolling
-
1 large egg
-
1 teaspoon vanilla extract
-
½ teaspoon peppermint extract
-
½ teaspoon baking powder
-
½ teaspoon salt
-
¼ teaspoon baking soda
-
2¼ cups (280g) all-purpose flour
-
½ teaspoon instant coffee granules
-
Pink food gel coloring
-
2 tablespoons unsweetened cocoa powder
Instructions
-
Step 1
Cream together softened unsalted butter and granulated sugar in a large bowl until pale yellow and fluffy, about 3-5 minutes. -
Step 2
Beat in the large egg until just combined, then stir in vanilla extract and peppermint extract. -
Step 3
In a separate bowl, whisk together all-purpose flour, unsweetened cocoa powder, baking powder, baking soda, salt, and instant coffee granules. Gradually add this dry mixture to the wet ingredients, mixing on low speed until just combined. -
Step 4
Divide the dough into two portions. Knead pink food gel coloring into one portion until evenly distributed. Gently press the pink and chocolate doughs together to create a marbled effect, then roll into a 2-inch diameter log. Wrap tightly and chill for at least 2 hours. -
Step 5
Preheat oven to 350°F (175°C). Line baking sheets with parchment paper. Slice the chilled dough log into ½-inch thick rounds. Roll each slice in extra granulated sugar. -
Step 6
Place sugared cookie slices on prepared baking sheets, about 2 inches apart. Bake for 10-12 minutes, until edges are set and lightly golden. Cool on baking sheets for a few minutes before transferring to a wire rack to cool completely.
Important Information
Nutrition Facts (Per Serving)
It is important to consider this information as approximate and not to use it as definitive health advice.
Allergy Information
Please check ingredients for potential allergens and consult a health professional if in doubt.
Leave a Comment