

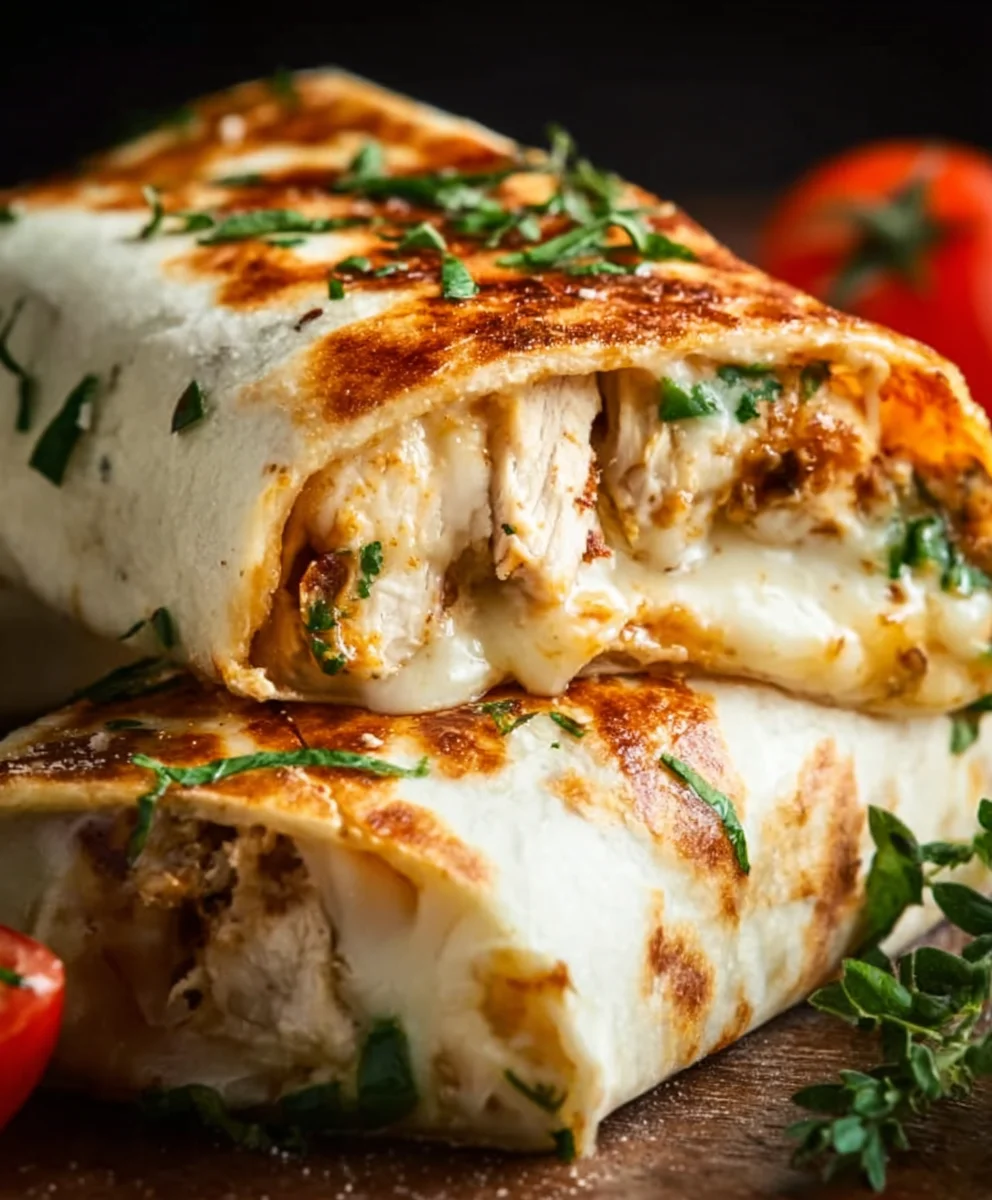
Cheesy Garlic Chicken Wraps are an absolute game-changer for busy weeknights and delightful weekend lunches alike. Imagin extracte tender, succulent chicken infused with the irresistible aroma of garlic, all enveloped in a warm tortilla alongside a melty, gooey cheese pull that stretches with every bite. It’s no wonder these Cheesy Garlic Chicken Wraps have become a beloved staple in so many kitchens. What truly sets these wraps apart is the perfect harmony of flavors and textures – the savory chicken, the pungent garlic, the creamy cheese, and the fresh crunch of optional vegetables, all bundled together in a portable, satisfying package. Whether you’re craving a quick and easy meal that doesn’t skimp on taste or looking for a crowd-pleasing option for a casual gathering, this recipe delivers pure comfort and undeniable deliciousness. Prepare to fall in love with this simple yet spectacular dish!

Ingredients:
- 2 cups cooked chicken, shredded
- 1/2 cup garlic aioli
- 1 cup cheddar cheese, shredded
- 4 large tortillas
- Salt and pepper to taste
Preparing the Cheesy Garlic Chicken Filling
Step 1: Combine the Chicken and Aioli
The foundation of our delicious Cheesy Garlic Chicken Wraps is a flavorful and creamy chicken mixture. Begin extract by taking your 2 cups of pre-cooked, shredded chicken and placing it into a medium-sized mixing bowl. This is where we’ll build all the savory goodness. Next, add the 1/2 cup of garlic aioli to the bowl. The aioli not only adds a rich garlic flavor but also provides the perfect creamy texture to bind everything together. Use a spoon or a spatula to thoroughly mix the shredded chicken and the garlic aioli. Ensure every strand of chicken is coated generously with the aioli. You want to achieve a homogenous mixture where the chicken is well-integrated into the creamy sauce. This step is crucial for ensuring an even distribution of flavor in every bite of your wrap. If your chicken is a bit dry, the aioli will bring it back to life, making it moist and succulent.
Step 2: Seasoning the Chicken Mixture
Now it’s time to elevate the flavor profile even further. While the garlic aioli provides a good base, a touch of simple seasoning will make a world of difference. Season the chicken and aioli mixture with salt and pepper to taste. Start with a pinch of each and stir well. Taste a small amount of the mixture (make sure the chicken is fully cooked, of course!). Adjust the seasoning as needed. Some people prefer a little more pepper for a subtle kick, while others might want a touch more salt to enhance the overall savory notes. Remember, you can always add more, but you can’t take it away. This careful seasoning ensures that the chicken filling itself is bursting with flavor, setting the stage for the delightful cheesy addition.
Step 3: Incorporating the Cheddar Cheese
This is where the “cheesy” in our Cheesy Garlic Chicken Wraps truly comes to life! Add the 1 cup of shredded cheddar cheese to the bowl with the seasoned chicken and aioli mixture. Gently fold the cheese into the chicken. You don’t want to overmix here; you’re aiming for pockets of melted cheese throughout the filling, not a completely uniform paste. The residual warmth from the cooked chicken and the creaminess of the aioli will help the cheese start to melt and become wonderfully gooey as you assemble and heat the wraps. If you want an extra cheesy experience, you can even reserve a small handful of cheese to sprinkle on top before folding the tortillas in the next steps.
Assembling and Cooking the Wraps
Step 4: Warming the Tortillas
Before we can assemble our wraps, it’s important to warm the tortillas. Cold tortillas can be stiff and prone to tearing when you try to roll or fold them. You have a few options for warming them. The quickest method is to microwave each tortilla for about 15-20 seconds, or until pliable. Alternatively, you can warm them one at a time in a dry skillet over medium heat for about 30 seconds per side until they are soft and flexible. Another excellent method is to carefully warm them directly over a low gas flame for a few seconds per side, being careful not to burn them. The goal is a soft, bendable tortilla that will hold all the delicious filling without breaking apart.
Step 5: Filling and Rolling the Wraps
Now for the exciting part: assembly! Lay one warmed tortilla flat on a clean surface. Spoon about a quarter of the cheesy chicken mixture onto the center of the tortilla, leaving a border around the edges. Don’t overfill, or you’ll have a difficult time rolling it up neatly. Fold the sides of the tortilla inwards over the filling, then tightly roll it up from the bottom. Repeat this process with the remaining three tortillas and the rest of the filling. The result should be four beautifully rolled, substantial wraps, ready for their final touch. Ensure the fold is secure to keep all that deliciousness contained.
Step 6: Grilling the Wraps for Golden Perfection
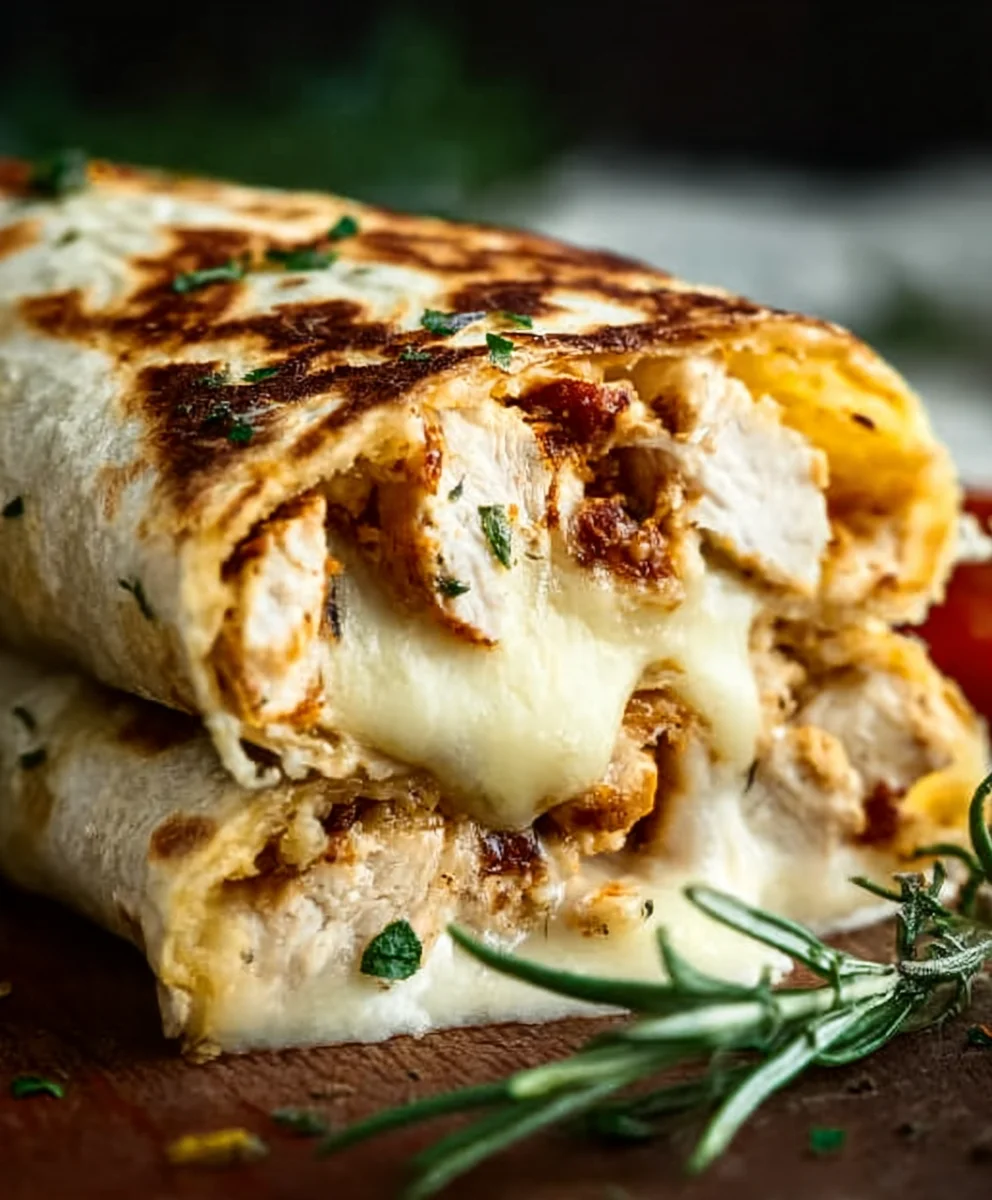
To achieve that satisfying golden-brown exterior and perfectly melted cheese, we’ll give our wraps a quick grill. Heat a lightly oiled skillet or griddle over medium heat. Carefully place the assembled wraps seam-side down onto the hot surface. Cook for 2-3 minutes per side, or until the tortillas are golden brown and slightly crispy, and the cheese inside is fully melted and gooey. You can also press down gently with a spatula as they cook to help them brown evenly and seal the seam further. This step is essential for transforming our filled tortillas into true Cheesy Garlic Chicken Wraps. The heat will melt the cheese into a delightful, stretchy layer and create a wonderfully toasted tortilla. Watch them closely to prevent burning.
Conclusion:
There you have it – your guide to creating delicious and satisfying Cheesy Garlic Chicken Wraps! We hope you’ve enjoyed learning how simple and rewarding it is to bring this flavorful meal to your table. This recipe is perfect for a quick weeknight dinner, a fun lunch, or even a casual get-together. The combination of tender chicken, pungent garlic, and gooey cheese all wrapped up in a soft tortilla is truly a winner.
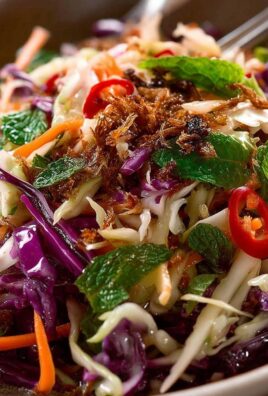
For an extra special touch, consider serving your Cheesy Garlic Chicken Wraps with a side of crisp garden salad, crunchy tortilla chips, or even some sweet potato fries. These wraps are also incredibly versatile. Feel free to experiment with different cheeses like Monterey Jack or pepper jack for a spicy kick, or add in some sautéed bell peppers and onions for added texture and flavor. Don’t be afraid to get creative and make them your own!
We encourage you to dive into your kitchen and whip up these Cheesy Garlic Chicken Wraps. We’re confident you’ll be delighted with the results and that they’ll become a regular favorite in your household. Enjoy every cheesy, garlicky bite!
Frequently Asked Questions:
Can I prepare the chicken ahead of time?
Absolutely! You can cook the chicken and chop it a day in advance. Store it in an airtight container in the refrigerator. This will save you even more time when you’re ready to assemble your Cheesy Garlic Chicken Wraps.
What kind of tortillas work best?
Most types of tortillas will work well, including flour tortillas, whole wheat tortillas, or even larger wraps. For Cheesy Garlic Chicken Wraps, we find that standard medium-sized flour tortillas hold everything together nicely and have a soft texture that complements the filling.
Is this recipe suitable for freezing?
While the assembled Cheesy Garlic Chicken Wraps are best enjoyed fresh, you could potentially freeze the cooked chicken filling separately. However, the cheese can become a bit oily and the tortilla may get soggy upon reheating. For optimal flavor and texture, we recommend making them fresh.
Cheesy Garlic Chicken Wraps Quick & Easy Recipe
A quick and easy recipe for delicious cheesy garlic chicken wraps, perfect for a weeknight meal or a satisfying lunch.
Ingredients
-
2 cups cooked chicken, shredded
-
1/2 cup garlic aioli
-
1 cup cheddar cheese, shredded
-
4 large tortillas
-
Salt to taste
-
Pepper to taste
Instructions
-
Step 1
In a medium-sized mixing bowl, combine the 2 cups of pre-cooked, shredded chicken with 1/2 cup of garlic aioli. Mix thoroughly until every strand of chicken is coated. -
Step 2
Season the chicken and aioli mixture with salt and pepper to taste. Stir well and taste to adjust seasoning as needed. -
Step 3
Add 1 cup of shredded cheddar cheese to the seasoned chicken mixture. Gently fold the cheese in, aiming for pockets of melted cheese. -
Step 4
Warm the 4 large tortillas until pliable. This can be done in a microwave for 15-20 seconds or in a dry skillet over medium heat for about 30 seconds per side. -
Step 5
Lay a warmed tortilla flat. Spoon about a quarter of the cheesy chicken mixture onto the center, leaving a border. Fold the sides inwards and roll up tightly from the bottom. Repeat with remaining tortillas. -
Step 6
Heat a lightly oiled skillet or griddle over medium heat. Place the assembled wraps seam-side down and cook for 2-3 minutes per side, or until golden brown and the cheese is melted and gooey.
Important Information
Nutrition Facts (Per Serving)
It is important to consider this information as approximate and not to use it as definitive health advice.
Allergy Information
Please check ingredients for potential allergens and consult a health professional if in doubt.

Leave a Comment