

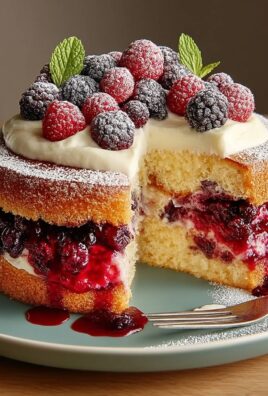
Galletas navideñas are more than just cookies; they are edible bundles of pure holiday magic. For generations, the aroma of these festive treats has filled homes, signaling the arrival of joyous celebrations and cozy evenings by the fire. What is it about these humble cookies that captures our hearts and taste buds year after year? It’s the perfect harmony of buttery richness, the delicate sweetness, and often, a hint of warming spice like cinnamon or nutmeg, all baked into delightful shapes that mirror the season. Each bite is a nostalgic trip back to childhood memories, a shared moment with loved ones, and a tangible representation of the holiday spirit. The sheer joy of decorating these galletas navideñas, whether with intricate icing designs or simple sprinkles, adds another layer of fun and creativity that makes them truly special. They are the quintessential symbol of festive baking, a tradition we eagerly embrace as the snow begins to fall and the lights start to twinkle.

Ingredients:
- 110 g mantequilla sin sal (blanda, a temperatura ambiente)
- 150 g azúcar blanca
- 1 huevo
- 1 cdta extracto de vainilla
- 1 cdta jengibre en polvo
- ½ cdta canela en polvo
- 1/8 cdta clavo de olor en polvo
- ½ cdta sal
- 1½ cdta polvos de hornear
- 250 g harina sin preparar + más para estirar la masa
- Clara de 1 huevo (o 30g clara pasteurizada)
- 200 g azúcar flor / azúcar en polvo / azúcar impalpable / azúcar glas (+ unos 200g más para que ajustes la consistencia)
- colorantes comestibles líquidos o en gel
- Agua
- 150 g azúcar flor / azúcar en polvo / azúcar impalpable / azúcar glas
Preparando la Masa de Galletas Navideñas
Comencemos por preparar la base de nuestras deliciosas galletas navideñas. En un bol grande, cremaremos la mantequilla blanda con el azúcar blanca. Asegúrate de que la mantequilla esté realmente a temperatura ambiente; esto es clave para obtener una textura suave y homogénea. Bate con una batidora eléctrica a velocidad media-alta hasta que la mezcla esté pálida y esponjosa, esto puede tomar unos 3-5 minutos. Este paso incorpora aire, lo que contribuirá a la ligereza de nuestras galletas.
Una vez que la mantequilla y el azúcar estén bien combinados, añadiremos el huevo y el extracto de vainilla. Batiremos de nuevo hasta que todo esté perfectamente integrado. Ahora, en un bol aparte, vamos a mezclar los ingredientes secos. Incorporaremos el jengibre en polvo, la canela en polvo, el clavo de olor en polvo y la sal. Mezcla bien para distribuir uniformemente las especias y la sal.
A la mezcla húmeda de mantequilla, azúcar y huevo, añadiremos gradualmente los ingredientes secos, alternando con los polvos de hornear. Es importante añadir los polvos de hornear (la levadura química) y la harina sin preparar juntos, tamizándolos si es posible para evitar grumos y airear la harina. Bate a velocidad baja hasta que la masa empiece a unirse. No batas en exceso en este punto, ya que podríamos desarrollar el gluten de la harina y hacer que las galletas queden duras.
Una vez que la masa esté casi homogénea, la pasaremos a una superficie ligeramente enharinada. Amasaremos suavemente con las manos hasta que todos los ingredientes estén completamente incorporados y tengamos una masa suave y manejable. Si la masa se siente demasiado pegajosa, puedes añadir un poquito más de harina, pero hazlo con moderación. Dividiremos la masa en dos o tres porciones, las aplanaremos ligeramente formando discos, las envolveremos en film transparente y las refrigeraremos durante al menos 30 minutos. Este paso de enfriamiento es crucial. Permite que la grasa se solidifique, lo que hará que la masa sea mucho más fácil de estirar y cortar, y también ayuda a que las galletas mantengan su forma durante el horneado.
Cortando y Horneando las Galletas
Pasado el tiempo de refrigeración, precalentaremos nuestro horno a 180°C (350°F). Sacaremos una porción de masa del refrigerador. Enharinaremos ligeramente nuestra superficie de trabajo y el rodillo. Estiraremos la masa hasta un grosor de aproximadamente 0.5 cm. Si la masa se vuelve demasiado blanda mientras trabajamos con ella, podemos volver a refrigerarla por unos minutos más.
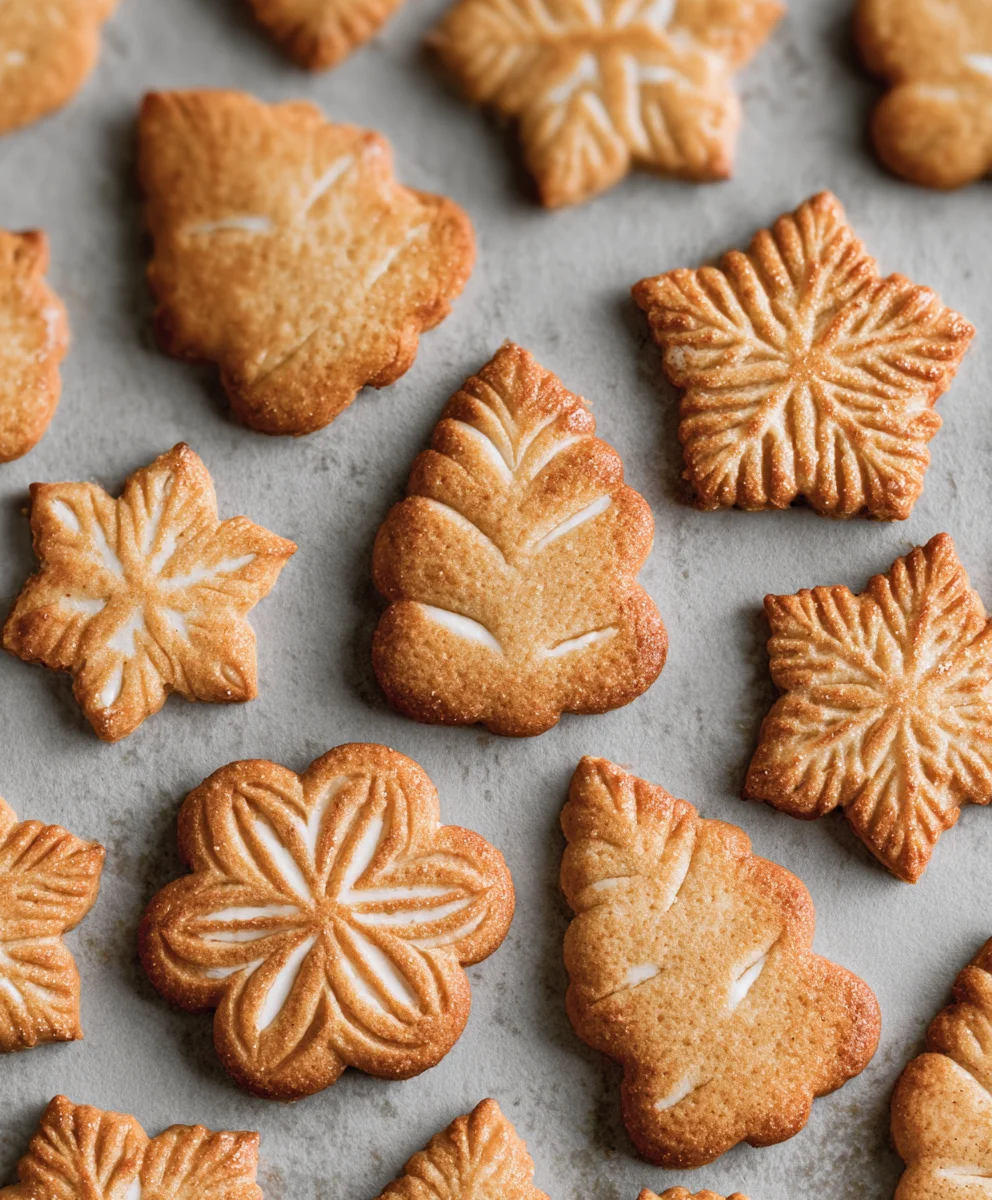
Con cortadores de galletas con motivos navideños (estrellas, árboles de Navidad, hombrecillos de jengibre, etc.), cortaremos nuestras galletas. A medida que cortamos, iremos colocando las galletas sobre bandejas de horno forradas con papel de hornear, dejando un pequeño espacio entre ellas para que no se peguen al hornear. Recoge los recortes de masa, únelos suavemente sin amasar en exceso, y estíralos de nuevo para cortar más galletas hasta agotar la masa.
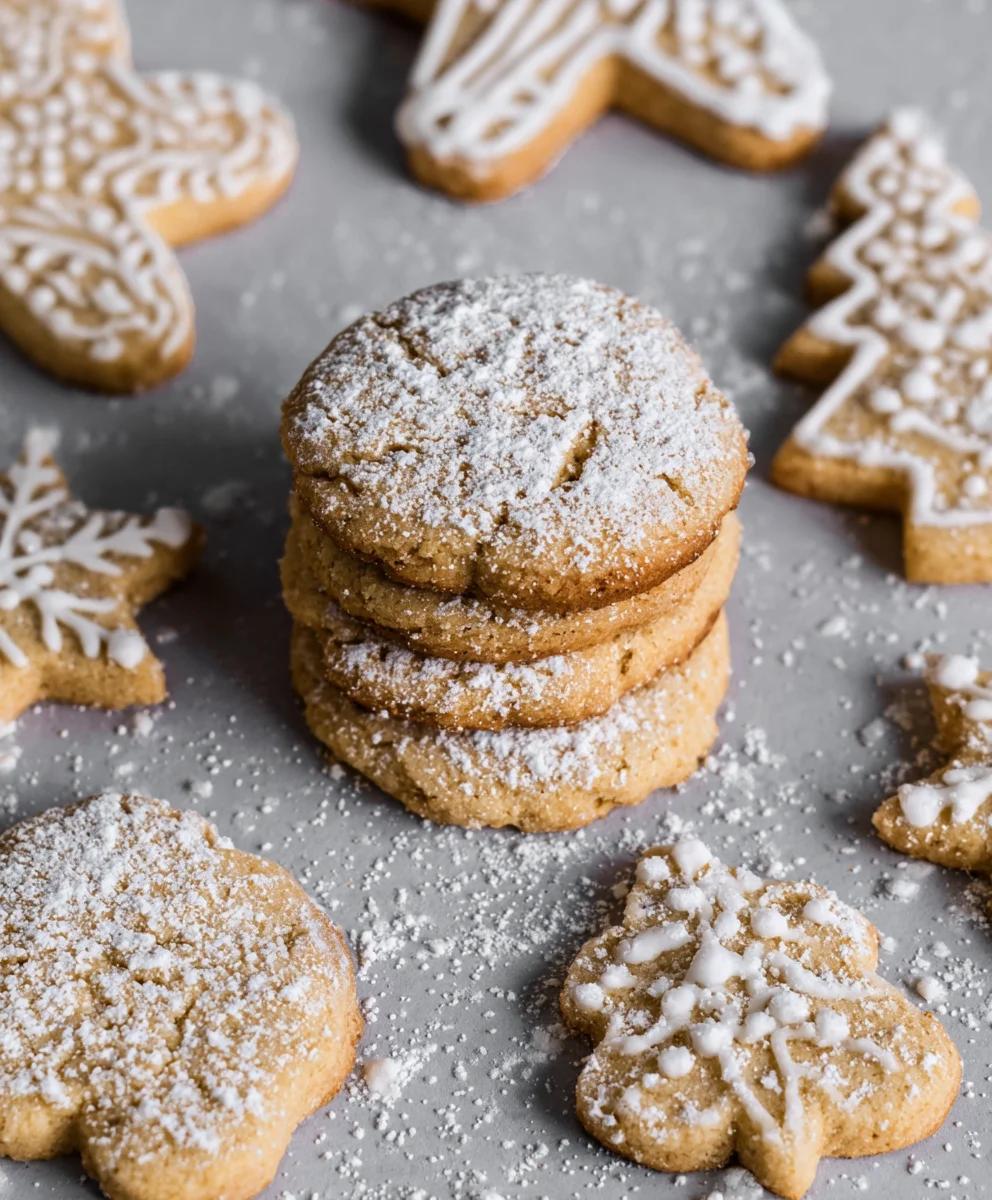
Llevaremos las bandejas al horno precalentado y hornearemos durante 8-12 minutos, o hasta que los bordes de las galletas comiencen a dorarse ligeramente. El tiempo exacto dependerá del tamaño y grosor de tus galletas. Vigila atentamente, ya que se pueden quemar fácilmente. Una vez horneadas, sacaremos las bandejas del horno y dejaremos que las galletas se enfríen sobre la bandeja durante unos minutos antes de transferirlas a una rejilla para que se enfríen completamente. Este enfriamiento completo es esencial antes de decorarlas.
Preparando el Glaseado Real para Decorar
Mientras nuestras galletas se enfrían por completo, prepararemos el glaseado real, que es perfecto para decorar estas galletas navideñas. En un bol limpio y seco, combinaremos la clara de huevo (o la clara pasteurizada) con el primer lote de azúcar flor (200 g). Empezaremos batiendo a velocidad baja hasta que el azúcar se incorpore y se forme una pasta espesa.
Añadiremos una cucharadita de agua y batiremos de nuevo. El objetivo es conseguir una consistencia espesa pero que aún pueda ser vertida o aplicada con una manga pastelera. Si la mezcla está demasiado espesa, añadiremos agua, una cucharadita a la vez, hasta alcanzar la consistencia deseada. Si está demasiado líquida, añadiremos más azúcar flor, también una cucharadita a la vez.
Para decorar nuestras galletas navideñas, dividiremos este glaseado en varios recipientes más pequeños, uno para cada color que queramos usar. Añadiremos unas gotas de colorante comestible a cada recipiente y mezclaremos bien hasta obtener el color deseado. Si queremos obtener colores más intensos, podemos añadir un poco más de colorante. Los colorantes en gel suelen ser más concentrados y dan mejores resultados.
Decorando las Galletas Navideñas
Una vez que tengamos nuestros glaseados de colores listos y las galletas completamente frías, ¡llega el momento más divertido! Llenaremos mangas pasteleras con boquillas finas con los diferentes colores de glaseado. Podemos empezar delineando el borde de nuestras galletas con un color de glaseado para crear un contorno.
Una vez que el contorno esté seco (esto puede tardar unos minutos, dependiendo de la humedad del ambiente), podemos rellenar el interior de la galleta con el mismo color de glaseado o uno diferente. Para rellenar, podemos usar una boquilla un poco más ancha o simplemente cortar la punta de la manga pastelera. Esparce suavemente el glaseado con un palillo para asegurarte de que cubra toda la superficie de manera uniforme.
Si deseas crear patrones más complejos, puedes usar diferentes colores de glaseado y aplicar la técnica de “wet-on-wet” (húmedo sobre húmedo), donde aplicas un color sobre otro mientras ambos aún están húmedos para crear efectos de marmoleado o mezclas de colores. También puedes usar otros elementos decorativos como chispas navideñas, perlas comestibles o incluso hacer detalles finos con glaseado de otro color una vez que el glaseado base se haya secado por completo. Deja volar tu imaginación y crea galletas navideñas únicas y personalizadas. Deja secar completamente el glaseado antes de apilar o almacenar las galletas.
Conclusion:
And there you have it! With these delightful Galletas navideñas, your holiday season is sure to be filled with extra sweetness and cheer. We’ve walked through creating these festive cookies, from selecting the finest ingredients to achieving that perfect golden-brown finish. The aroma alone will fill your home with the spirit of Christmas. These aren’t just cookies; they’re edible works of art that embody the warmth and joy of the holidays.
For serving suggestions, picture these beautiful Galletas navideñas beautifully arranged on a festive platter, perhaps alongside a steaming mug of hot cocoa or a glass of chilled eggnog. They make wonderful edible gifts, tied with a ribbon and presented in a decorative tin. Consider adding a sprinkle of edible glitter for an extra touch of magic!
Don’t be afraid to get creative with variations! You could experiment with different extracts like almond or orange, or even add finely chopped nuts or dried cranberries to the dough for added texture and flavor. Feel free to play with different shapes and decorating techniques to make each cookie uniquely yours. We encourage you to share these moments of baking joy with loved ones, creating lasting memories around the kitchen table. May your baking adventures be merry and bright!
Frequently Asked Questions:
Q1: How should I store my Galletas navideñas?
Store your cooled Galletas navideñas in an airtight container at room temperature. They can last for up to a week, though they are often at their best within the first few days. For longer storage, you can freeze them in a single layer on a baking sheet until firm, then transfer to a freezer-safe container for up to 2-3 months. Ensure they are completely cooled before storing to prevent moisture buildup.
Q2: Can I make the dough ahead of time?
Absolutely! Cookie doughs for Galletas navideñas often improve with a day or two in the refrigerator. Once you’ve prepared the dough, wrap it tightly in plastic wrap and refrigerate. You may need to let it soften slightly at room temperature for a few minutes before rolling and cutting, depending on how firm it becomes.
Easy Christmas Cookies-Festive & Delicious Recipes
Create festive and delicious Christmas cookies with this easy-to-follow recipe, perfect for holiday baking.
Ingredients
-
110 g unsalted butter (soft, at room temperature)
-
150 g white sugar
-
1 egg
-
1 tsp vanilla extract
-
1 tsp ground ginger
-
½ tsp ground cinnamon
-
1/8 tsp ground cloves
-
½ tsp salt
-
1½ tsp baking powder
-
250 g all-purpose flour + more for rolling
-
1 egg white (or 30g pasteurized egg white)
-
200 g powdered sugar / icing sugar / confectioners’ sugar (+ about 200g more to adjust consistency)
-
Liquid or gel food coloring
-
Water
-
150 g powdered sugar / icing sugar / confectioners’ sugar
Instructions
-
Step 1
Cream the softened butter and white sugar in a large bowl until pale and fluffy. Add the egg and vanilla extract, beating until well combined. -
Step 2
In a separate bowl, mix ground ginger, cinnamon, cloves, and salt. Gradually add this dry mixture to the wet ingredients, alternating with the baking powder and all-purpose flour. Mix on low speed until just combined. Do not overmix. -
Step 3
Turn the dough onto a lightly floured surface and knead gently until smooth. Divide the dough into 2-3 portions, flatten into discs, wrap in plastic wrap, and refrigerate for at least 30 minutes. -
Step 4
Preheat oven to 180°C (350°F). Roll out one portion of dough to about 0.5 cm thickness. Cut out cookies using Christmas-themed cutters and place them on baking sheets lined with parchment paper. -
Step 5
Bake for 8-12 minutes, or until the edges are lightly golden. Let cool on the baking sheets for a few minutes before transferring to a wire rack to cool completely. -
Step 6
For the royal icing, combine egg white (or pasteurized egg white) with 200g powdered sugar, beating until thick. Add water 1 teaspoon at a time until a pourable or piping consistency is reached. Adjust with more powdered sugar if too thin. -
Step 7
Divide the icing into separate bowls and add food coloring to achieve desired colors. Fill piping bags with the colored icing and decorate the cooled cookies. Outline the cookies first, then fill in. Let the icing dry completely before stacking or storing.
Important Information
Nutrition Facts (Per Serving)
It is important to consider this information as approximate and not to use it as definitive health advice.
Allergy Information
Please check ingredients for potential allergens and consult a health professional if in doubt.
Leave a Comment