

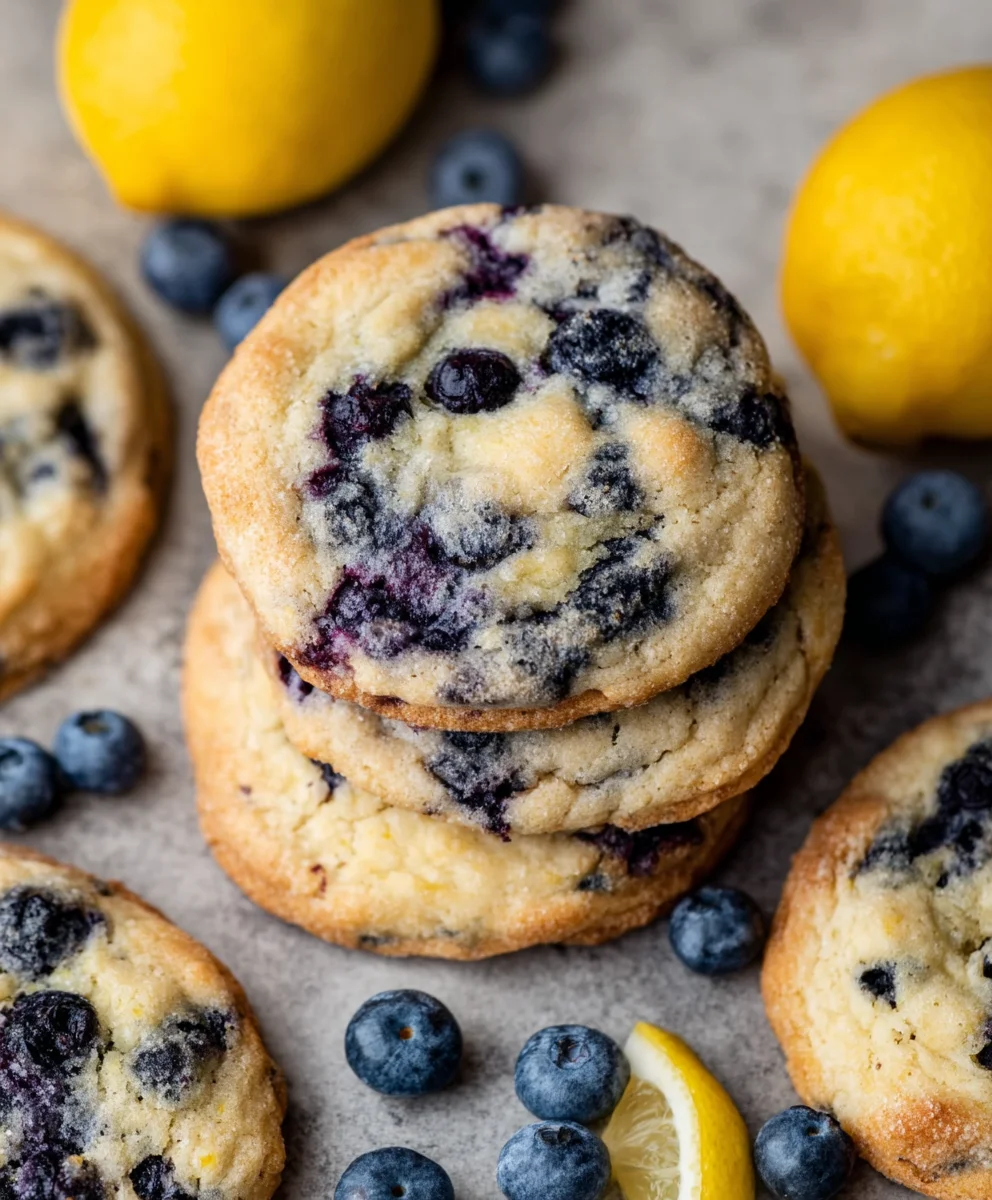
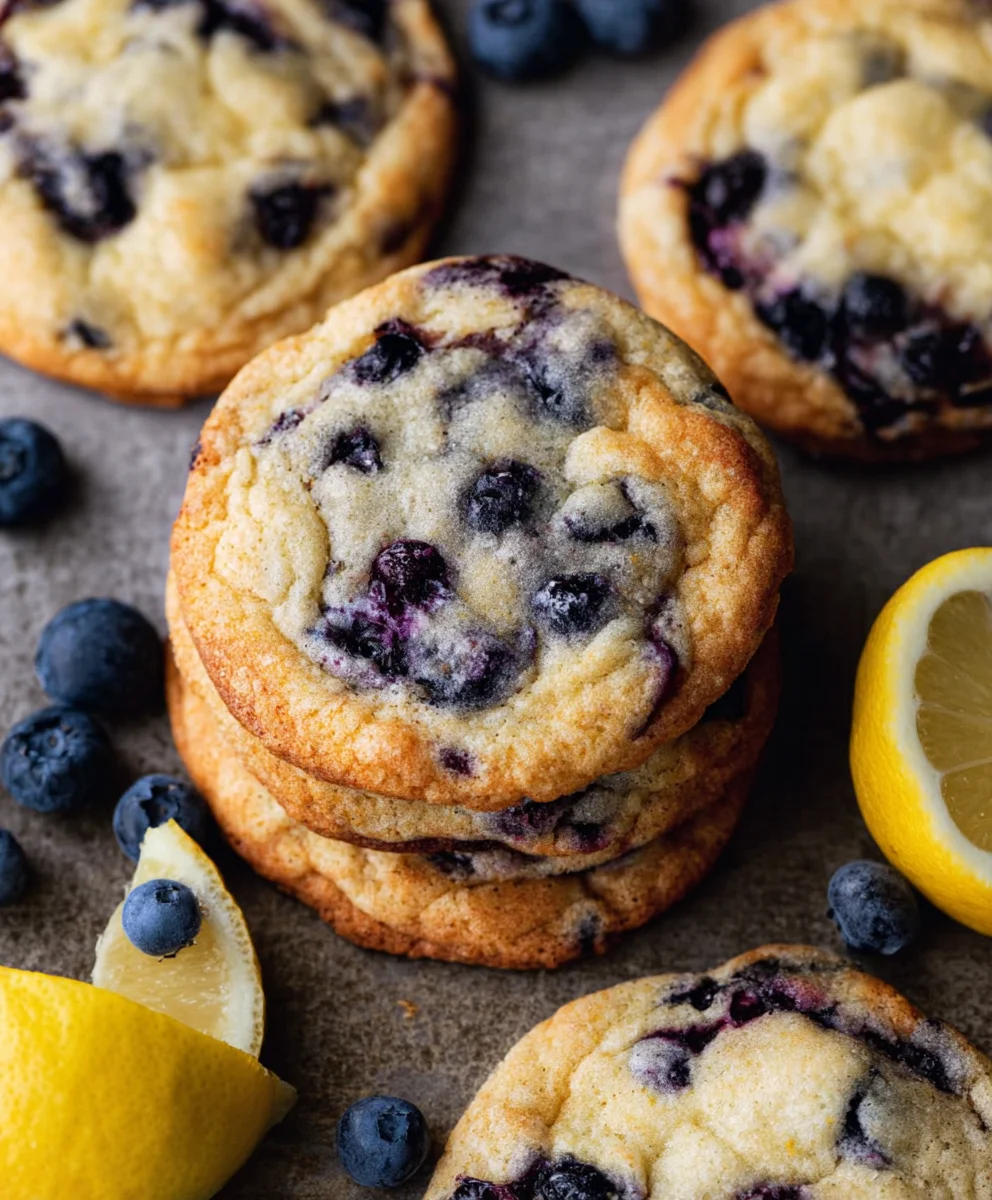
Lemon Lavender Cookies are more than just a delightful confection; they are an invitation to a moment of pure, aromatic bliss. Imagine biting into a cookie where the bright, sunshiny zest of lemon dances gracefully with the calming, subtly fragrant whisper of lavender, creating a truly unforgettable flavor profile. I’ve found that this unique combination transforms a simple baked good into an extraordinary sensory experience.
While the precise origin of these specific cookies might be a modern culinary marvel, both lemon and lavender boast a rich history in kitchens and gardens alike. Lavender, revered since ancient times for its soothing properties and delicate perfume, lends an unexpectedly sophisticated depth when infused into sweets. Paired with the universally loved zest of lemon, a staple in baking for its refreshing brightness, the marriage is simply divine. People adore these cookies not only for their tender, melt-in-your-mouth texture but also for the intriguing balance of vibrant citrus and gentle floral notes that linger delightfully on the palate. They offer a refined elegance that elevates any occasion, making these Lemon Lavender Cookies a truly special treat that I am thrilled to share with you.

Ingredients:
-
For the Lemon Lavender Cookies:
- 2 ½ cups (300g) all-purpose flour: I always recommend using a good quality, unbleached all-purpose flour to give our Lemon Lavender Cookies the best texture. Sifting it will make a huge difference in creating a tender crumb and ensuring that your cookies are light and delicate, never dense.
- 1 teaspoon baking powder: This little helper will give our cookies a subtle lift and tenderness, ensuring they aren’t too dense. Please make sure your baking powder is fresh; an old, inactive leavening agent can result in flat, unappealing cookies. I usually test mine by adding a spoonful to hot water – if it bubbles, it’s good to go!
- ½ teaspoon salt: A touch of salt is absolutely essential to balance the sweetness, enhance all the wonderful flavors we’re building, and bring out the brightest notes of both the lemon and the delicate lavender in our Lemon Lavender Cookies. Don’t skip this, as it truly elevates the taste profile.
- 1 cup (226g) unsalted butter: Please, please, please make sure your butter is at proper room temperature. This is incredibly crucial for creaming it properly with the sugar, which in turn achieves that wonderfully light, airy, and emulsified dough that will produce tender Lemon Lavender Cookies. I usually set mine out on the counter an hour or two before I plan to start baking, or you can cut it into smaller pieces to speed up the process.
- 1 ½ cups (300g) granulated sugar: We want to create a lovely sweetness that perfectly complements the tart lemon and delicate floral notes of the lavender without overpowering them. This amount strikes a beautiful balance.
- 2 large eggs: Again, room temperature is an absolute key here. Room temperature eggs incorporate much better into the creamed butter and sugar mixture, leading to a smoother, more emulsified, and stable dough. This contributes significantly to the overall texture of our delightful Lemon Lavender Cookies. If you forget, a quick trick is to place them in a bowl of warm (not hot!) water for 5-10 minutes.
- 1 tablespoon culinary lavender buds: It is imperative that you use culinary-grade lavender, specifically from the Lavandula angustifolia variety. This type is less pungent and has a sweeter, more delicate flavor profile that is perfect for baking, unlike ornamental lavenders which can be too strong or bitter. I like to finely chop mine a bit further on a cutting board to release more of its aromatic oils and ensure an even distribution in every bite of the Lemon Lavender Cookies.
- Zest of 2 large lemons: Oh, the incredible aroma! We’re looking for just the bright yellow outer layer, meticulously avoiding any of the bitter white pith underneath. This vibrant zest is going to provide the primary, bright, and intensely fragrant lemon punch in our Lemon Lavender Cookies. A microplane zester works wonders for this task.
- 1 teaspoon pure vanilla extract: A classic and beloved flavor enhancer that beautifully rounds out the bright lemon and the unique lavender notes, adding a depth of warmth, sweetness, and complexity to our cookies. Use a good quality pure vanilla for the best flavor.
-
For the Lemon Glaze:
- 2 cups (240g) powdered sugar (confectioners’ sugar): Sifting this is a highly recommended step to prevent any lumps from forming in your glaze, which will result in a beautifully smooth and professional-looking finish for our Lemon Lavender Cookies.
- 4-5 tablespoons fresh lemon juice: Please start with 4 tablespoons and add more a tiny bit at a time until you reach your desired consistency. Freshly squeezed lemon juice is absolutely non-negotiable here for achieving the brightest, most authentic lemon flavor in our glaze. Bottled juice simply won’t compare!
- Zest of 1 large lemon: A little extra lemon zest finely incorporated into the glaze really brightens everything up even further and adds another magnificent layer of intense citrusy goodness and visual appeal to the finished Lemon Lavender Cookies.
For the Lemon Lavender Cookies: Crafting the Aromatic Dough
- Prepare Your Lavender and Lemon Zest: First things first, let’s get those beautiful, fragrant aromatics ready to infuse our cookies. If your culinary lavender buds are a bit large or you want a more subtle floral presence, I highly recommend giving them a quick, fine chop on a cutting board using a sharp knife. This helps to break them down, release their fragrant essential oils more effectively, and ensures a more even distribution throughout your Lemon Lavender Cookies dough. Next, zest your lemons. Remember, we’re aiming for just the bright yellow outer layer of the rind, carefully avoiding any of the bitter white pith underneath. I always find that a microplane zester works best for this, yielding wonderfully fine, fragrant zest. Once zested, combine all of the lemon zest (from 2 lemons) and the finely chopped lavender buds in a small, separate bowl. This pre-mixing step is actually quite vital; it helps to gently “bruise” the zest, which encourages it to release even more of its glorious lemony essential oils. These oils then have a chance to mingle beautifully with the delicate floral notes of the lavender, creating a synergistic aroma. This simple, initial step is absolutely vital for ensuring every single bite of your Lemon Lavender Cookies bursts with a harmonious and unforgettable flavor.
- Combine Dry Ingredients: In a medium-sized bowl, whisk together your 2 ½ cups of all-purpose flour, 1 teaspoon of baking powder, and ½ teaspoon of salt. As a personal preference and a tip for achieving the lightest possible cookies, I always take the extra minute or two to sift my dry ingredients, especially the flour and baking powder. This crucial step helps to thoroughly aerate them, removes any potential lumps, and ensures they are evenly distributed, which ultimately results in a much lighter, more evenly textured, and tender cookie dough. Set this bowl aside for a moment while we work on the wet ingredients.
- Cream Butter and Sugar: Now, in the bowl of a stand mixer fitted with the paddle attachment, or if you’re using a large mixing bowl with an electric hand mixer, cream together your 1 cup (226g) of perfectly room temperature unsalted butter and 1 ½ cups (300g) of granulated sugar. I usually start on a low speed to gently combine them, then gradually increase the speed to medium-high. You want to beat this mixture until it transforms into something wonderfully light, remarkably fluffy, and noticeably pale in color. This process, known as creaming, is incredibly important and can take anywhere from 3 to 5 minutes, sometimes even a little longer depending on your mixer. Please, do not rush this step! It is absolutely crucial for incorporating sufficient air into your dough, which will give our Lemon Lavender Cookies their delightful, melt-in-your-mouth texture and help them spread just right during baking. Make sure to scrape down the sides and bottom of the bowl periodically with a rubber spatula to ensure that everything is evenly combined and no butter or sugar is left unmixed.
- Incorporate Eggs and Flavorings: Once your butter and sugar mixture has reached that beautifully light and fluffy stage, it’s time to incorporate the eggs. Add them one at a time, beating thoroughly and well after each individual addition until each egg is fully incorporated into the mixture. After adding each egg, take another moment to scrape down the sides and bottom of the bowl once more. This ensures that no hidden pockets of butter or sugar remain unmixed, which could lead to an inconsistent dough. Once both eggs are in and perfectly combined, it’s time for the true stars of the show! Stir in the beautiful lemon zest and lavender mixture we prepared earlier, along with 1 teaspoon of pure vanilla extract. Beat on low speed just until these incredibly aromatic additions are evenly distributed throughout the dough. You’ll immediately begin to notice the incredible, fragrant aroma filling your kitchen – that’s the magic of our Lemon Lavender Cookies starting to happen right before your very eyes!
- Gradually Add Dry Ingredients: Now, with your mixer on the lowest speed setting, it’s time to gradually add the dry ingredients mixture to the wet ingredients. I recommend adding about a third of the dry mixture at a time, mixing just until it is almost combined before adding the next portion. It is extremely important to be careful not to overmix! As soon as you see no visible streaks of dry flour remaining, stop the mixer immediately. Overmixing can cause the gluten in the flour to develop too much, which will result in tough, dense, and chewy cookies, rather than the wonderfully tender Lemon Lavender Cookies we are aiming for. I often finish the last few stirs by hand with a rubber spatula to ensure I don’t accidentally overdo it. At this stage, the dough will be soft and a bit sticky, but that’s perfectly normal and exactly what we’re looking for.
- Chill the Dough: This step is not optional; it is absolutely non-negotiable for achieving truly excellent cut-out Lemon Lavender Cookies! Divide your freshly made dough into two equal portions. Gently flatten each portion into a disc shape, wrap them tightly in plastic wrap (or beeswax wrap), and place them securely in the refrigerator for at least 1 hour. Chilling serves several critical purposes: it allows the butter in the dough to firm up, making the dough much easier to handle and roll out without excessive sticking or tearing. More importantly, it gives the incredible flavors of lemon and lavender ample time to meld and infuse together beautifully, intensifying their presence and creating a more harmonious taste in the final cookie. If you’re not in a hurry, you can even chill the dough overnight for even better flavor development and an easier rolling experience.
Baking the Lemon Lavender Cookies: Golden Perfection
- Preheat Oven and Prepare Baking Sheets: About 15-20 minutes before you’re ready to start rolling and cutting, preheat your oven to 375°F (190°C). This allows the oven to come to temperature and stabilize properly, which is important for even baking. Line two large baking sheets with parchment paper or silicone baking mats. This crucial step will not only prevent your delicate Lemon Lavender Cookies from sticking to the pan but also helps to ensure even baking and, as an added bonus, makes cleanup an absolute breeze!
- Roll Out the Dough: Take one disc of chilled dough from the refrigerator (keep the other one chilled until you’re ready to use it, as it’s much easier to work with cold dough). Lightly flour a clean work surface and your rolling pin. I often use a pastry mat for this step, as it helps prevent sticking. Roll out the dough to an even thickness of about ¼-inch. Achieving uniform thickness is incredibly important here to ensure that all of your Lemon Lavender Cookies bake evenly and consistently. If the dough starts to become too soft, warm, or sticky at any point, do not hesitate to pop it back into the fridge for 10-15 minutes to firm up again. We want it firm enough to handle without tearing but pliable enough to roll without cracking.
- Cut Out Cookies: Using your favorite cookie cutters (round, square, or decorative shapes like flowers or hearts work wonderfully for these elegant Lemon Lavender Cookies), cut out the shapes from your rolled dough. To prevent sticking, I always recommend dipping your cookie cutter in a little flour between each cut. Carefully transfer the cut-out dough shapes to your prepared baking sheets, ensuring you leave about 1 to 2 inches of space between each cookie to allow for a little bit of spread during baking. Gather any dough scraps, gently press them together (try not to overwork the dough too much at this stage), and re-roll to cut out more cookies. You might find it beneficial to chill the re-rolled scraps for a few minutes if they become too warm and sticky.
- Bake the Cookies: Place the baking sheets in your preheated oven. Bake for approximately 8 to 11 minutes, or until the edges are just lightly golden and the centers appear set and firm to the touch. The exact baking time will always depend on your specific oven’s calibration, as well as the size and thickness of your cookies. I typically rotate my baking sheets halfway through the baking time (about 4-5 minutes in) to ensure even browning across all cookies. You don’t want these cookies to be deeply golden brown; rather, a pale, almost uncolored top with just a hint of golden on the edges indicates they are perfectly baked and will remain wonderfully tender. The incredible aroma of lemon and lavender filling your kitchen during this stage will be absolutely heavenly and is often the best indicator of progress!
- Cool the Cookies: Once baked, carefully remove the baking sheets from the oven. Let the delicate Lemon Lavender Cookies cool on the hot sheets for about 5 minutes. They will be quite fragile and delicate when hot, so resist the urge to move them immediately. After 5 minutes, carefully transfer them to a wire cooling rack using a thin spatula. This complete cooling on the wire rack is extremely important to prevent the bottoms from becoming soggy due to trapped steam and allows for proper air circulation around all sides. We need them to be entirely and completely cool before we even think about glazing them, otherwise, our beautiful lemon glaze will simply melt and run right off!
Preparing the Lemon Glaze: The Zesty Crown
- Sift Powdered Sugar: In a medium-sized mixing bowl, begin by sifting your 2 cups (240g) of powdered sugar. This seemingly small step is actually a very big one and makes a significant difference in the final quality of your glaze, ensuring it is wonderfully super smooth, silky, and completely free of any pesky lumps. Trust me, you absolutely do not want a lumpy glaze on your perfectly baked Lemon Lavender Cookies!
- Add Lemon Zest: Now, add the finely grated zest of 1 large lemon to the sifted powdered sugar. Using clean fingers, gently rub the lemon zest into the powdered sugar. This magical little technique helps to “bruise” the zest slightly and effectively releases even more of those bright, fragrant lemon oils directly into the sugar, infusing it with an intense burst of citrus flavor even before any liquid is added. It’s an extra, yet simple, touch that truly elevates the overall lemon experience in our glaze and complements the Lemon Lavender Cookies beautifully.
- Whisk in Lemon Juice: Gradually add the fresh lemon juice to the powdered sugar and lemon zest mixture, starting with 4 tablespoons. Whisk vigorously and continuously until the glaze is beautifully smooth and entirely lump-free. The consistency you’re aiming for is pourable, but thick enough that it can coat the back of a spoon without being completely transparent. If your glaze appears too thick, add a tiny bit more lemon juice, a quarter teaspoon at a time, whisking well after each addition until you reach your desired consistency. Conversely, if it unexpectedly becomes too thin, you can add a tiny bit more sifted powdered sugar to thicken it up. We want a glaze that sets nicely, creating a beautiful, slightly opaque sheen on our Lemon Lavender Cookies, not one that runs off completely.
Finishing and Serving: The Grand Finale of Lemon Lavender Cookies
- Glaze the Cooled Cookies: Once your Lemon Lavender Cookies are completely cool – and I mean completely! – it’s finally time for the delightful final touch: glazing. You have a few wonderful options for applying the glaze. You can carefully dip the top surface of each cookie directly into the bowl of glaze, letting any excess drip off gracefully before returning it to the wire rack to set. Alternatively, for a more delicate and artistic touch, you can drizzle the glaze elegantly over the cookies using a spoon, a small whisk, or even a squeeze bottle for finer lines. For an even more precise and artistic look, I sometimes transfer the glaze to a piping bag fitted with a very small round tip and create intricate patterns or simple outlines. Whichever method you choose, ensure the glazed cookies are sitting on a wire rack with parchment paper placed underneath to catch any drips, which will make cleanup significantly easier.
- Allow Glaze to Set: Let the glazed Lemon Lavender Cookies sit patiently at room temperature for at least 30 minutes, or until the glaze has fully set, hardened, and is no longer tacky to the touch. This crucial setting time creates a beautiful, slightly crisp shell on top that not only looks appealing but also protects the wonderfully tender cookie beneath and makes them much easier to handle, stack, and store without smudging.
- Serve and Enjoy: Once the glaze is perfectly set and shimmering, your exquisite Lemon Lavender Cookies are finally ready to be devoured and enjoyed! Arrange them elegantly on a pretty platter or in a decorative cookie tin. They are absolutely delightful when served with a comforting cup of hot tea, a strong coffee, or even a refreshing glass of iced lemonade for a truly summery treat. These cookies make a wonderful and memorable treat for any occasion, from casual afternoon snacks and family gatherings to elegant dessert spreads and holiday parties. The unique combination of bright lemon and delicate lavender always leaves a lasting impression.
- Storage: If by some miracle you happen to have any of these irresistible Lemon Lavender Cookies left (which is a rare occurrence in my home!), store them in an airtight container at room temperature. They will remain wonderfully fresh and delicious for up to 3-4 days. In my opinion, they tend to taste even better the next day as the flavors continue to meld and deepen beautifully. For longer storage, you can freeze the unglazed cookies for up to 2 months; just thaw them at room temperature and glaze when you’re ready to enjoy them fresh. You can also freeze glazed cookies, but be aware that the glaze might become slightly tacky upon thawing, so I generally prefer to glaze them fresh after thawing for the best texture and appearance.
-
2 ½ cups (300g) all-purpose flour
-
1 teaspoon baking powder
-
½ teaspoon salt
-
1 cup (226g) unsalted butter, room temperature
-
1 ½ cups (300g) granulated sugar
-
2 large eggs, room temperature
-
1 tablespoon culinary lavender buds, finely chopped
-
Zest of 2 large lemons
-
1 teaspoon pure vanilla extract
-
2 cups (240g) powdered sugar, sifted
-
4-5 tablespoons fresh lemon juice
-
Zest of 1 large lemon
-
Step 1
Finely chop culinary lavender buds and zest 2 large lemons. Combine the chopped lavender and lemon zest in a small bowl. -
Step 2
In a medium bowl, whisk together 2 ½ cups all-purpose flour, 1 teaspoon baking powder, and ½ teaspoon salt. Sift for best results. -
Step 3
In a stand mixer, cream 1 cup room temperature unsalted butter and 1 ½ cups granulated sugar on medium-high speed until light, fluffy, and pale (3-5 minutes). Scrape bowl sides. -
Step 4
Beat in 2 large room temperature eggs one at a time until fully incorporated, scraping the bowl after each. Stir in the combined lemon zest-lavender mixture and 1 teaspoon pure vanilla extract until just evenly distributed. -
Step 5
With the mixer on the lowest speed, gradually add the dry ingredients mixture to the wet, mixing only until no visible streaks of dry flour remain. Do not overmix. -
Step 6
Divide the dough into two equal portions. Gently flatten each into a disc, wrap tightly, and chill in the refrigerator for at least 1 hour (or overnight). This firming allows for easier rolling and better flavor development. -
Step 7
Preheat oven to 375°F (190°C). Line two large baking sheets with parchment paper or silicone baking mats. -
Step 8
On a lightly floured work surface, roll out one chilled dough disc to an even thickness of about ¼-inch. Keep the other disc chilled until ready to use. -
Step 9
Using your favorite cookie cutters, cut out shapes. Dip cutters in flour between cuts to prevent sticking. Carefully transfer cut-out shapes to prepared baking sheets, leaving 1-2 inches of space between each. Gather and re-roll dough scraps, chilling if they become too soft. -
Step 10
Bake for 8 to 11 minutes, or until the edges are just lightly golden and the centers appear set. Rotate baking sheets halfway through for even baking. -
Step 11
Once baked, remove baking sheets from the oven and let cookies cool on the sheets for about 5 minutes before carefully transferring them to a wire cooling rack to cool completely. Ensure they are entirely cool before glazing. -
Step 12
In a medium mixing bowl, sift 2 cups powdered sugar to ensure a super smooth, lump-free glaze. -
Step 13
Add the finely grated zest of 1 large lemon to the sifted powdered sugar. Gently rub the zest into the sugar with clean fingers to release more of its fragrant oils. -
Step 14
Gradually add 4-5 tablespoons fresh lemon juice, starting with 4 tablespoons. Whisk vigorously and continuously until the glaze is beautifully smooth, lump-free, and has a pourable consistency that can coat the back of a spoon. Add more lemon juice or powdered sugar as needed to adjust thickness. -
Step 15
Once the Lemon Lavender Cookies are completely cool, dip the top surface of each cookie into the glaze, or drizzle artistically using a spoon or squeeze bottle. Place glazed cookies on a wire rack with parchment paper underneath to catch any drips. -
Step 16
Let the glazed cookies sit patiently at room temperature for at least 30 minutes, or until the glaze has fully set, hardened, and is no longer tacky to the touch. -
Step 17
Once the glaze is perfectly set, your Lemon Lavender Cookies are ready to be served and enjoyed! Store any leftover cookies in an airtight container at room temperature for up to 3-4 days. For longer storage, freeze unglazed cookies for up to 2 months and glaze after thawing.
Conclusion:
And so, we arrive at the grand finale of our baking journey, where the promise of something truly special comes to fruition. I genuinely believe that this recipe isn’t just another cookie; it’s an experience, a symphony of flavors that will dance on your palate and leave an indelible impression. If you’ve been searching for that one cookie that stands out from the crowd, something that feels gourmet yet is surprisingly approachable to bake at home, then your quest ends here. The harmonious blend of bright, zesty lemon and the delicate, calming essence of lavender creates a flavor profile that is nothing short of captivating. It’s an unexpected pairing that works in absolute magic, delivering a cookie that is both refreshing and comforting, light yet deeply satisfying.
Every bite offers that perfect balance: a subtle crispness around the edges giving way to a wonderfully soft and chewy center. The aroma alone, as these little gems bake, is enough to transform your kitchen into a fragrant haven, evoking feelings of a sun-drenched garden on a warm afternoon. I’ve poured my heart into perfecting this recipe because I truly feel it has the power to elevate any occasion, whether it’s a simple afternoon treat with a cup of tea or a sophisticated addition to a dessert spread at a special gathering. These aren’t just ordinary biscuits; they’re conversation starters, mood lifters, and a testament to the fact that sometimes, the most exquisite flavors come from the most elegant combinations.
Elevate Your Enjoyment: Serving Suggestions & Creative Variations
Now that you’re armed with the knowledge to bake these sensational cookies, let’s talk about how to truly make them shine and how you can personalize them even further. For a truly delightful experience, I love serving these Lemon Lavender Cookies alongside a freshly brewed cup of Earl Grey tea, where the bergamot notes beautifully complement the floral and citrus flavors. They’re also absolutely divine paired with a scoop of premium vanilla bean ice cream, allowing the cool creaminess to enhance their delicate profile. Imagine them as part of an elegant brunch, perhaps with a side of fresh berries, or simply as a well-deserved treat on a quiet evening with a good book. They also make an incredibly thoughtful and sophisticated homemade gift, beautifully packaged in a decorative tin with a simple ribbon.
But don’t stop there; the beauty of baking lies in experimentation! For a little extra panache, consider drizzling your cooled cookies with a simple lemon glaze (a mix of powdered sugar and a touch of fresh lemon juice) or even a lavender-infused simple syrup for an added layer of aroma and sweetness. If you’re feeling adventurous, a tiny pinch of white chocolate chips can be folded into the dough before baking for a touch of creamy sweetness that balances the zest. You could also experiment with other citrus zests – perhaps a hint of lime or orange to slightly alter the flavor profile. For those seeking dietary alternatives, this recipe adapts wonderfully to gluten-free flour blends; just ensure you use a good quality all-purpose GF mix. If you’re keen to explore a vegan version, substituting plant-based butter and a flax egg (or other egg replacer) often yields excellent results, though you might need minor adjustments in baking time. Imagine making them into thumbprint cookies, filling the center with a dollop of lemon curd after baking – pure bliss!
Your Turn to Create and Share!
This is where the real fun begins. I cannot stress enough how much I encourage you to roll up your sleeves, gather your ingredients, and give this recipe a try. There’s an immense joy in creating something so beautiful and delicious with your own hands, and the satisfaction of watching loved ones savoring your efforts is truly unmatched. Don’t be shy; embrace the process, trust the steps, and allow yourself to be swept away by the enchanting flavors of these exquisite cookies.
Once you’ve baked your batch, I would absolutely love to hear about your experience! What did you love most about them? Did you try any variations of your own? Please feel free to share your thoughts, your successes, and even your creative tweaks. Snap a photo of your magnificent creations and imagine sharing them with our community. Your feedback and stories inspire me and countless other home bakers. So go ahead, bake with passion, share with joy, and let the magic of lemon and lavender fill your home and your heart. Happy baking, my friends!
Lemon Lavender Cookies
These delightful Lemon Lavender Cookies combine bright, sunshiny lemon zest with calming, subtle lavender, creating an unforgettable aromatic flavor. Tender, melt-in-your-mouth cookies with a refined elegance, perfect for any occasion.
Ingredients
Instructions
Important Information
Nutrition Facts (Per Serving)
It is important to consider this information as approximate and not to use it as definitive health advice.
Allergy Information
Please check ingredients for potential allergens and consult a health professional if in doubt.

Leave a Comment