

Chips and salsa: is there a more perfect pairing? I think not! From casual get-togethers to lively fiestas, this dynamic duo is always the star of the show. But have you ever stopped to consider the rich history behind this seemingly simple snack?
The story of salsa stretches back centuries, with roots in the ancient Aztec and Mayan civilizations. They combined tomatoes, chilies, and squash seeds to create early versions of what we now know and love. Fast forward to today, and chips and salsa have become a beloved staple across North America and beyond. It’s a testament to the enduring appeal of fresh, vibrant flavors.
What makes this combination so irresistible? For me, it’s the satisfying crunch of the tortilla chip perfectly complementing the zesty, tangy kick of the salsa. The textures and flavors dance on your palate, creating an experience that’s both refreshing and addictive. Plus, it’s incredibly easy to prepare, making it the ideal snack for any occasion. Whether you prefer a mild, tomato-based salsa or a fiery, habanero-infused concoction, there’s a chips and salsa combination out there for everyone. So, grab your favorite chips, prepare to dive into a bowl of deliciousness, and let’s explore the wonderful world of homemade salsa!

Ingredients:
- For the Chips:
- 6 corn tortillas (yellow or white, your preference)
- 2 tablespoons olive oil (or your preferred cooking oil)
- 1/2 teaspoon sea salt
- Optional: 1/4 teaspoon chili powder, cumin, or smoked paprika for extra flavor
- For the Salsa:
- 1 (28 ounce) can of whole peeled tomatoes, undrained
- 1 medium white onion, roughly chopped
- 2-3 cloves garlic, minced
- 1-2 jalapeño peppers, seeded and roughly chopped (adjust to your spice preference)
- 1/2 cup fresh cilantro, roughly chopped
- 1/4 cup lime juice (freshly squeezed is best!)
- 1 teaspoon ground cumin
- 1/2 teaspoon sugar (optional, to balance acidity)
- Salt and pepper to taste
Preparing the Chips:
- Preheat your oven: Preheat your oven to 350°F (175°C). This ensures the chips will bake evenly and get nice and crispy.
- Prepare the tortillas: Stack the tortillas on a cutting board. Using a sharp knife or pizza cutter, cut the tortillas into six wedges each. You can also cut them into eight wedges for smaller chips, but I find six to be a good size for dipping.
- Season the chips: In a large bowl, toss the tortilla wedges with the olive oil, salt, and any optional spices you’re using. Make sure the chips are evenly coated with the oil and seasonings. This is key for getting that delicious flavor in every bite.
- Arrange on baking sheet: Spread the tortilla wedges in a single layer on a large baking sheet. Avoid overcrowding the pan, as this will prevent the chips from getting crispy. If necessary, use two baking sheets.
- Bake the chips: Bake for 12-15 minutes, or until the chips are golden brown and crispy. Keep a close eye on them, as they can burn easily. Flip the chips halfway through baking to ensure even browning.
- Cool and store: Remove the chips from the oven and let them cool completely on the baking sheet. Once cooled, store the chips in an airtight container at room temperature. They’ll stay crispy for a few days, but let’s be honest, they probably won’t last that long!
Making the Salsa:
- Combine ingredients: In a blender or food processor, combine the canned tomatoes (with their juice), onion, garlic, jalapeño peppers, cilantro, lime juice, cumin, and sugar (if using).
- Pulse to desired consistency: Pulse the mixture until it reaches your desired consistency. I prefer my salsa to be a little chunky, so I don’t over-process it. If you like a smoother salsa, blend it for a longer period of time.
- Season to taste: Taste the salsa and season with salt and pepper to taste. You may also want to add more lime juice or jalapeño pepper, depending on your preferences. Remember, you can always add more, but you can’t take it away!
- Chill the salsa: Transfer the salsa to a bowl and refrigerate for at least 30 minutes to allow the flavors to meld together. This step is crucial for developing the best flavor. The longer it chills, the better it tastes!
Optional: Roasting the Vegetables for Deeper Flavor
If you want to take your salsa to the next level, consider roasting the tomatoes, onion, and garlic before blending. Roasting brings out the natural sweetness of the vegetables and adds a smoky depth of flavor to the salsa.
- Prepare the vegetables: Preheat your oven to 400°F (200°C). Roughly chop the tomatoes, onion, and garlic. Toss them with a tablespoon of olive oil and a pinch of salt and pepper.
- Roast the vegetables: Spread the vegetables in a single layer on a baking sheet. Roast for 20-25 minutes, or until the vegetables are softened and slightly charred.
- Cool slightly: Let the roasted vegetables cool slightly before transferring them to a blender or food processor.
- Proceed with the salsa recipe: Continue with step 2 of the salsa recipe, using the roasted vegetables instead of the raw ones.
Serving Suggestions:
Now that you’ve made your delicious homemade chips and salsa, it’s time to enjoy! Here are a few serving suggestions:
- Serve the chips and salsa as an appetizer at your next party.
- Enjoy them as a snack while watching your favorite movie.
- Pair them with a cold beer or margarita for the perfect happy hour treat.
- Use the salsa as a topping for tacos, burritos, or enchiladas.
- Add a dollop of sour cream or guacamole for extra flavor and creaminess.
Tips and Tricks for the Best Chips and Salsa:
- Use fresh ingredients: The quality of your ingredients will directly impact the flavor of your chips and salsa. Use fresh, ripe tomatoes, onions, garlic, and cilantro for the best results.
- Adjust the spice level to your liking: If you’re not a fan of spicy food, use fewer jalapeño peppers or remove the seeds and membranes completely. If you like it hot, add more jalapeños or use a hotter variety of pepper, such as serrano or habanero.
- Don’t over-process the salsa: Over-blending the salsa can result in a watery, flavorless mess. Pulse the mixture until it reaches your desired consistency, leaving some chunks for texture.
- Let the salsa chill: Chilling the salsa allows the flavors to meld together and develop. Don’t skip this step!
- Store the chips properly: To keep your chips crispy, store them in an airtight container at room temperature. Avoid storing them in the refrigerator, as this will make them soggy.
- Experiment with different flavors: Don’t be afraid to experiment with different flavors and ingredients. Try adding different spices to the chips, such as cumin, chili powder, or smoked paprika. You can also add different fruits or vegetables to the salsa, such as mango, pineapple, or corn.
- Make a big batch: Chips and salsa are always a crowd-pleaser, so why not make a big batch? You can easily double or triple the recipe to feed a larger group.
Troubleshooting:
- Chips are not crispy: Make sure you are spreading the chips in a single layer on the baking sheet. Overcrowding the pan will prevent the chips from getting crispy. Also, make sure your oven is properly preheated.
- Salsa is too watery: If your salsa is too watery, try draining some of the excess liquid from the canned tomatoes before blending. You can also add a thickening agent, such as tomato paste or cornstarch.
- Salsa is too spicy: If your salsa is too spicy, add a little bit of sugar or lime juice to balance the heat. You can also add some chopped avocado or sour cream to cool it down.
- Salsa is too bland: If your salsa is too bland, add more salt, pepper, or lime juice. You can also add some chopped cilantro or jalapeño pepper for extra flavor.
Variations:
- Black Bean Salsa: Add a can of drained and rinsed black beans to the salsa for extra protein and fiber.
- Corn Salsa: Add a cup of grilled or roasted corn kernels to the salsa for a sweet and smoky flavor.
- Mango Salsa: Add a diced mango to the salsa for a tropical twist.
- Pineapple Salsa: Add diced pineapple to the salsa for a sweet and tangy flavor.
- Avocado Salsa: Add diced avocado to the salsa for a creamy and healthy addition.
- Spicy Salsa Verde: Use tomatillos instead of tomatoes for a tangy and spicy green salsa.
Health Benefits:
While chips and salsa are often considered a snack food, they can actually offer some health benefits, especially when made with fresh, whole ingredients.
- Tomatoes: Tomatoes are a good source of lycopene, an antioxidant that has been linked to a reduced risk of certain cancers.
- Onions and Garlic: Onions and garlic are rich in antioxidants and have anti-inflammatory properties.
- Jalapeño Peppers: Jalapeño peppers contain capsa
Conclusion:
So there you have it! This isn’t just any chips and salsa; it’s a vibrant, flavorful experience that will elevate your snacking game to a whole new level. I truly believe this recipe is a must-try for anyone who appreciates fresh, homemade goodness. The combination of the perfectly salted, crispy chips and the bright, tangy salsa is simply irresistible. Forget the store-bought stuff once you taste this, you’ll never go back!
But why is this particular chips and salsa recipe so special? It’s all about the freshness and the control you have over the ingredients. You know exactly what’s going into your food, and you can adjust the flavors to perfectly suit your own palate. Want it spicier? Add more jalapeños! Prefer a sweeter salsa? A touch more honey or a few extra tomatoes will do the trick. The possibilities are endless!
Beyond the incredible flavor, this recipe is also incredibly versatile. Of course, it’s perfect as a standalone snack for movie nights, game days, or just a casual afternoon treat. But don’t limit yourself! Think about serving it as an appetizer at your next party it’s always a crowd-pleaser. You could even use the salsa as a topping for grilled chicken or fish, adding a burst of fresh flavor to your main course.
Here are a few serving suggestions and variations to get you started:
* Chips: While I love using homemade tortilla chips, feel free to experiment with different types of chips. Try blue corn chips for a fun twist, or even sweet potato chips for a unique flavor combination. For a healthier option, bake your own whole wheat tortilla chips.
* Salsa: Get creative with your salsa ingredients! Add some roasted corn for a smoky sweetness, or try using different types of peppers for varying levels of heat. A squeeze of lime juice at the end really brightens up the flavors. You can also blend some avocado into the salsa for a creamy, guacamole-like dip.
* Serving: Serve your chips and salsa with a dollop of sour cream or Greek yogurt for a cooling contrast to the spice. A sprinkle of crumbled cotija cheese adds a salty, savory element. And don’t forget the guacamole! A trio of chips, salsa, and guacamole is always a winning combination.I’m so excited for you to try this recipe and experience the joy of homemade chips and salsa. It’s a simple recipe, but the results are truly outstanding. I’ve poured my heart into perfecting this recipe, and I’m confident that you’ll love it as much as I do.
So, what are you waiting for? Gather your ingredients, put on some music, and get ready to create some culinary magic. I promise you won’t be disappointed.
And most importantly, I want to hear about your experience! Did you make any modifications to the recipe? What did you serve it with? What did your friends and family think? Share your photos and stories in the comments below. I can’t wait to see what you create! Happy snacking!
Chips and Salsa: The Ultimate Guide to Perfect Pairings
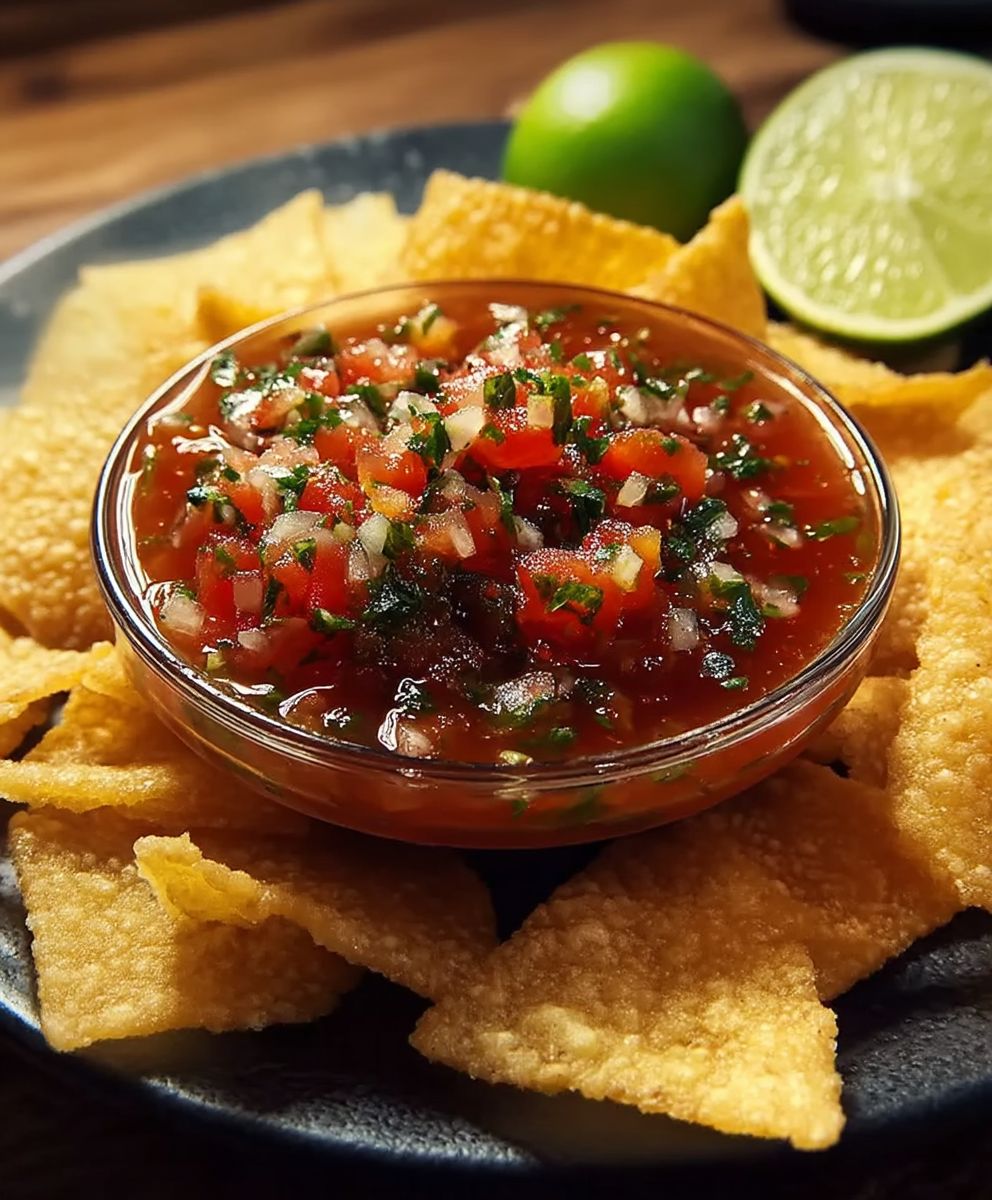
Crispy homemade tortilla chips with a vibrant salsa, perfect for snacking, parties, or topping Mexican dishes!
Ingredients
- 6 corn tortillas (yellow or white, your preference)
- 2 tablespoons olive oil (or your preferred cooking oil)
- 1/2 teaspoon sea salt
- Optional: 1/4 teaspoon chili powder, cumin, or smoked paprika for extra flavor
- 1 (28 ounce) can of whole peeled tomatoes, undrained
- 1 medium white onion, roughly chopped
- 2-3 cloves garlic, minced
- 1-2 jalapeño peppers, seeded and roughly chopped (adjust to your spice preference)
- 1/2 cup fresh cilantro, roughly chopped
- 1/4 cup lime juice (freshly squeezed is best!)
- 1 teaspoon ground cumin
- 1/2 teaspoon sugar (optional, to balance acidity)
- Salt and pepper to taste
Instructions
- Preheat your oven: Preheat your oven to 350°F (175°C). This ensures the chips will bake evenly and get nice and crispy.
- Prepare the tortillas: Stack the tortillas on a cutting board. Using a sharp knife or pizza cutter, cut the tortillas into six wedges each. You can also cut them into eight wedges for smaller chips, but I find six to be a good size for dipping.
- Season the chips: In a large bowl, toss the tortilla wedges with the olive oil, salt, and any optional spices you’re using. Make sure the chips are evenly coated with the oil and seasonings. This is key for getting that delicious flavor in every bite.
- Arrange on baking sheet: Spread the tortilla wedges in a single layer on a large baking sheet. Avoid overcrowding the pan, as this will prevent the chips from getting crispy. If necessary, use two baking sheets.
- Bake the chips: Bake for 12-15 minutes, or until the chips are golden brown and crispy. Keep a close eye on them, as they can burn easily. Flip the chips halfway through baking to ensure even browning.
- Cool and store: Remove the chips from the oven and let them cool completely on the baking sheet. Once cooled, store the chips in an airtight container at room temperature. They’ll stay crispy for a few days, but let’s be honest, they probably won’t last that long!
- Combine ingredients: In a blender or food processor, combine the canned tomatoes (with their juice), onion, garlic, jalapeño peppers, cilantro, lime juice, cumin, and sugar (if using).
- Pulse to desired consistency: Pulse the mixture until it reaches your desired consistency. I prefer my salsa to be a little chunky, so I don’t over-process it. If you like a smoother salsa, blend it for a longer period of time.
- Season to taste: Taste the salsa and season with salt and pepper to taste. You may also want to add more lime juice or jalapeño pepper, depending on your preferences. Remember, you can always add more, but you can’t take it away!
- Chill the salsa: Transfer the salsa to a bowl and refrigerate for at least 30 minutes to allow the flavors to meld together. This step is crucial for developing the best flavor. The longer it chills, the better it tastes!
- Prepare the vegetables: Preheat your oven to 400°F (200°C). Roughly chop the tomatoes, onion, and garlic. Toss them with a tablespoon of olive oil and a pinch of salt and pepper.
- Roast the vegetables: Spread the vegetables in a single layer on a baking sheet. Roast for 20-25 minutes, or until the vegetables are softened and slightly charred.
- Cool slightly: Let the roasted vegetables cool slightly before transferring them to a blender or food processor.
- Proceed with the salsa recipe: Continue with step 2 of the salsa recipe, using the roasted vegetables instead of the raw ones.
Notes
- Spice Level: Adjust the number of jalapeños to your preference. Remove seeds and membranes for less heat.
- Salsa Consistency: Pulse the salsa to your desired chunkiness.
- Freshness: Use fresh ingredients for the best flavor.
- Roasting: Roasting the vegetables adds a deeper, smoky flavor to the salsa.
- Storage: Store chips in an airtight container to maintain crispness. Salsa should be refrigerated.
- Serving Suggestions: Serve with your favorite Mexican dishes, as an appetizer, or as a snack.


Leave a Comment