

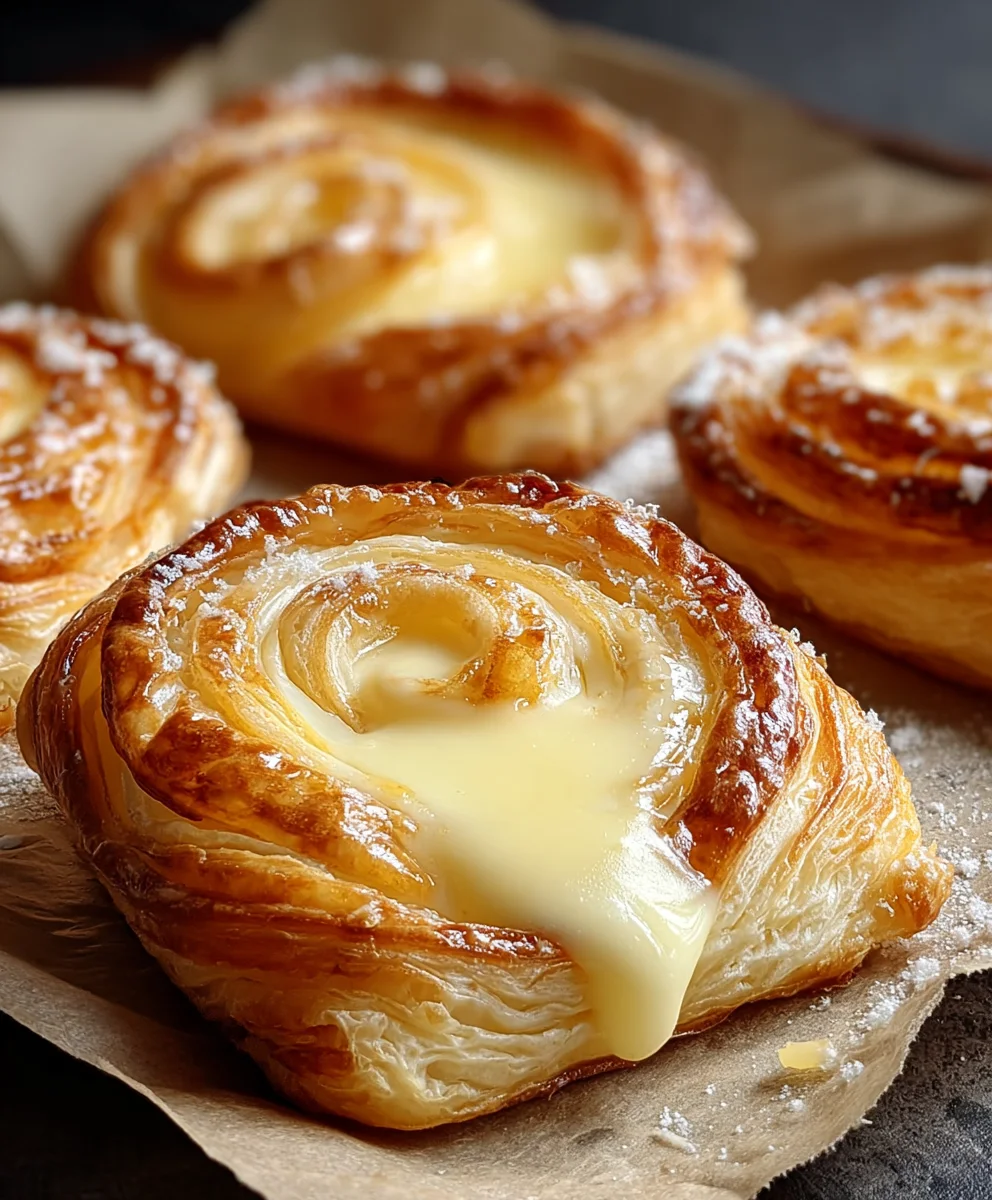
Cheese Danishes are more than just a sweet treat; they’re a delightful escape into a world of flaky pastry and creamy, tangy filling. What is it about these golden crescents that captures our hearts and taste buds? Perhaps it’s the perfect marriage of textures – the shattering crispness of the buttery dough giving way to the smooth, luscious cheese. Or maybe it’s the inherent elegance they possess, making any morning feel a little more special, any coffee break a mini-celebration. We adore them for their versatility; they’re just as at home on a brunch buffet as they are being savored with a quiet cup of tea. This recipe aims to capture that quintessential Cheese Danish experience, ensuring you can recreate that bakery-fresh magic right in your own kitchen, with a secret touch that elevates them from good to absolutely unforgettable.

Ingredients:
- 2 tubes (8 oz each) refrigerated crescent rolls
- 2 tablespoons salted butter, melted
- 8 tablespoons light brown sugar, divided
- 1 package (8 oz) cream cheese, softened to room temperature
- ¼ cup granulated white sugar
- 1 teaspoon pure vanilla extract, divided
- ½ cup powdered sugar
- 4 teaspoons milk
Prepare the Cream Cheese Filling
Step 1: Soften the Cream Cheese and Mix Sugars
First, ensure your cream cheese is truly at room temperature. This is crucial for a smooth, lump-free filling. If it’s still a bit firm, you can gently microwave it in 10-second bursts, stirring in between, until it’s soft but not melted. In a medium-sized mixing bowl, combine the softened cream cheese, the ¼ cup of granulated white sugar, and ½ teaspoon of the pure vanilla extract. Using a spatula or an electric mixer on low speed, cream these ingredients together until they are thoroughly blended and have a uniform, creamy consistency. Scrape down the sides of the bowl a few times to make sure everything is incorporated. This smooth base is key to delicious Cheese Danishes.
Step 2: Prepare the Brown Sugar Topping
In a separate small bowl, combine the 8 tablespoons of light brown sugar with the melted salted butter. Stir these together until the brown sugar is evenly moistened by the butter. This mixture will form a delicious, slightly crunchy topping that caramelizes beautifully during baking. Set this aside for now. We’ll use it later to sprinkle over our danishes before they go into the oven.
Assemble the Cheese Danishes
Step 3: Prepare the Crescent Roll Dough
Unroll one tube of the crescent rolls onto a lightly floured surface. Carefully pinch together the seams where the triangles are perforated to create a solid sheet of dough. You want to ensure there are no gaps that might let the filling leak out during baking. You should end up with a rectangular sheet of dough. Repeat this process with the second tube of crescent rolls, forming another solid rectangular sheet.
Step 4: Spread the Cream Cheese Filling
Take one of the prepared crescent roll dough sheets and place it on a baking sheet lined with parchment paper. Parchment paper is your friend here, preventing sticking and making cleanup a breeze. Evenly spread half of the cream cheese mixture over the dough, leaving about a ½-inch border around the edges. This border will help keep the filling contained. Repeat with the second dough sheet and the remaining cream cheese filling.
Step 5: Add the Brown Sugar Topping and Shape
Now, take the brown sugar and butter mixture you prepared earlier. Sprinkle half of this delicious topping evenly over the cream cheese filling on the first danish. Do the same for the second danish. Gently press the topping into the filling so it adheres well. Starting from one of the longer sides of each rectangle, carefully roll up the dough as you would a jelly roll or cinnamon roll. Try to keep the roll tight to ensure even layers.
Bake and Glaze the Cheese Danishes
Step 6: Slice and Bake
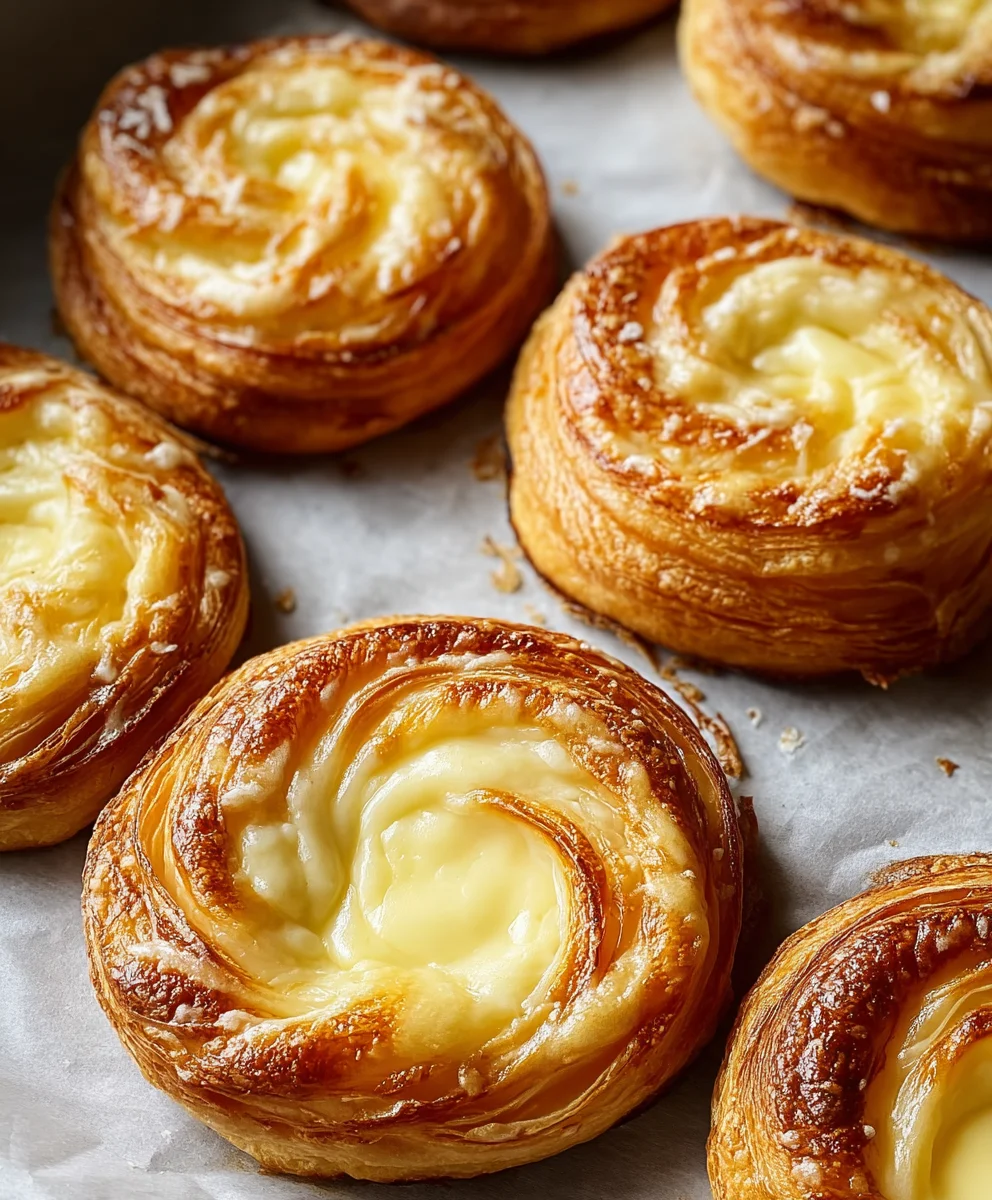
Once each dough log is rolled, it’s time to slice them into individual danishes. Using a sharp knife, cut each log into 8 equal pieces. You should get about 16 danishes in total. Arrange the sliced danishes on the prepared baking sheets, leaving a little space between them as they will puff up during baking. Bake in a preheated oven at 375°F (190°C) for 15-18 minutes, or until the tops are golden brown and the filling is bubbly. Keep an eye on them, as oven temperatures can vary.
Step 7: Make the Vanilla Glaze
While the danishes are baking, let’s prepare the simple vanilla glaze. In a small bowl, whisk together the ½ cup of powdered sugar, the remaining ½ teaspoon of pure vanilla extract, and the 4 teaspoons of milk. Start with the 4 teaspoons of milk and whisk until you achieve a smooth, drizzly consistency. If it’s too thick, add another teaspoon of milk at a time until it’s just right. If it’s too thin, add a little more powdered sugar. The glaze should be pourable but not watery.
Step 8: Glaze and Serve
Once the Cheese Danishes are out of the oven and slightly cooled for about 5 minutes, you can generously drizzle the vanilla glaze over the warm danishes. The warmth will help the glaze spread slightly and create a beautiful finish. Allow the glaze to set for a few minutes before serving. These are best enjoyed warm, when the cream cheese filling is perfectly gooey and the pastry is flaky. Enjoy your homemade Cheese Danishes!
Conclusion:
There you have it! With this recipe, you’re well on your way to creating delicious and impressive Cheese Danishes right in your own kitchen. We’ve walked through each step, from preparing the flaky pastry to crafting that rich, creamy cheese filling. These danishes are a wonderful treat for any occasion, whether it’s a special breakfast, a delightful brunch, or an afternoon pick-me-up with a cup of coffee or tea. Don’t be afraid to experiment with different toppings or flavorings to make them uniquely yours!
For serving, I find these Cheese Danishes are best enjoyed slightly warm, allowing the cheese filling to be perfectly gooey. They also make a fantastic addition to a dessert platter. Consider drizzling a little honey, a sprinkle of powdered sugar, or even some fresh berries for an extra touch of elegance. I truly hope you enjoy making and, more importantly, savoring these homemade delights. Happy baking!
Frequently Asked Questions:
Q: Can I make the pastry ahead of time for my Cheese Danishes?
A: Absolutely! The pastry dough can be made a day or two in advance and kept refrigerated. Ensure it’s well-wrapped to prevent it from drying out. You can also freeze the prepared pastry for longer storage, thawing it in the refrigerator overnight before you’re ready to assemble your Cheese Danishes.
Q: What are some other filling variations for these Cheese Danishes?
A: The possibilities are nearly endless! You can incorporate fruit preserves like raspberry or apricot into the cream cheese mixture for a fruity tang. A touch of lemon zest or orange zest can add a bright, fresh flavor. Some people even like to add a pinch of cinnamon or a few chocolate chips for a decadent twist on the classic Cheese Danishes.
Easy Cheesy Danish Pastry
A simple and delicious recipe for homemade cheesy danish pastries using refrigerated crescent rolls and a creamy cream cheese filling, topped with a sweet brown sugar mixture and vanilla glaze.
Ingredients
-
2 tubes (8 oz each) refrigerated crescent rolls
-
2 tablespoons salted butter, melted
-
8 tablespoons light brown sugar
-
1 package (8 oz) cream cheese, softened to room temperature
-
1/4 cup granulated white sugar
-
1 teaspoon pure vanilla extract
-
1/2 cup powdered sugar
-
4 teaspoons milk
Instructions
-
Step 1
Soften cream cheese and mix sugars: Combine softened cream cheese, granulated white sugar, and 1/2 teaspoon vanilla extract. Cream until smooth and uniform. -
Step 2
Prepare brown sugar topping: In a separate bowl, combine light brown sugar with melted salted butter. Stir until evenly moistened. -
Step 3
Prepare crescent roll dough: Unroll crescent rolls onto a floured surface. Pinch seams together to form solid rectangular sheets. -
Step 4
Spread filling and topping: Spread half the cream cheese mixture onto one dough sheet, leaving a border. Sprinkle half the brown sugar topping over it. Repeat with the second dough sheet. -
Step 5
Shape and slice: Roll each dough rectangle tightly from a long side, like a jelly roll. Slice each log into 8 equal pieces. -
Step 6
Bake: Arrange danishes on baking sheets and bake at 375°F (190°C) for 15-18 minutes until golden brown and bubbly. -
Step 7
Make vanilla glaze: Whisk together powdered sugar, remaining 1/2 teaspoon vanilla extract, and milk until a smooth, drizzly consistency is reached. -
Step 8
Glaze and serve: Drizzle glaze over slightly cooled danishes. Let set before serving warm.
Important Information
Nutrition Facts (Per Serving)
It is important to consider this information as approximate and not to use it as definitive health advice.
Allergy Information
Please check ingredients for potential allergens and consult a health professional if in doubt.


Leave a Comment